THE DO'S AND DON'TS OF REAL ESTATE PHOTOGRAPHY
Introduction
Let’s face it, good photos sell and this is especially true in the real estate industry. But what exactly sets apart a good photo from a bad photo? Well, we’ve put together 9 tips that you can implement immediately (whether you’re shooting with a smartphone or DSLR) to make your real estate photos look better!
Before we start
Now before we start, all the images in this article (both before and after shots) have been edited with our 16 step Image Enhancement process which includes:
01 - White balancing
02 - Image sharpening
03 - Vertical and horizontal straightening
04 - Remove minor blemishes
05 - Lens distortion removal
06 - Brightness and contrast adjustment
07 - Outdoor sky replacement
08 - Lawn enhancement - repair or replace
09 - Remove pool cleaners from water
10 - Tone adjustment
11 - TV screen replacement
12 - Dust spot removal
13 - Flash reflection removal
14 - Add fire to fireplaces
15 - HDR bracketing with indoor window replacement
16 - Remove photographer’s reflection
Okay so now time for the real estate photography tips!
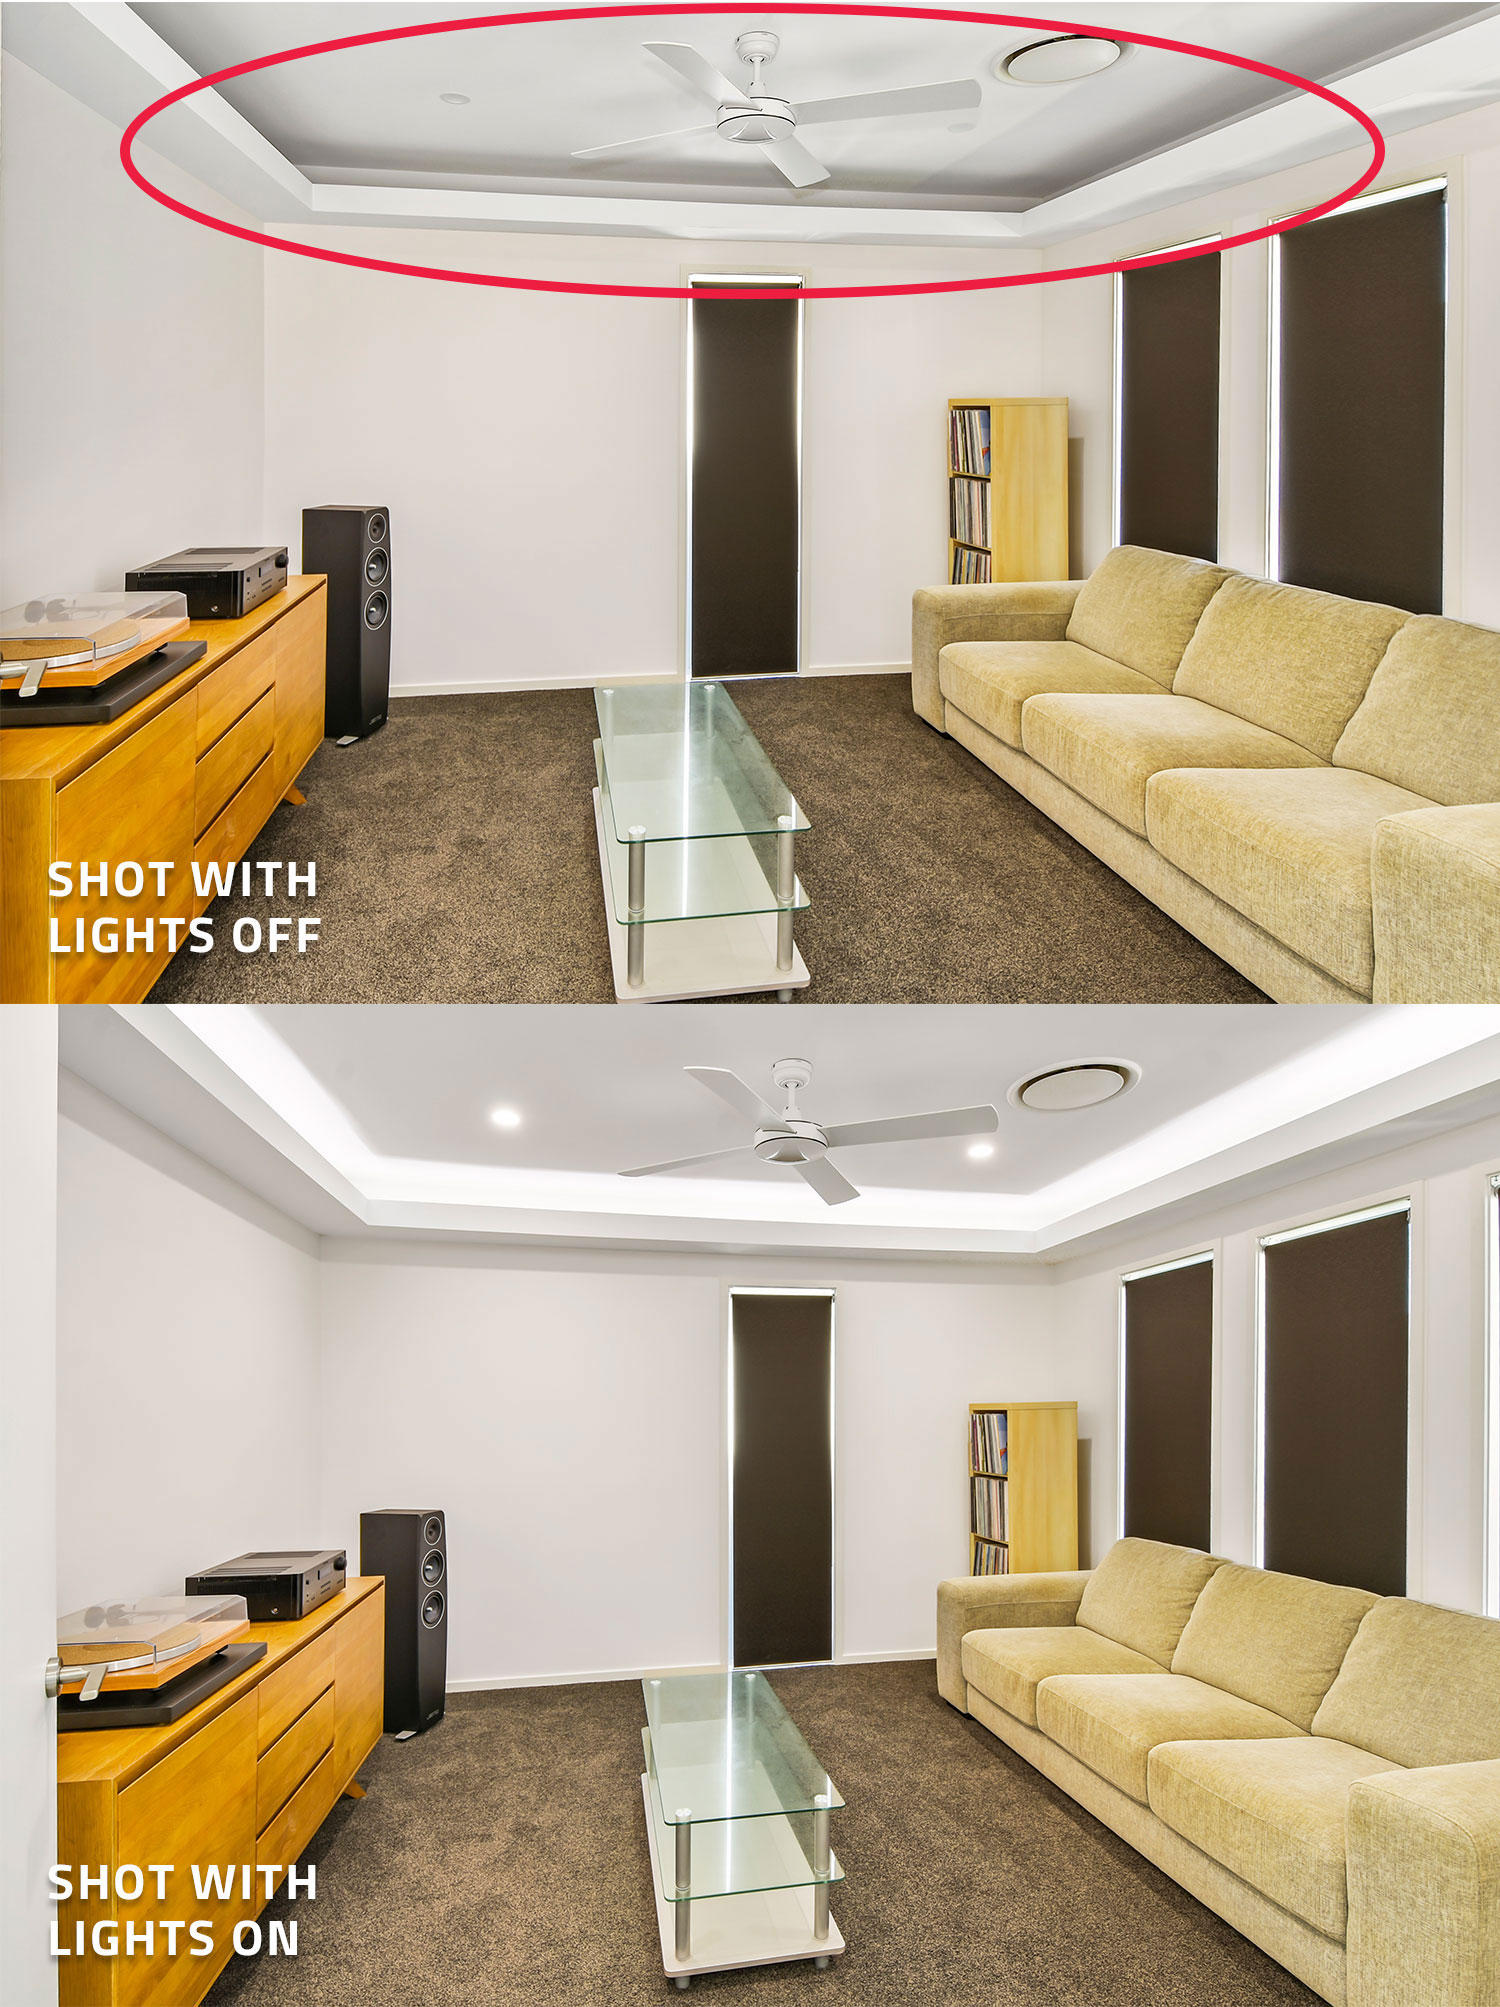
1) Turn lights on.
Our first tip is to always turn your lights on. It makes a huge difference to the presentation of your overall image. To illustrate this point, we shot a media room which had a long light that stretched across the ceiling.
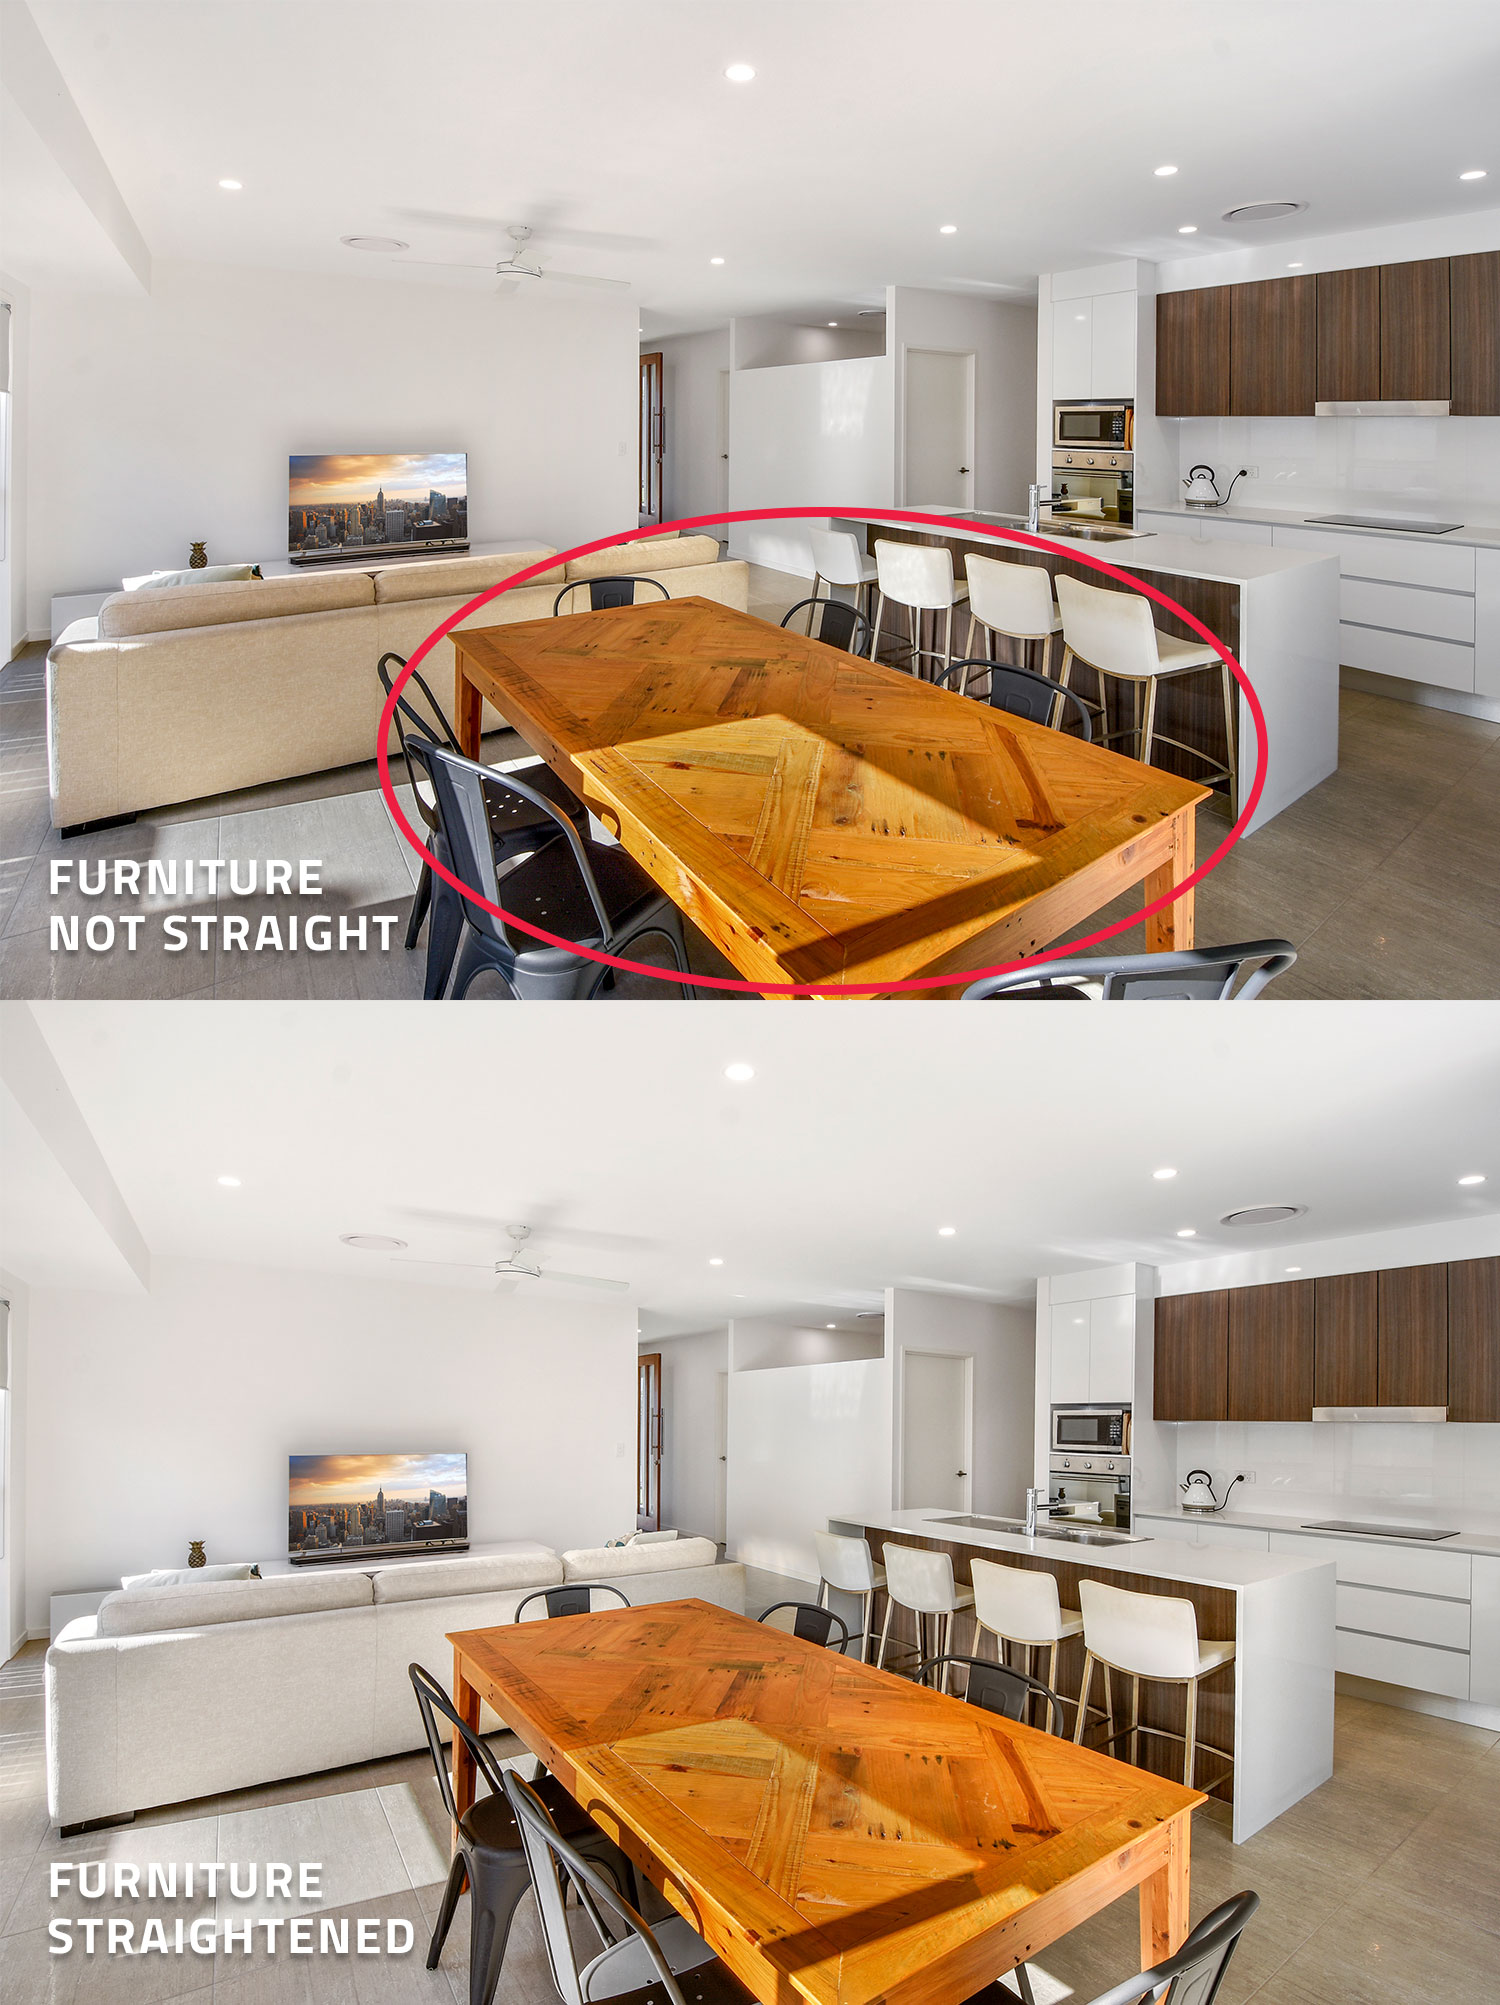
2) Straighten up your furniture.
Make sure your furniture is straightened into even lines. It takes 2 seconds to do and it’ll make your photos look cleaner and streamlined.
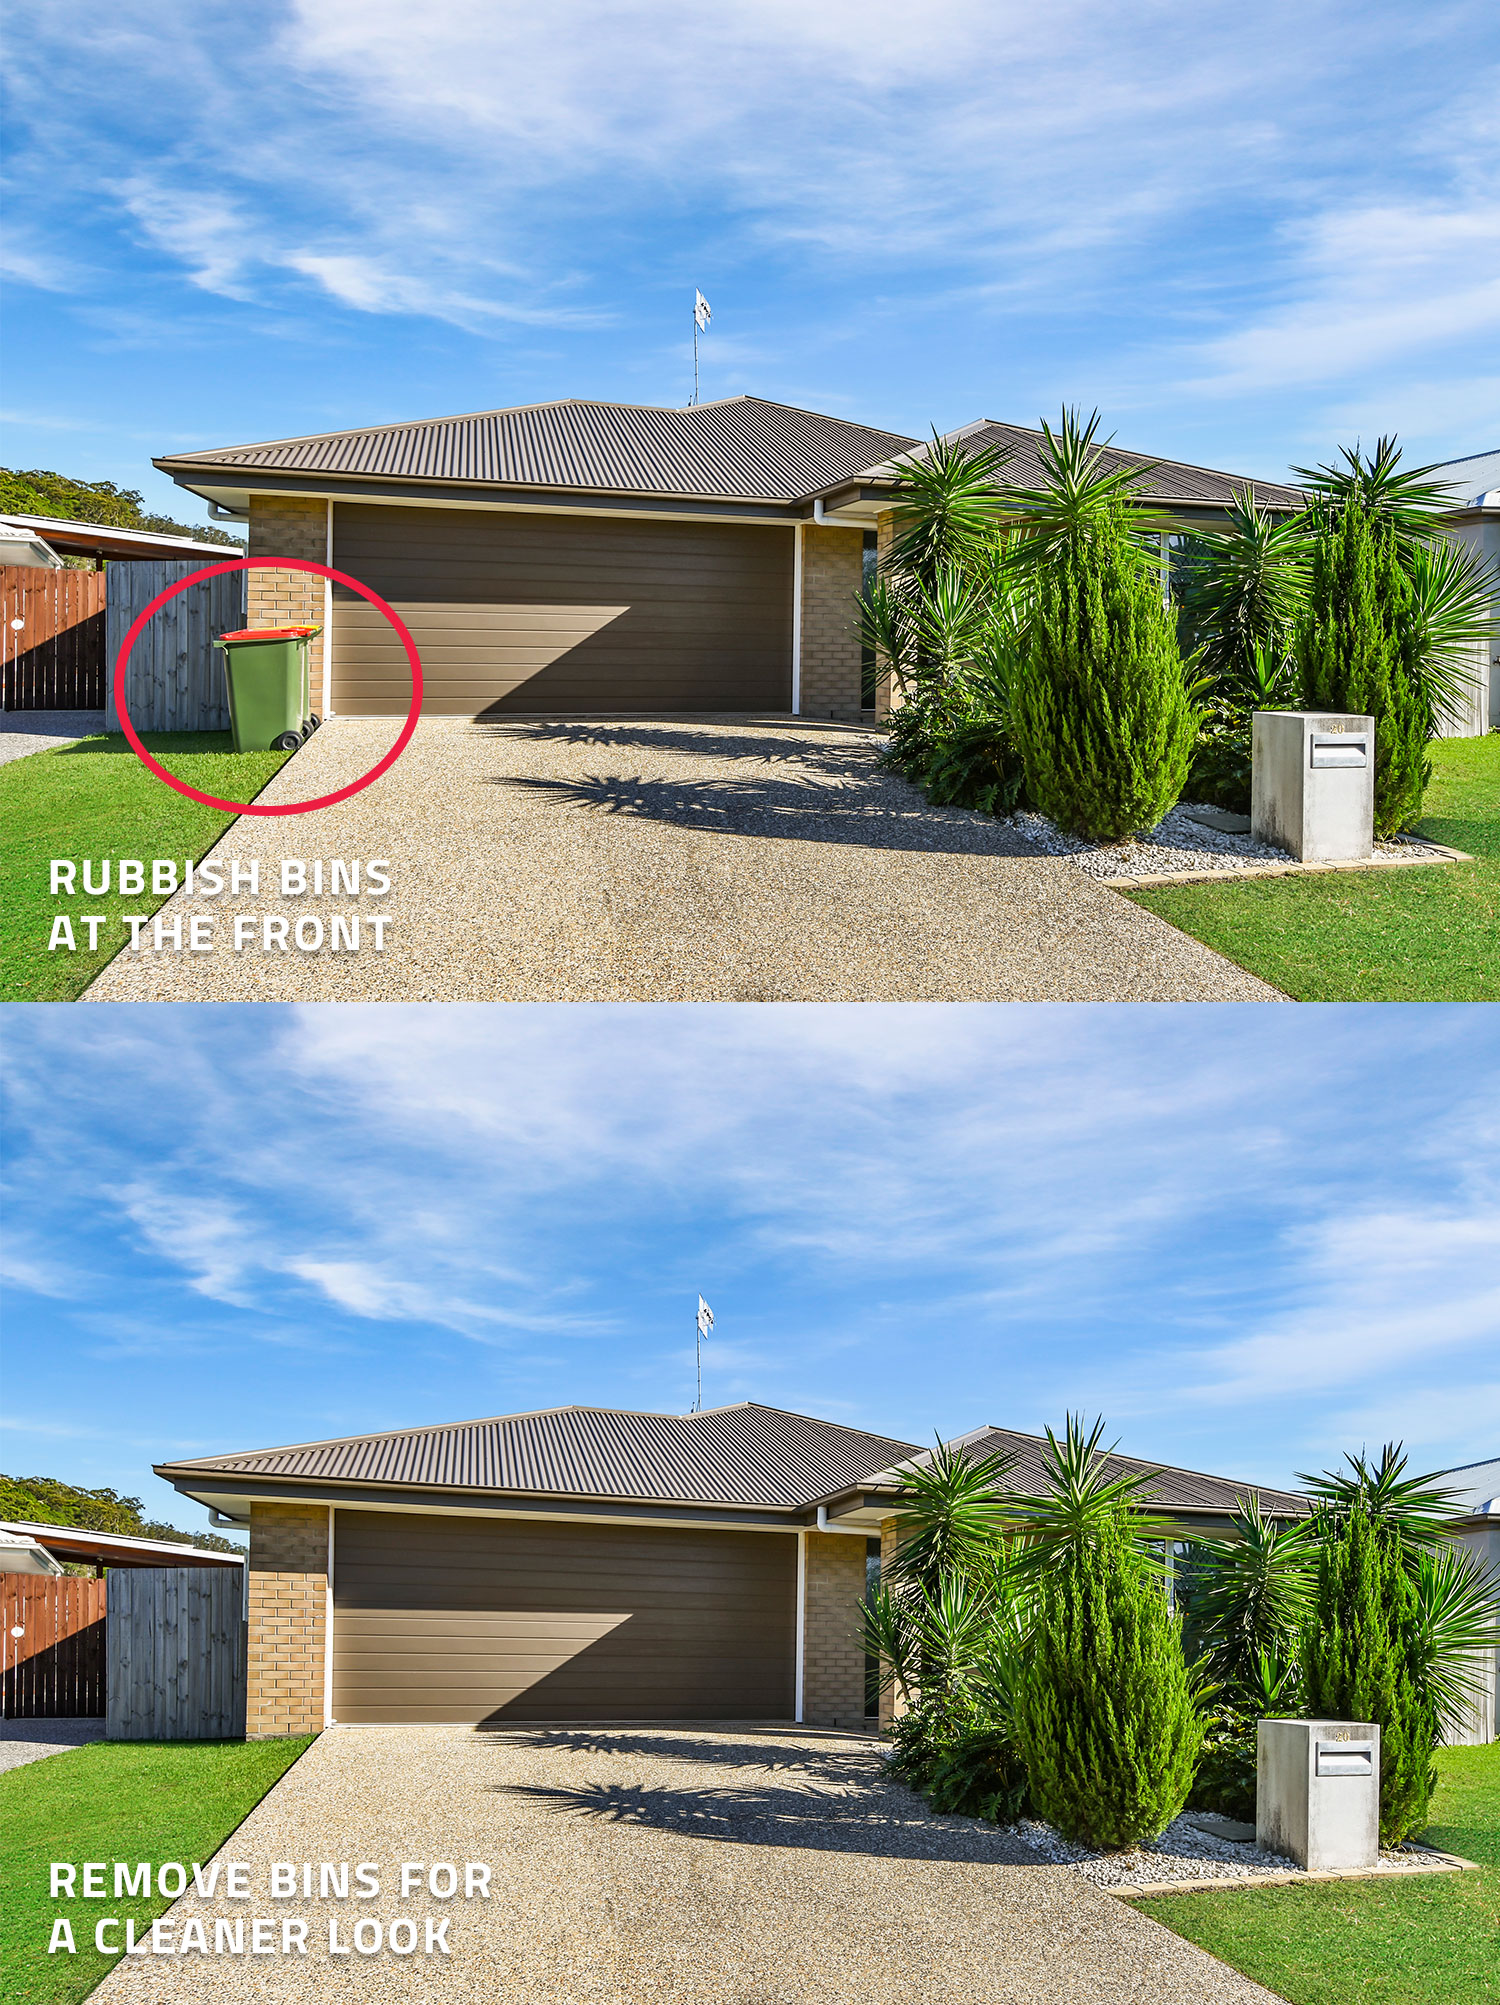
 3) Remove the rubbish bins.
When shooting the exterior, make sure to remove rubbish bins if they are left out the front. There is no reason for them to be in the shot. If you forget, we can always edit them out using our Item Removal service.
4) Make your bed.
A messy bed will never look good in your shot so make sure to straighten your bed covers, tuck in your sheets and align your pillows. Ideally, the owner of the property would have done this for you. We have a great pre-photography checklist which can help owner’s prepare the property so it's ready to shoot when you arrive.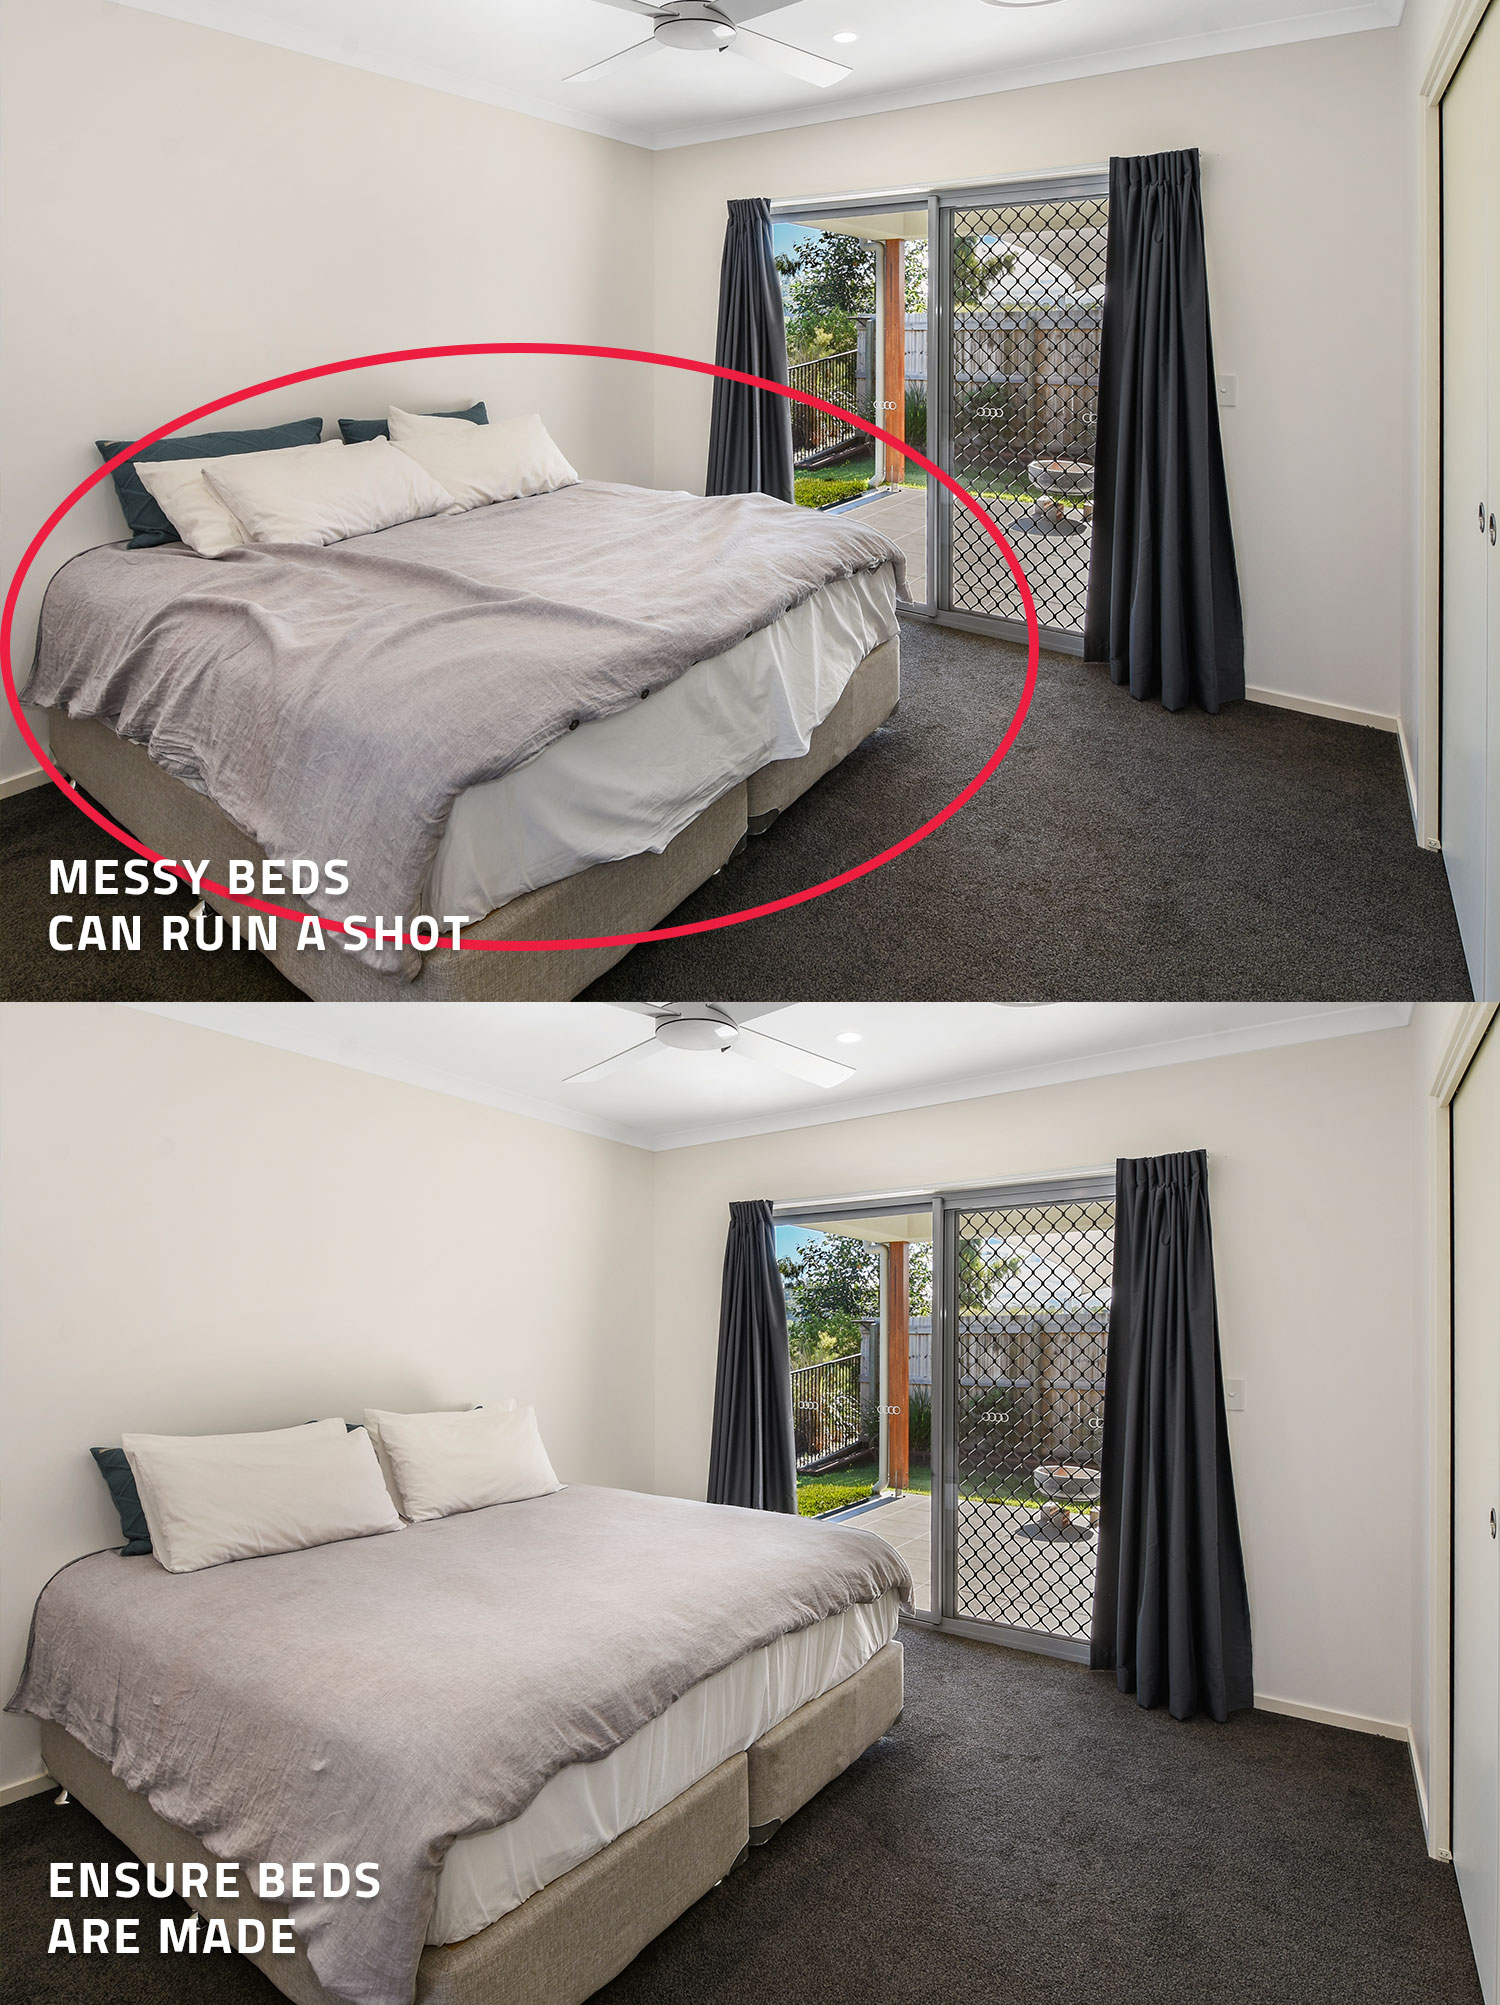
5) Preparing the bathroom.
Prepping the bathroom is key before shooting. Always remove unnecessary items from your shot like tissue boxes, shampoo bottles or facial scrubbers. It is okay to leave some items in the shot like towels as it makes the place look lived in. Just make sure to straighten them up so your shot looks neat and streamlined.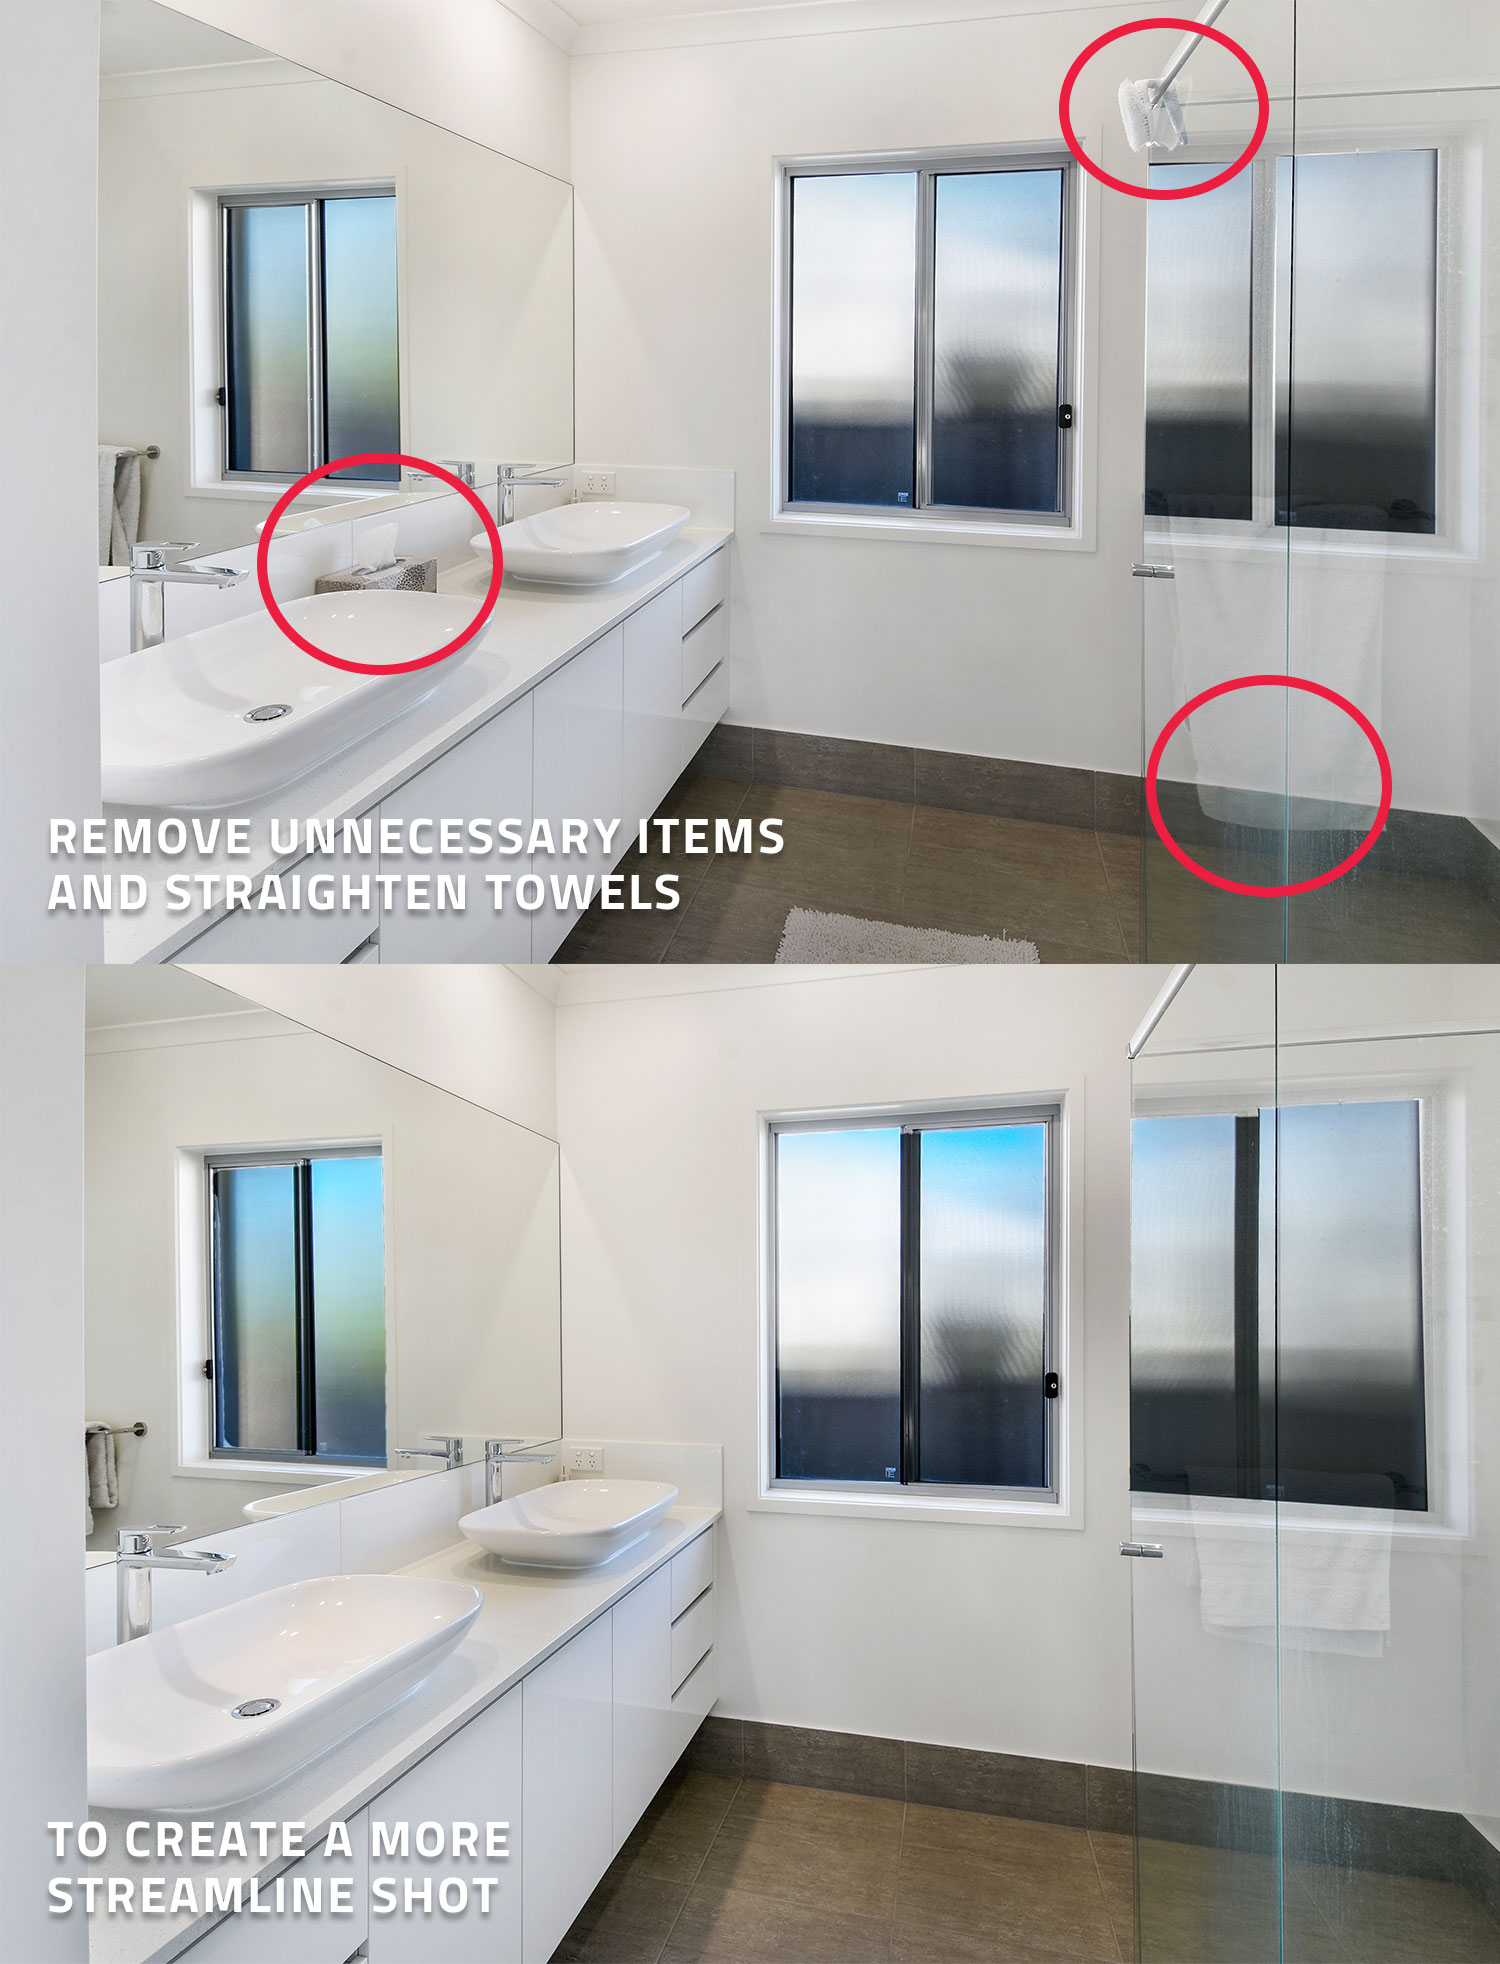
6) Pull down blinds to hide the neighbors.
It’s never ideal to see your neighbors in real estate photography. If your property has pull down blinds, make sure to pull them down just enough to cover the neighbors. This will show off your side of the home. Ensure to pull the blinds down evenly as well to give the property a cleaner look.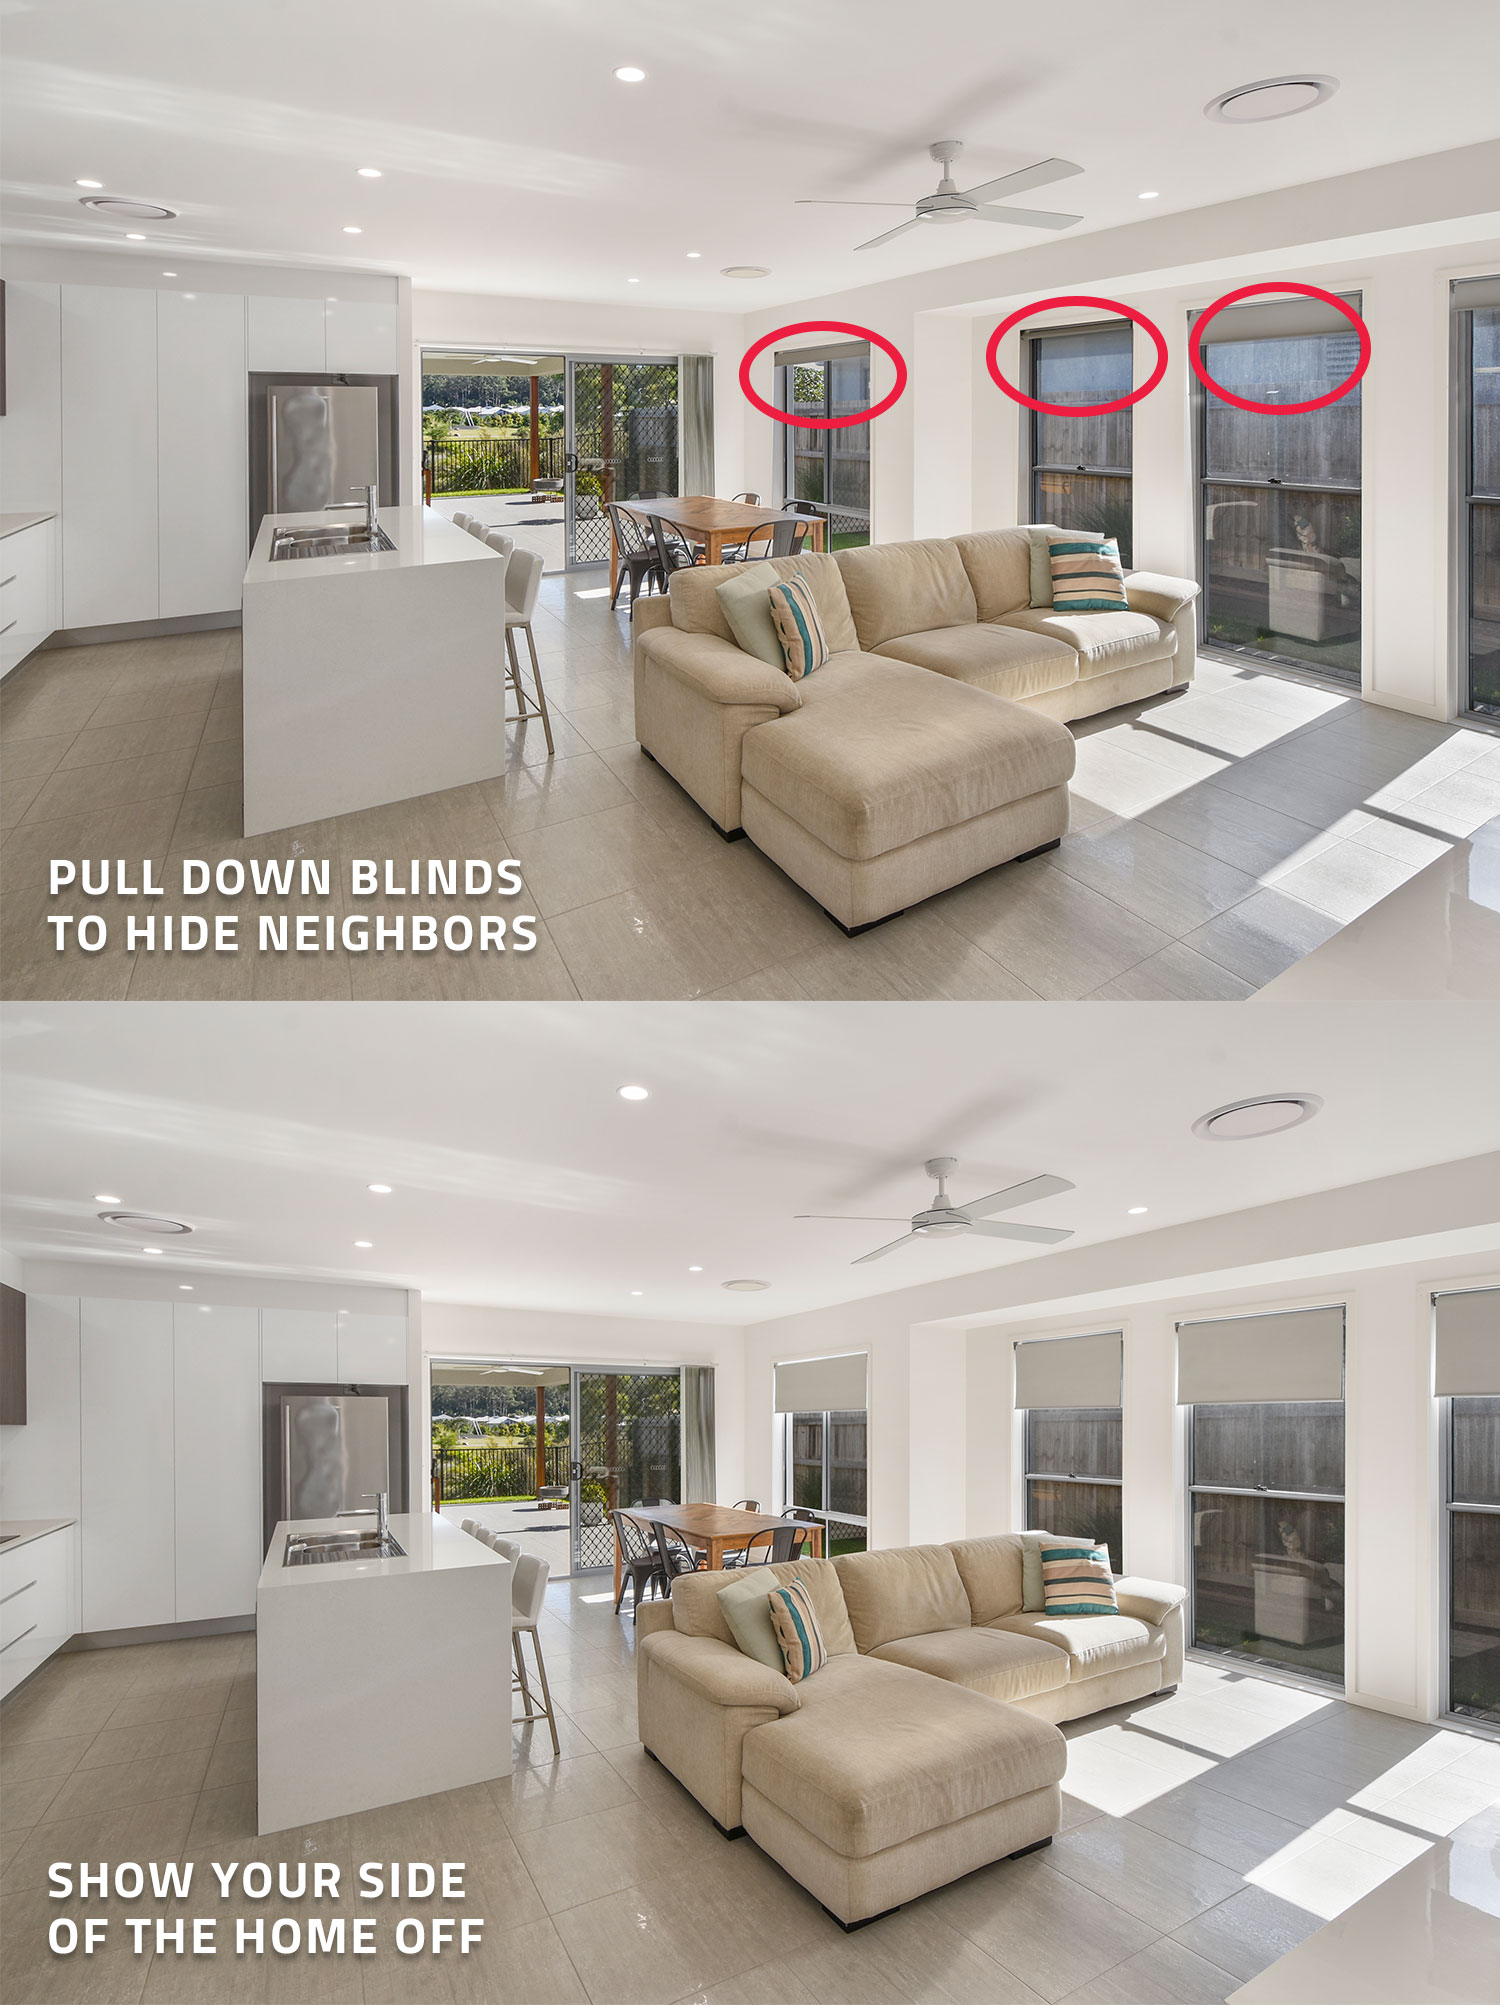
7) Watch out for the door frame.
Never include the door frame in your shot. It looks bulky and your potential clients don’t need to see it. On the other hand, leaving the door handle in your shot is fine. Just make sure not to crop the door handle.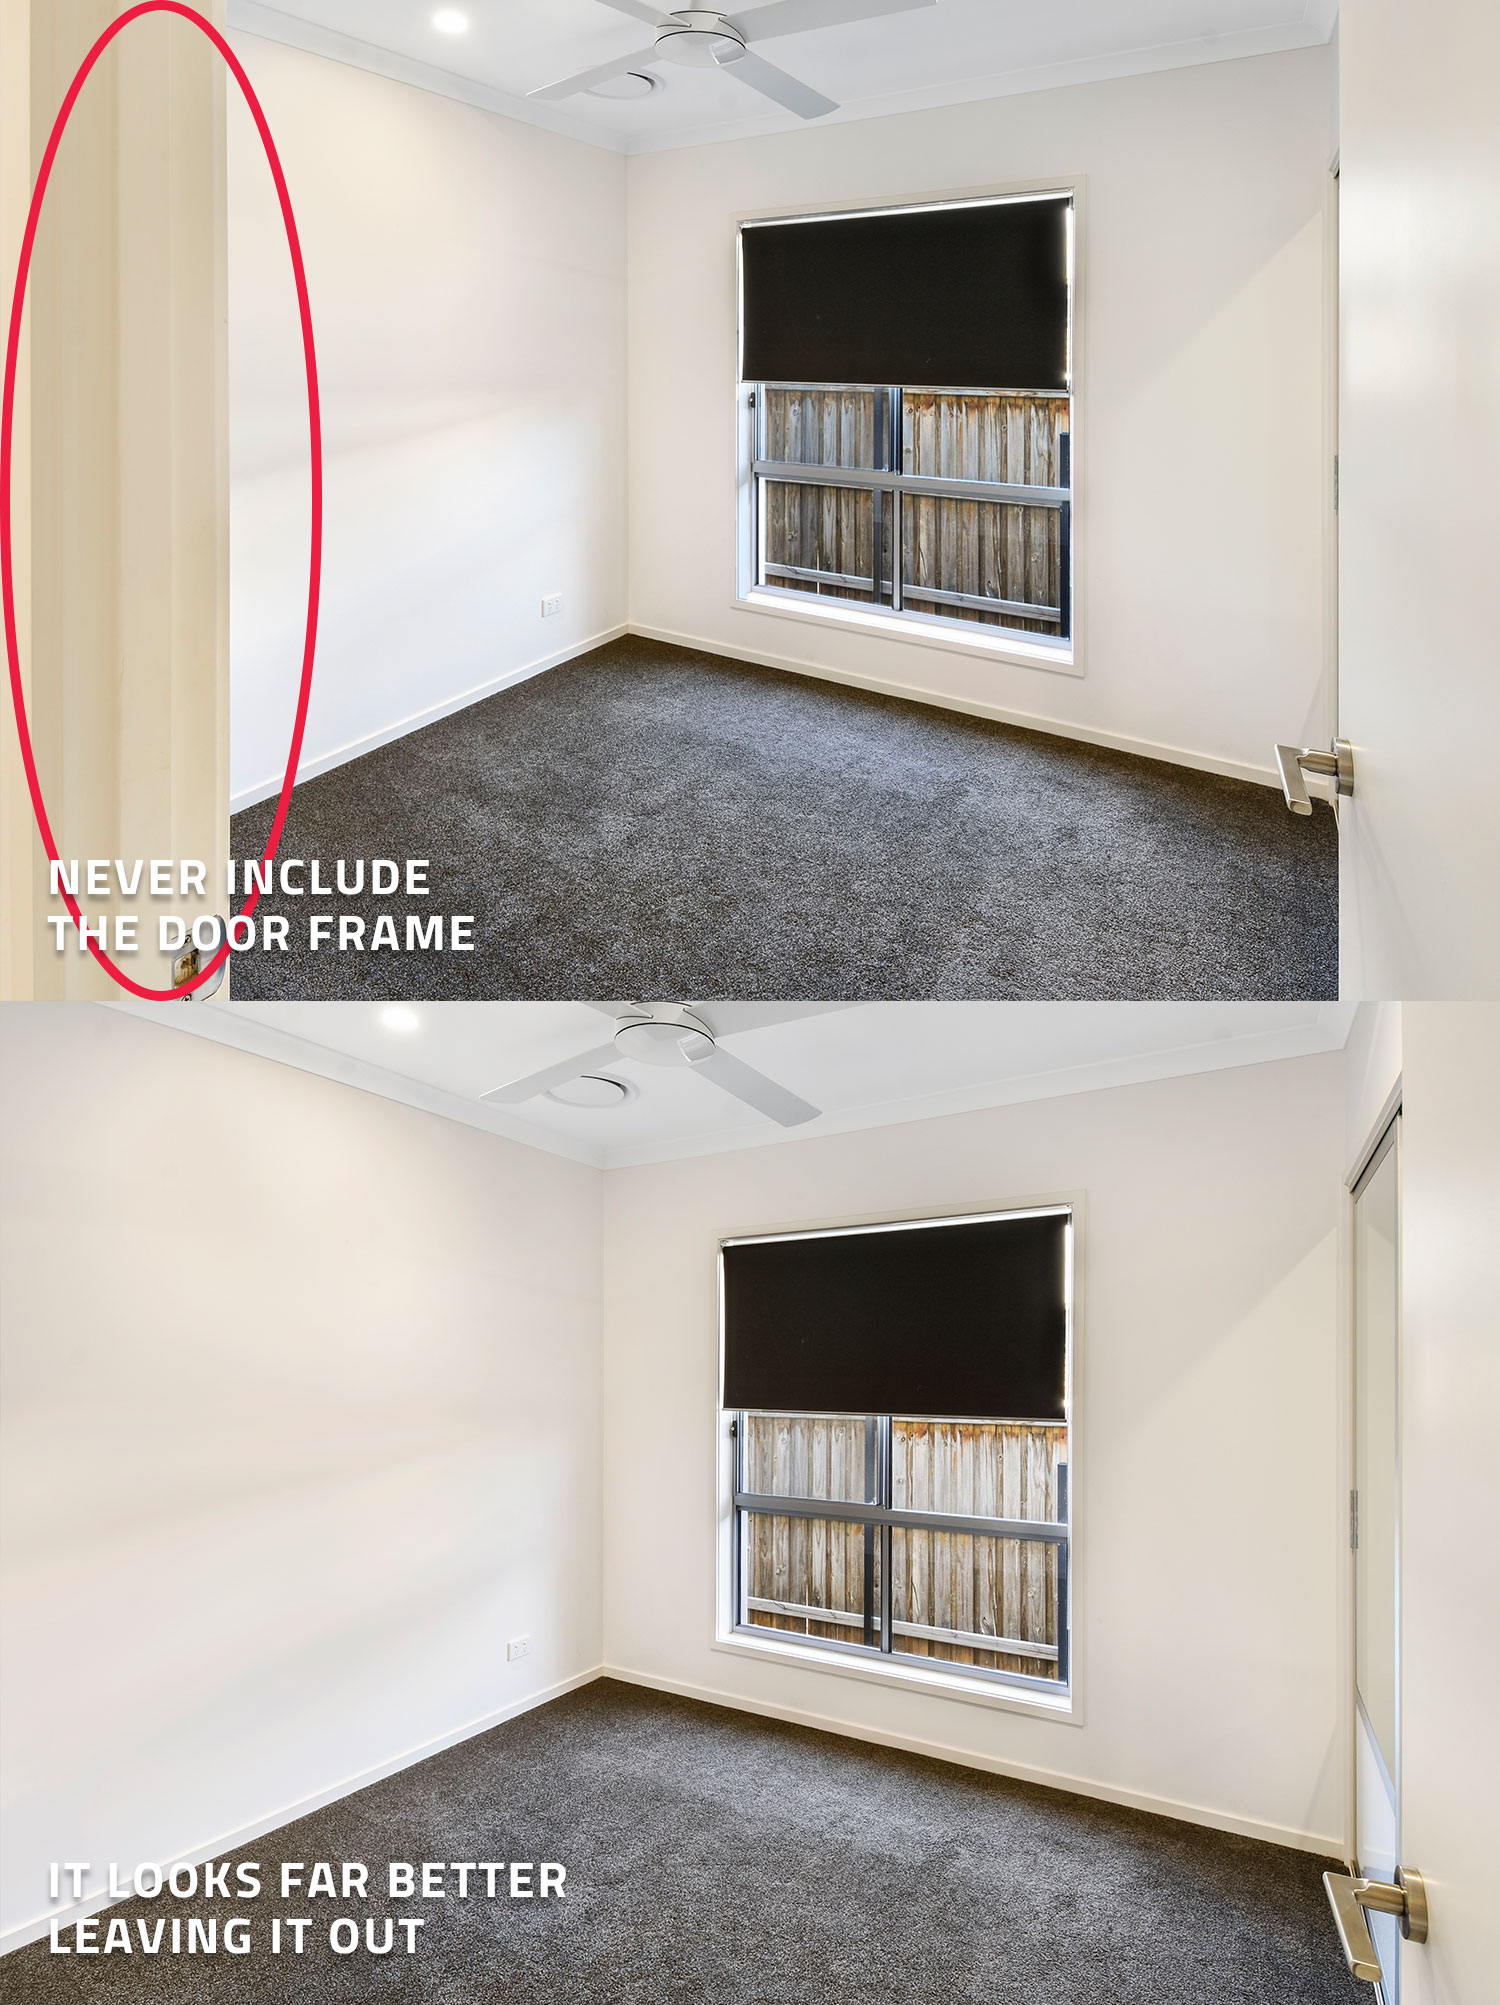
8) Include hallways to create space.
Always include hallways in your images. It creates space, shows flow of the home and looks more inviting.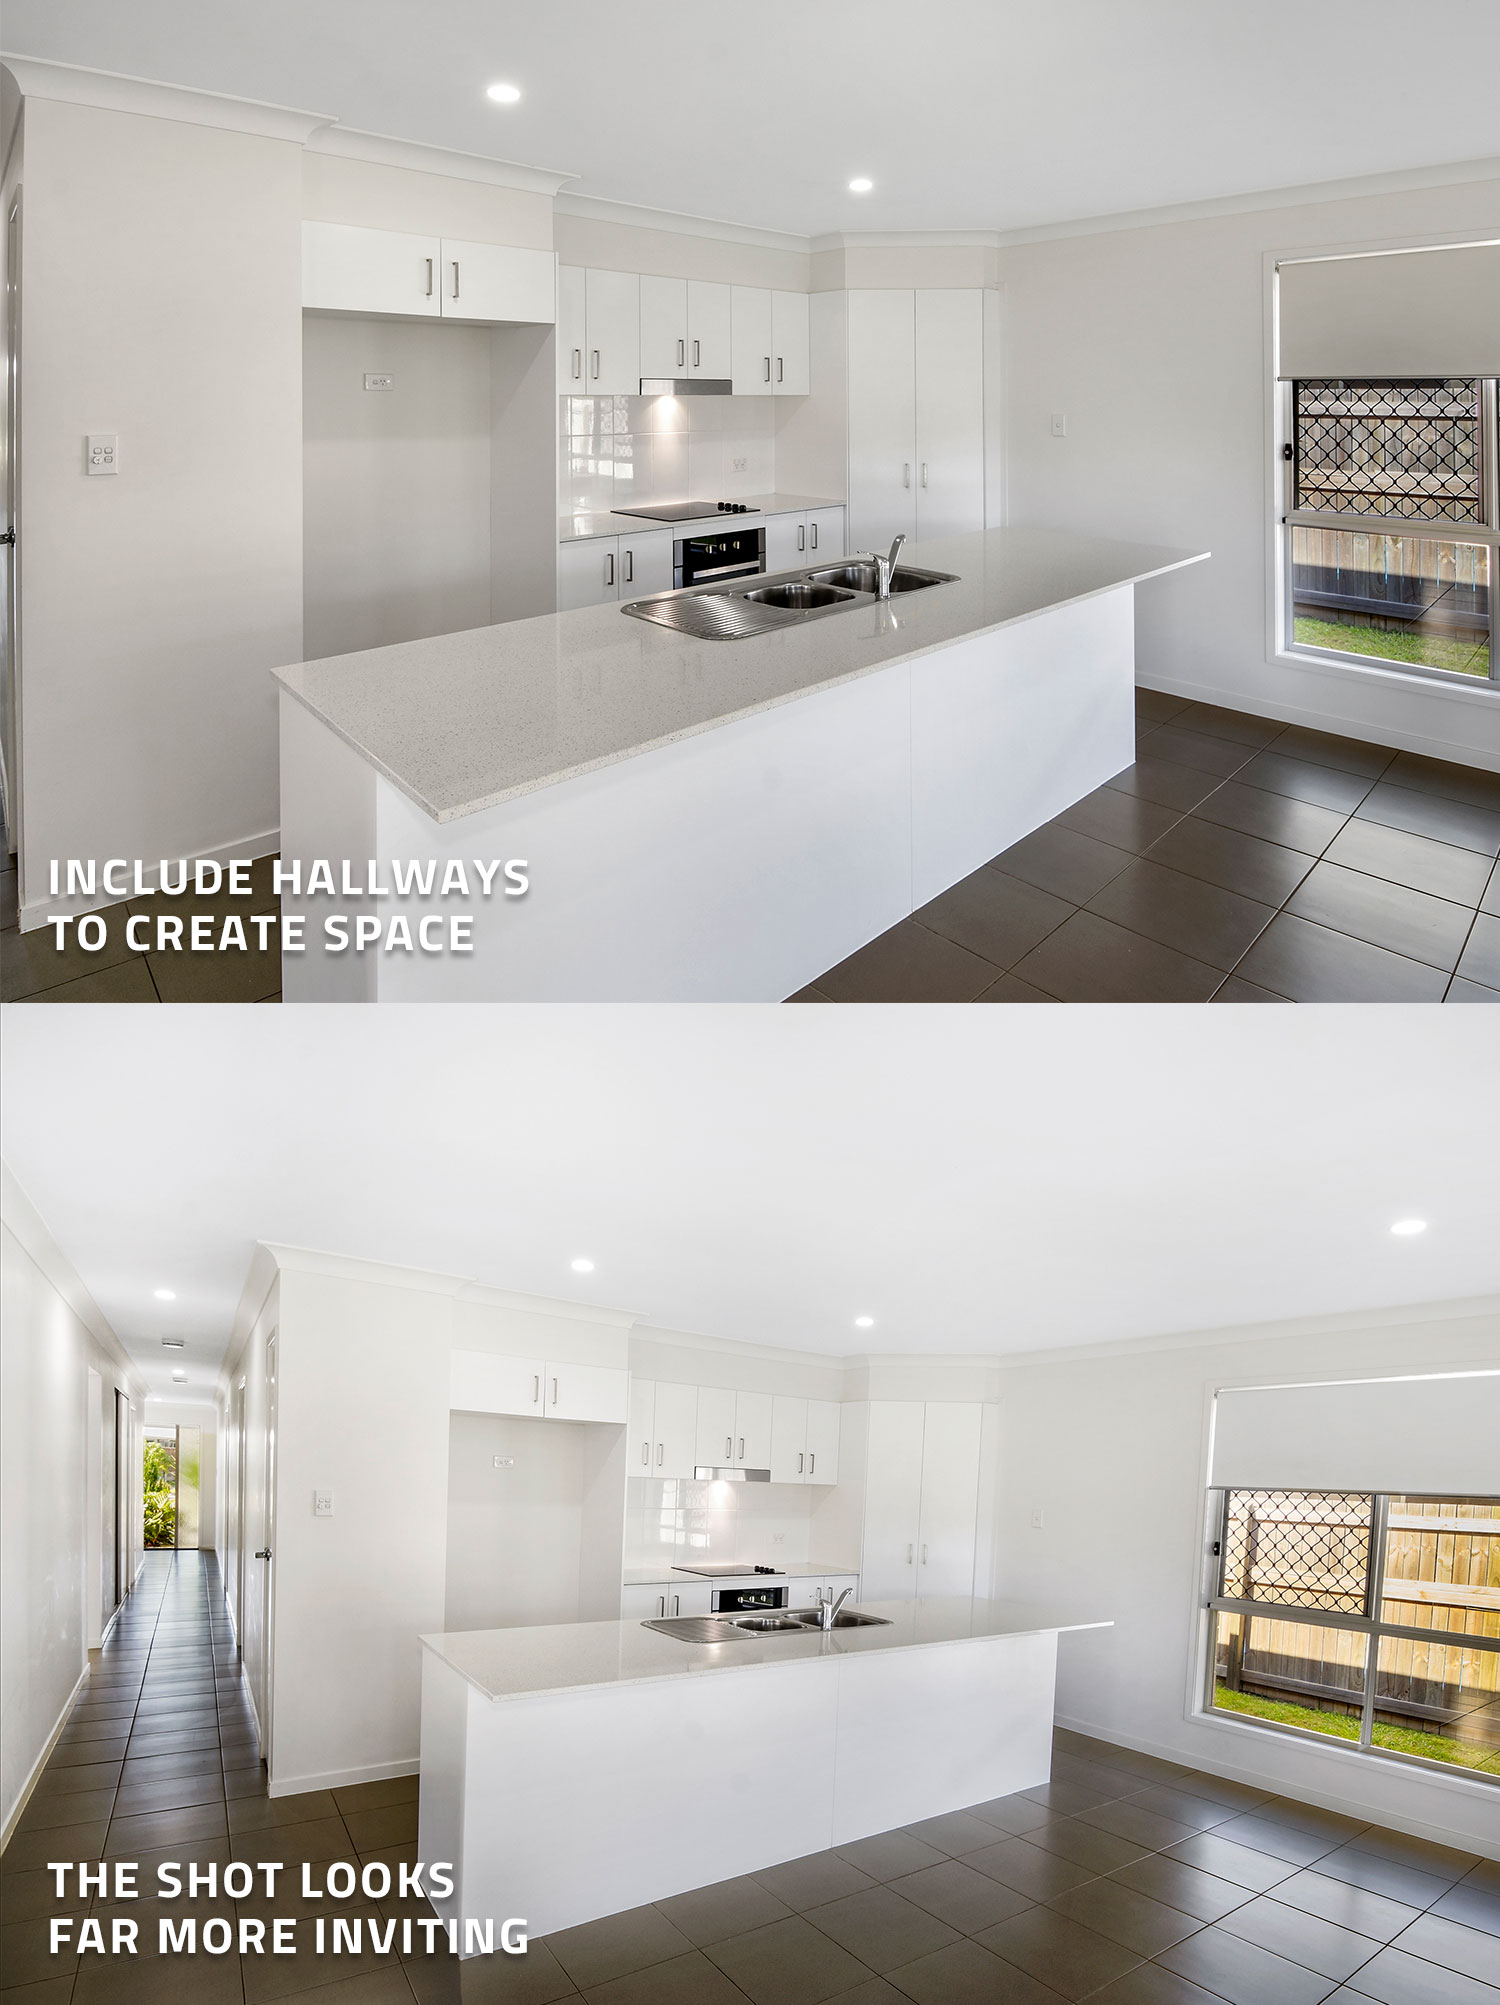
9) Turn on the range hood light.
Turning on the range hood light will give your kitchen shot that final touch. It may not seem like much but it’s all these little 1 percenters that add up to create a professional shot.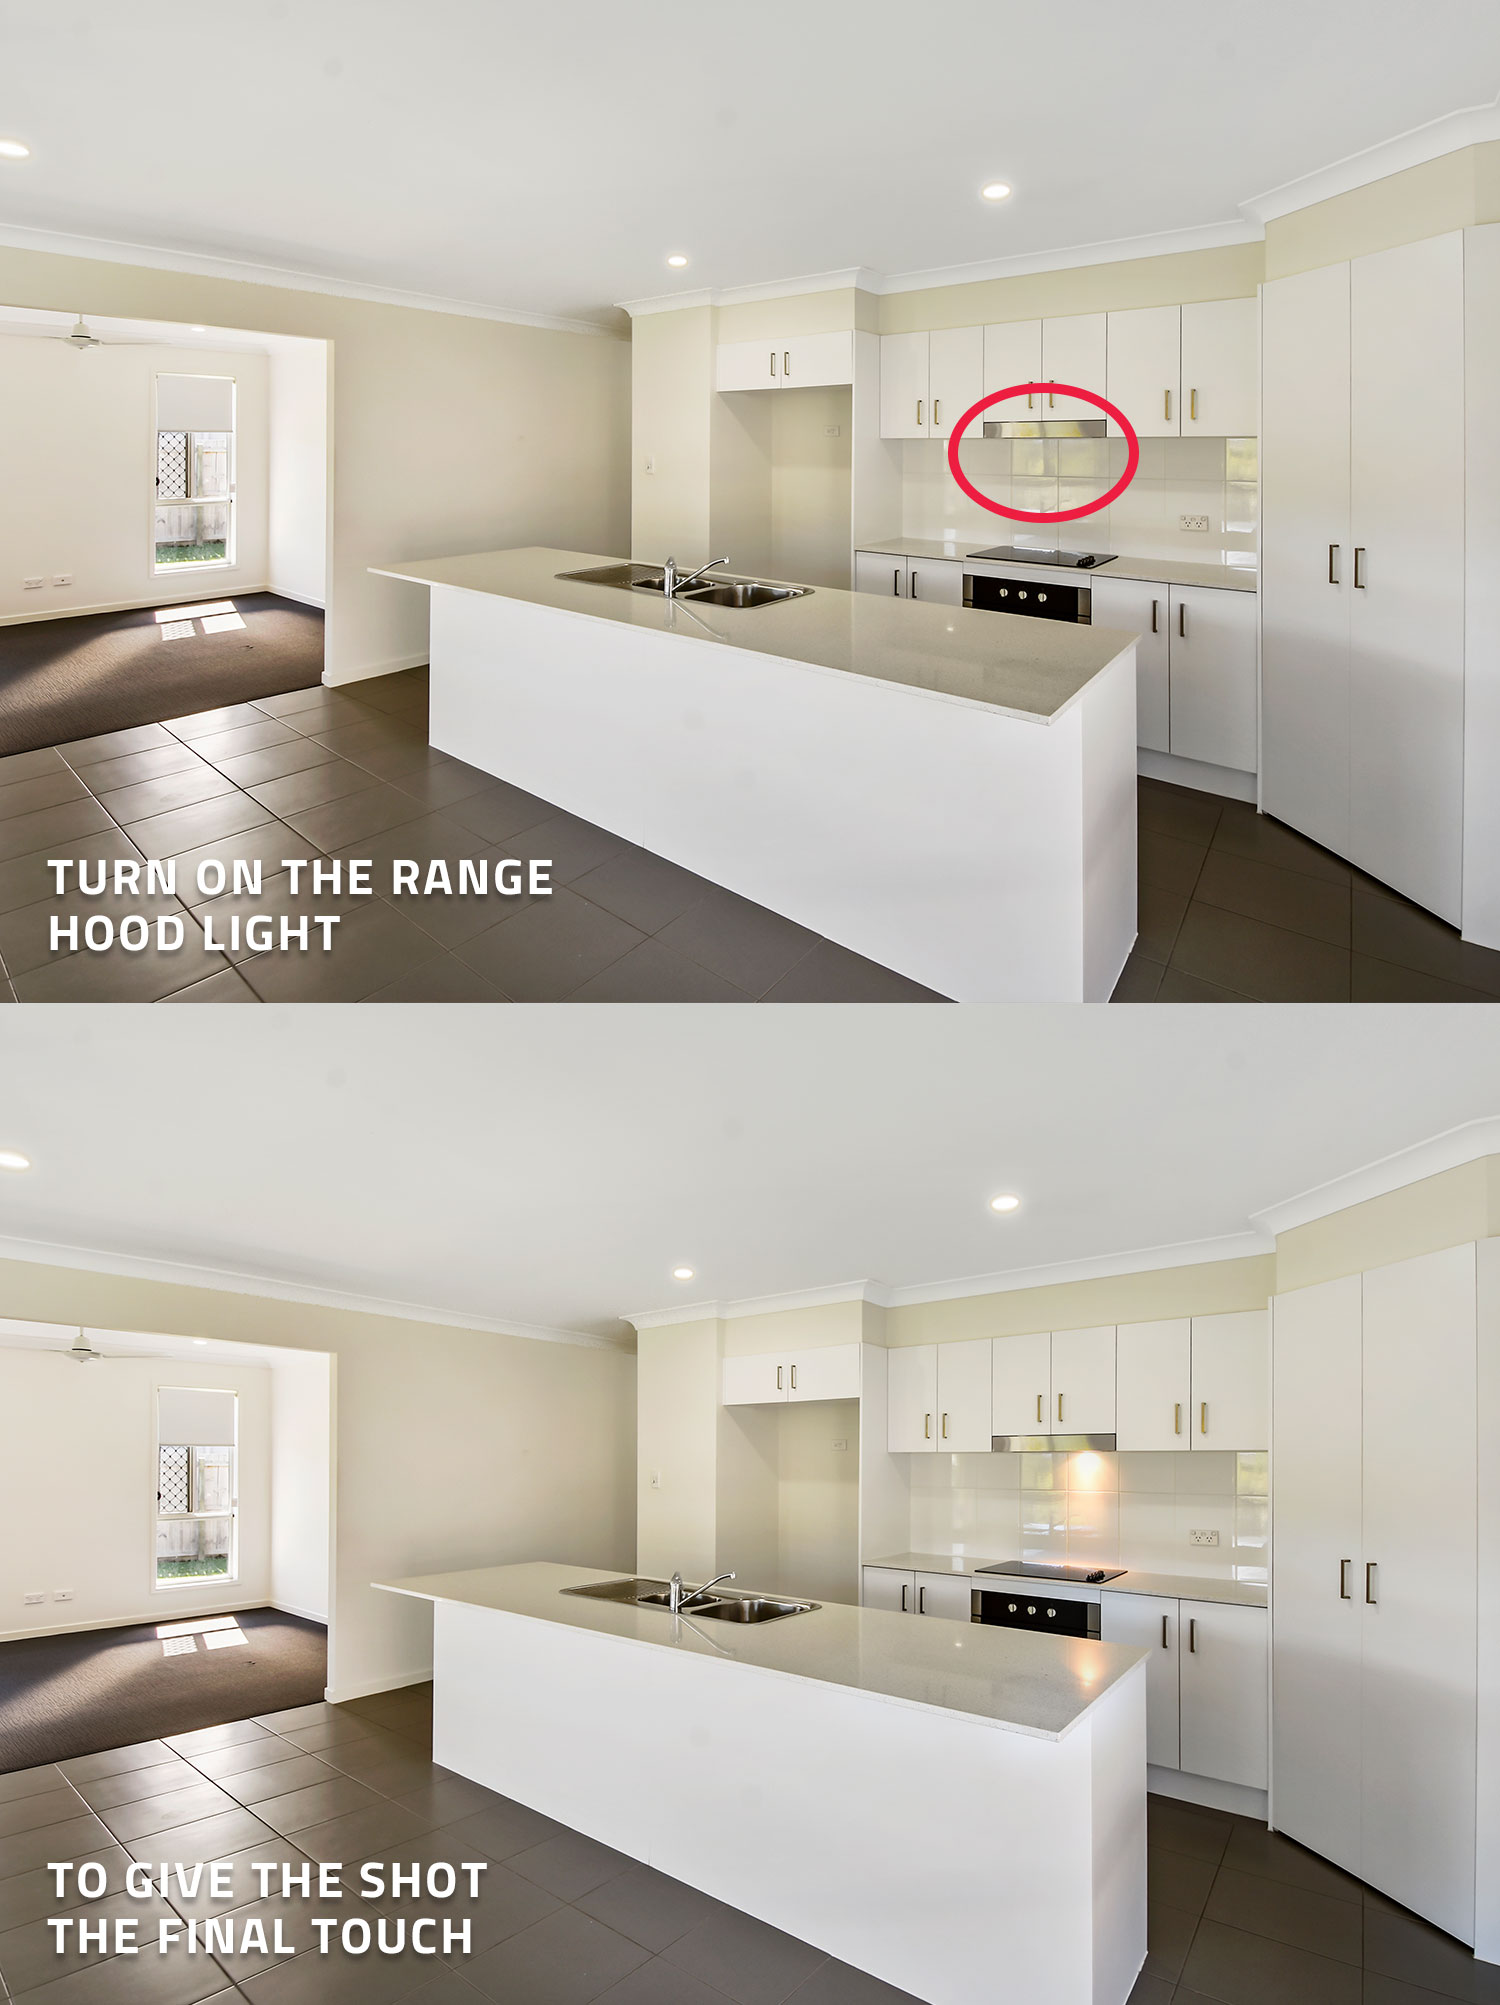
Conclusion
So there you have it! 9 awesome tips on how to shoot real estate better. We hope these tips help you market your listings and generate more interest!
RELATED ARTICLES
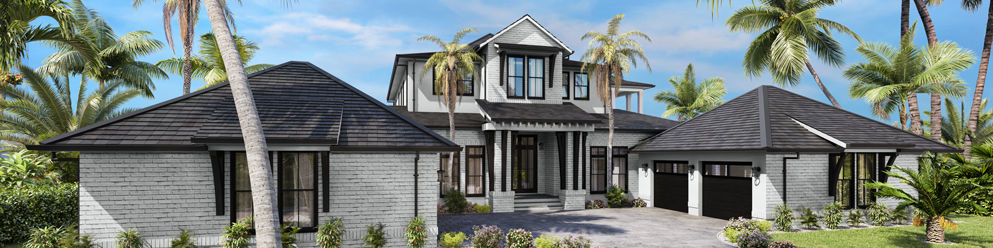
To sell homes that do not yet exist, you’ve gotta let the buyer see it. This is one of the biggest challenges when marketing future projects. And nothing meets this challenge like our own 3D renders.
READ MORE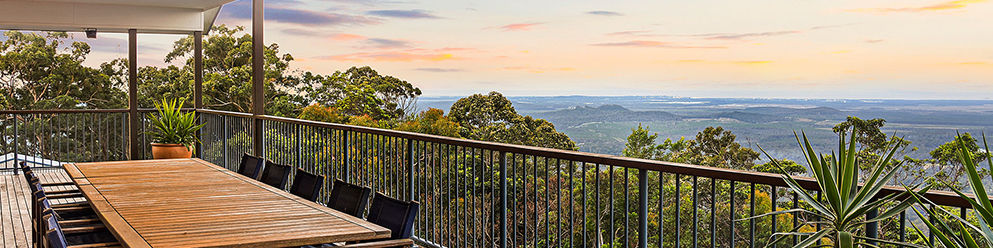
There are many factors involved with shooting a property at dusk when you have a limited time before the sunsets. We are going to demonstrate how to get professional magazine ready twilight images so you can sell your property for the best price.
READ MORE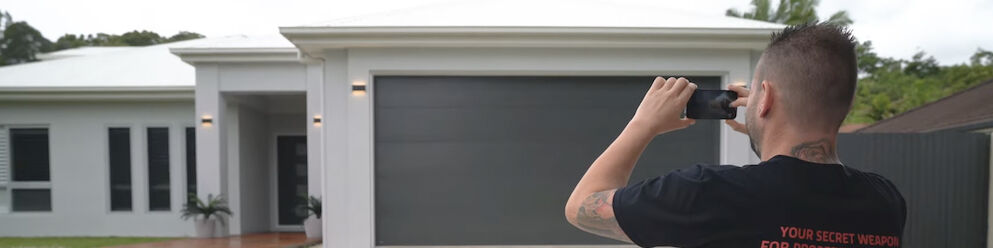
If you think quality, professional real estate images aren’t in your budget – think again! For under $20 you can beautifully showcase a property that will boost listing inquiries and your brand. How? Just follow our how-to guide.
READ MORE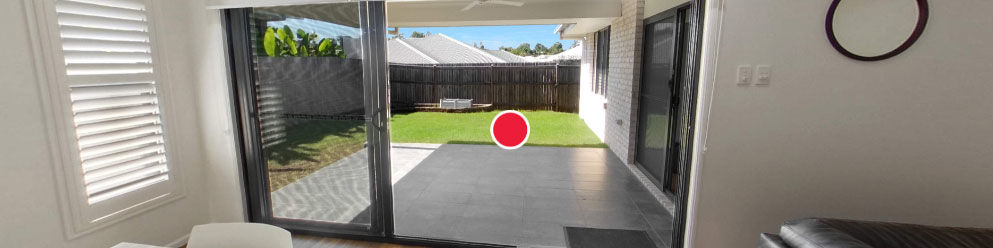
Tired of feeling like your marketing doesn’t stand out from the crowd? Having difficulties showing the property? Are potential buyers unable to travel to visit the home? Creating your very own 360-degree Virtual Tour could be the answer to all these problems and they don’t have to be difficult or time-consuming to create. In this blog, we walk you through each step of the process and show you just how easy it is to get started.
READ MORE
This blog is for all the real estate pros who like to shoot their own listing photos! Here are 10 easy tips that you need to be doing to take attention-grabbing property photos. Get ready to transform your listings and captivate potential buyers or renters!
READ MORE
Pictures are worth a thousand words – and a whole lot of trust. Read to discover the ways real estate professionals can leverage photography to establish and strengthen client trust.
READ MORE