9 EASY REAL ESTATE PHOTOGRAPHY HACKS
It is all too common with new real estate photographers to miss small things they can do to make a property standout online. With on-site shoots being time-consuming with hundreds of things to think about, it is easy to miss important shots.
Below is a list of easy tricks you can use during a shoot to impress your clients and gain those perfect photos.
1. Remove Spa, Pool and BBQ Covers
Outdoor areas are important features to capture in real estate photography, as they can differentiate a listing. But if they’re not shot well they can look ugly and cluttered.
In outdoor areas, if a BBQ looks well-used and old, make sure you keep a cover on them. This makes the area look neat and tidy. Also, in this scenario, we recommend using a wide-angle lens so that the focus won’t be on the BBQ, but creating a ‘lifestyle’ image to capture the overall area.
With pool and spa covers we recommend removing them if possible and hiding them away completely. If for some reason the covers can’t be removed, don’t worry as you can use our image enhancement service to photoshop pool water into the pool instead.
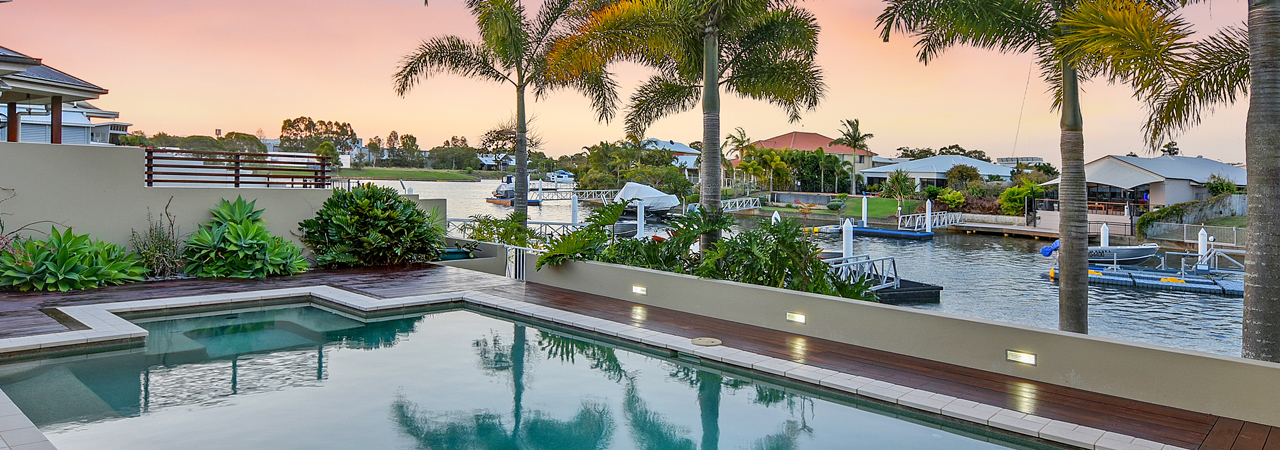
2. Capturing The View
If a property has a view it is essential that you capture it well, this is often an essential selling point for a listing.
When trying to capture a view, it’s always good practice to include a part of the balcony rail in the photo to show perspective in the image. This way buyers realize it is an actual view from the property and realistic, not an aerial drone shot.
3. Small Balconies
Nice balconies are a good selling point for properties, but you want to ensure you are making it look like a usable space. If you are shooting a small balcony and are short on space, it is a great idea to remove any additional furniture, as these can make it feel small. This principle also applies to indoor areas too, if a setting looks cluttered remove as much as you can.
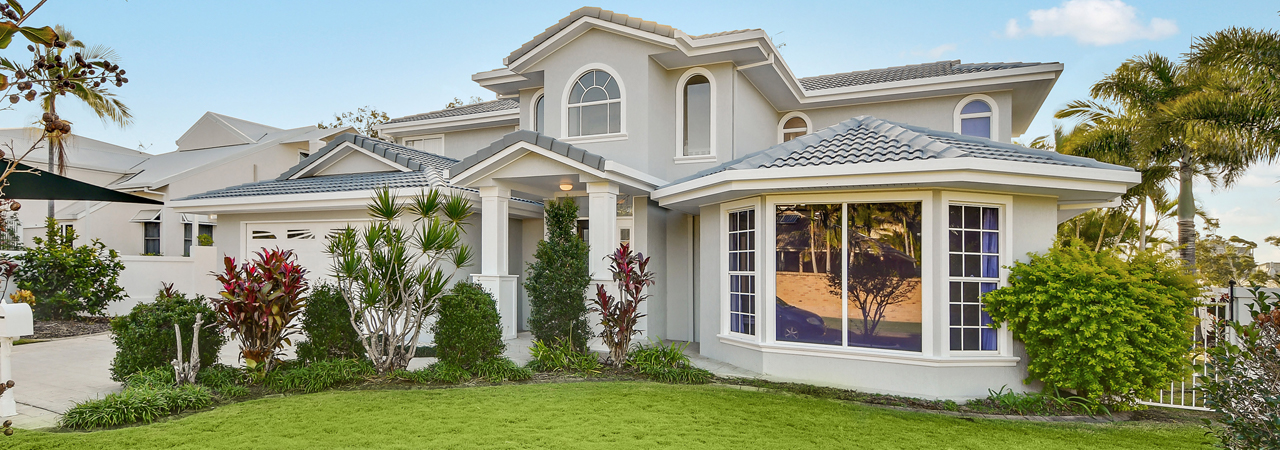
4. Key Shots
It is important to remember that homes are split into 6 to 12 areas. The main shots of any home are:
- Front exterior
- Rear exterior
- Kitchen
- Living room
- Dining room
- Rumpus/media room
- Largest bathroom (needs to be well presented)
- Master bedroom
- Patio
- Balcony and/or view
- Pool and spa area
Generally, the best ‘hero’ shot is usually the rear of the house, shooting over the pool area if the house has one.
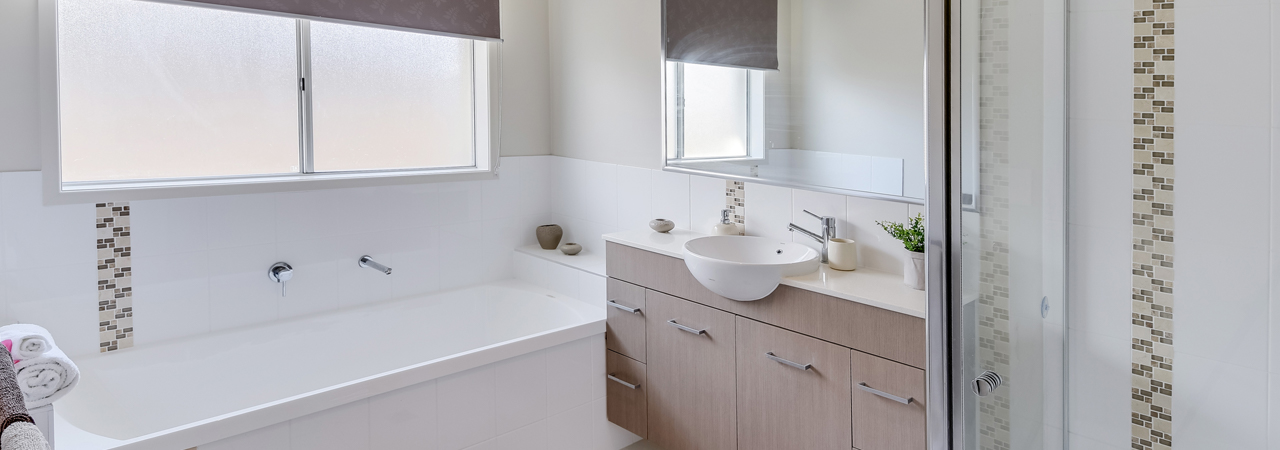
5. Removing Rugs and Mats
If rugs and mats are placed well they can really make a room look great, such as living rooms, but there are some areas that rugs and mats should be removed to create more floor space.
The key areas that you need to remove mats are in the bathroom and laundry. Bath mats clutter an image and by removing them you can make a bathroom look a lot larger.
While shooting bathrooms, we recommend opening shower screens if they're present well. This creates further depth in tighter areas, don’t forgot to take that flash “off” and walk away from the tiles or mirror reflections. If you do end up with a flash in a screen or mirror we can always remove it as part of our Image Enhancement edit.
6. Avoid Reflections in Your Images
In your rush to shoot a property, it is easy to unknowingly capture a flash in mirrors, glass, bathroom and kitchen splashbacks.
When shooting bathrooms, it’s best to take the photo on self-timer and walk away from the room so only your camera setup is in the reflection. Don’t worry about the camera being in the shot, we can remove its reflection in the editing process for free.
7. There is No Need to Use a Flash in Bathrooms
Bathrooms are full of reflective services and are often tight spaces to shoot. Using a flash in a space like this can create a lot of reflection.
Remove it from my camera so the photo editors can remove the camera reflection easier. We also recommend not to use bathroom heat lamps unless you have to – the heat produced from these are very harsh in your images and can make them very orange in color.
8. Always Show the Flattest Part of The Property
Whether the client has asked for it or not, we always recommend capturing a shot of the flattest part of the property. This is always a key feature that is used in marketing, as it displays usable land, and can be used to display a future area for a pool or children’s play equipment.
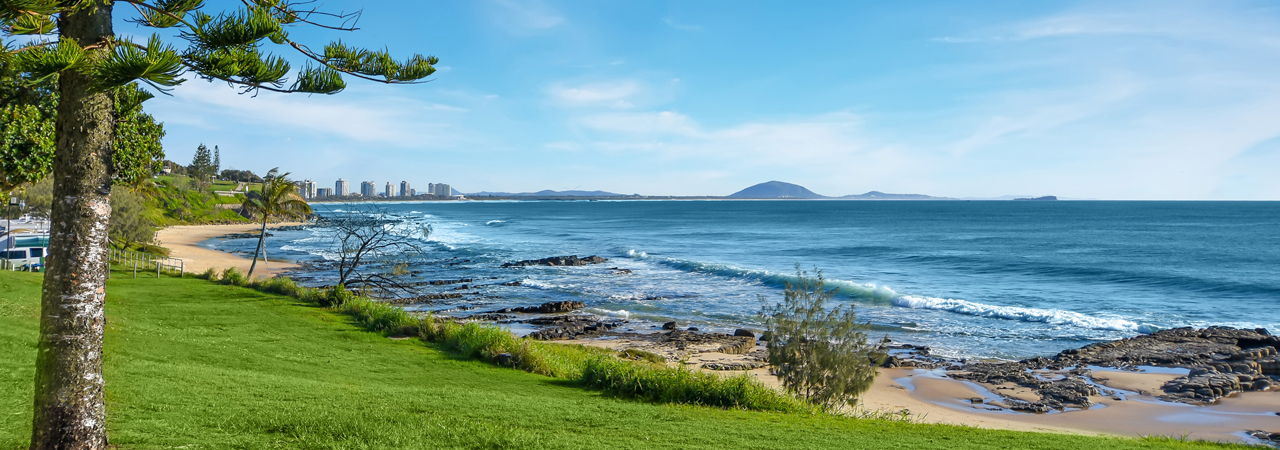
9. Get Lifestyle Shots
Lifestyle shots are always great to use with your property images and very popular with agents. Any attractions close to the property are popular for marketing, such as; shops and cafes, walking tracks, parks, sporting fields, beaches, lakes or mountain viewpoints, any local tourist destinations.
This quick and easy list of on-site shoot tips will ensure that your edited shots will look exactly how
Want to save time on photo editing so you can stick to what you do best, photography? Get us to do them for you with our easy Photo Editing Service.