HOW TO CREATE A 3D VIRTUAL HOUSE TOUR
Introduction:
There’s no doubt about it, 3D Virtual House Tours are becoming an integral part of real estate marketing in today’s competitive landscape. If done well, they can provide an engaging and interactive experience for the potential buyer and give them a feel for the property without ever having to set foot inside the home.
But just how do you go about creating a 3D Virtual House Tour for your latest listing? In this blog, we are going to walk you through each step of the process from choosing the right 360 Camera to shooting the home, having your images edited and building the virtual tour itself.
Whether you’re a seasoned photography pro or are picking up a camera for the first time, by the end of this blog you will be able to produce your very own professional and engaging 3D Virtual Tours.
Step 1 - What 360 Camera Do We Recommend?
Choosing the right camera is a critical step in creating professional 3D Virtual Tours of your listings.
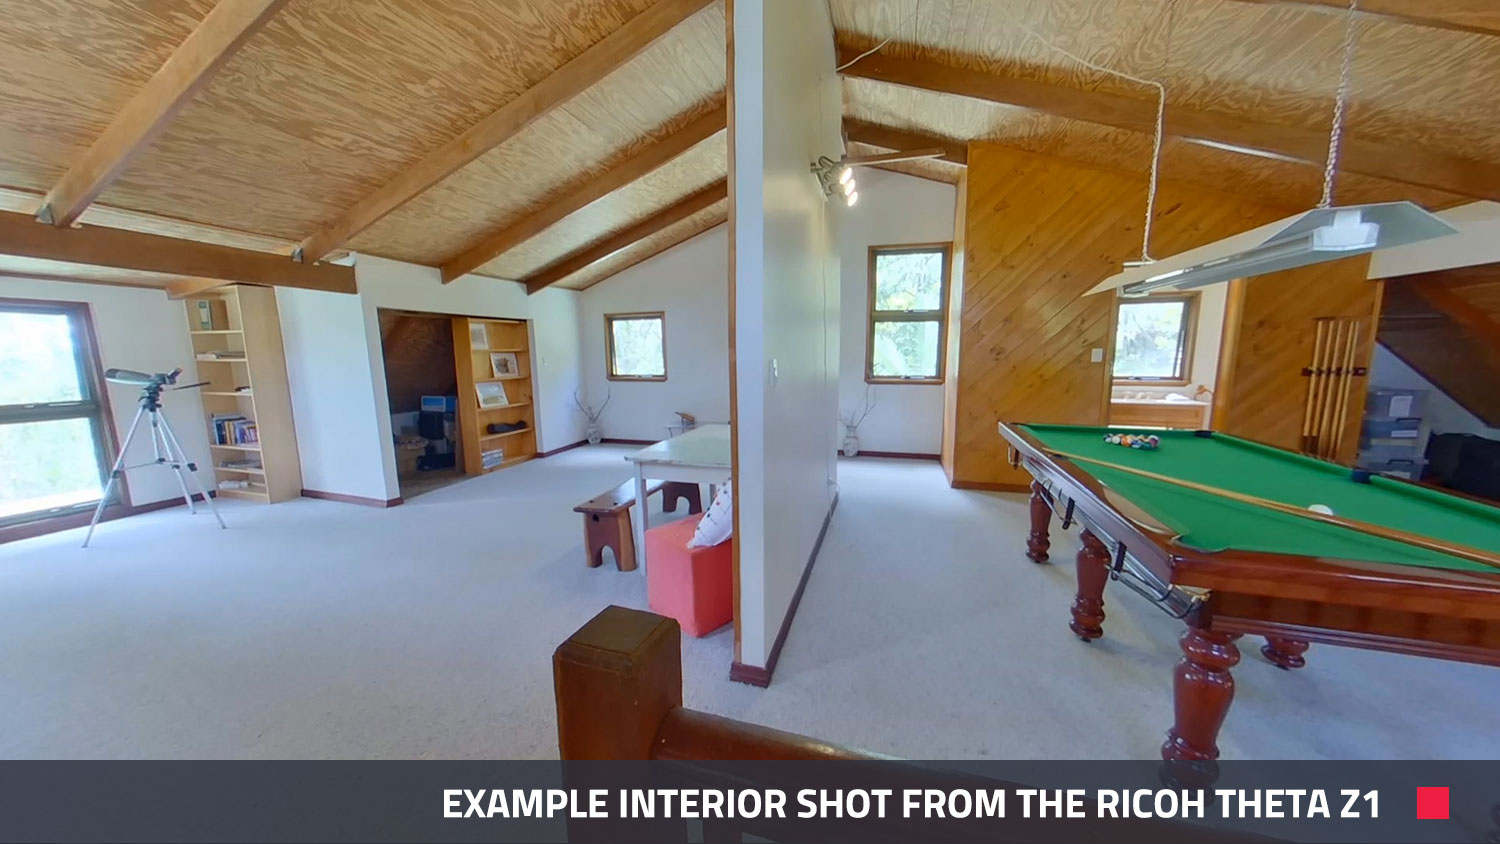
There are plenty of options on the market however, at the time of writing this blog, we recommend the Ricoh Theta Z1. This 360 camera produces the highest quality shots and virtual tours and will set you back approximately US$1,000, at the time of writing this article.
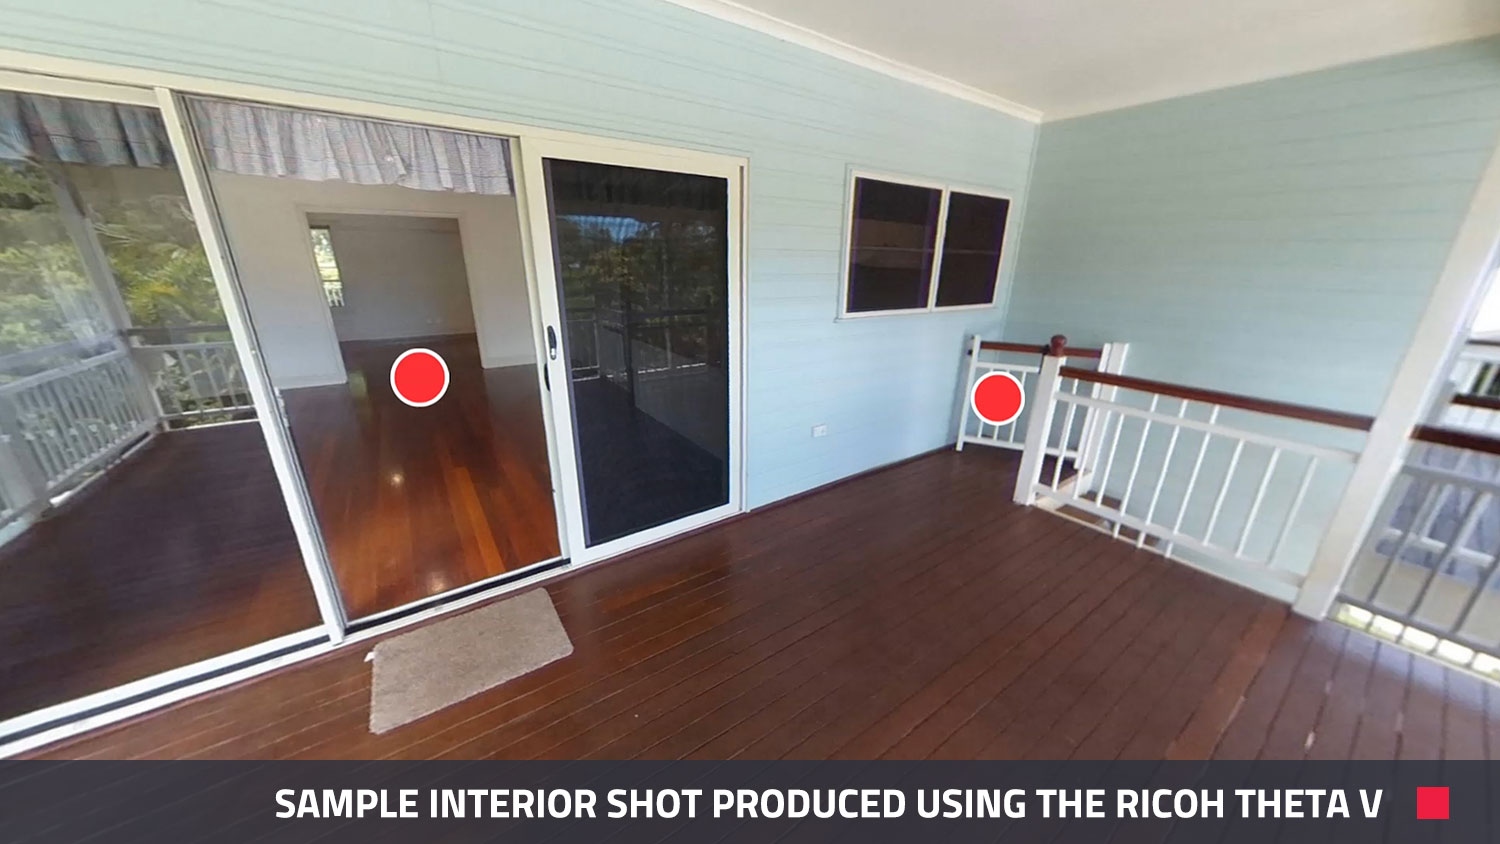
If your budget can’t stretch that far, the next best bet is the Ricoh Theta V which will also produce a great finished product and costs approximately US$380.
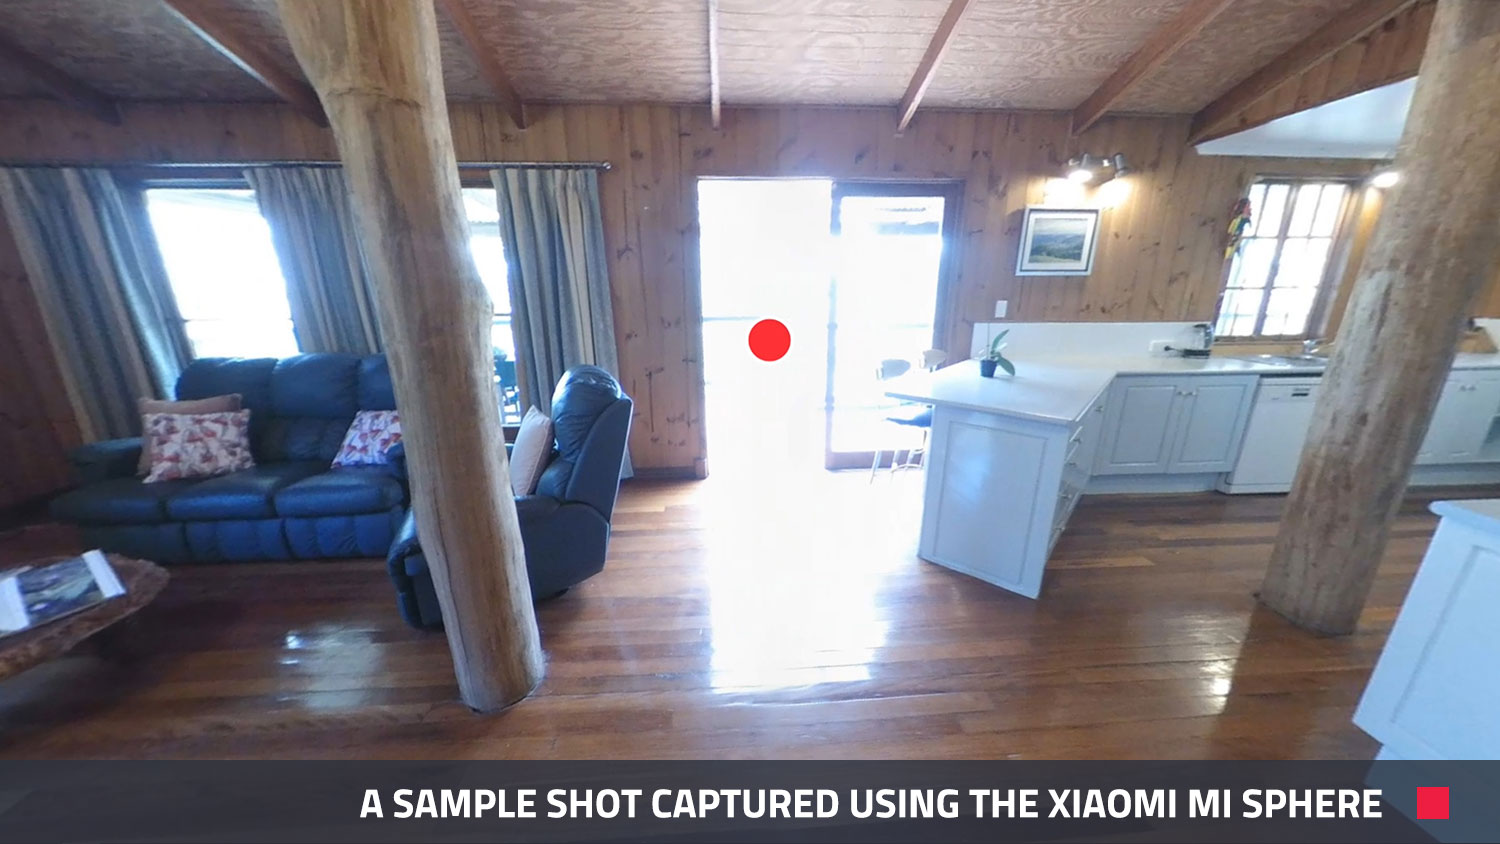
For those agents who are on an ultra-tight budget, we would recommend the Xiaomi Mi Sphere which will cost approximately $110 plus delivery.
It’s also a great idea to purchase a spacer to attach between your tripod and the 360 camera you have chosen. Unfortunately, the battery life on the Ricoh Theta Z1 is terribly short and this handy little spacer will allow you to plug in an external battery pack. With cameras like the Xiaomi Mi Sphere, this spacer will also mean you aren’t capturing as much of the tripod in the shots.
Step 2 - How To Setup Your 360 Camera?
Just as important as choosing the right camera is setting it up correctly. There are so many cameras on the market to choose from, so below we have provided some general advice for ensuring your new camera is best placed to capture that perfect shot.
Firstly, pair your smartphone to your 360 camera using the camera’s dedicated app. If you come across a camera that doesn’t have an app associated with it, we would recommend you steer clear of it.
In regards to the particular settings, you will want to configure your ISO as low as possible, in our case, this is 100. Avoid setting your ISO to automatic as this is likely to produce a grainy image that will not showcase the property in the best light.
In contrast, the aperture should be set as high as possible that your camera will allow which will result in a sharper image. As an example, the Theta Z1’s highest setting is f5.6. While you’re adjusting the setting, be sure to turn on the HDR function (if available) to improve the detail and clarity of your shots.
Step 3 - How To Prepare The House?
In real estate photography, we are all about being efficient and effective when shooting the property. This is why preparing the house prior to the shoot is so important. We have a complete Pre-Photography Checklist that you can download for free here if you’d like some extra information.
As a general rule, it’s a good idea to remove any unnecessary items from your shots including bulky items and kids’ toys etc. While you’re at it, open up the shower curtains, doors and window dressings to enhance the sense of space along with turning on any lights, straightening any cushions and furniture or even racking up the pool table for that polished look.
Step 4 - How To Shoot The Property With A 360 Camera?
Now for the fun part, shooting the property with your 360-degree camera. To get started, place the camera in the center of the room and make sure it is stable on the tripod. Next, hide out of frame and use the smartphone camera app to scan around the shot and make sure everything looks as you would have hoped. For example, if the shot looks too light or too dark, you can make adjustments to the exposure as required.
Once you’re happy, you can simply take the shot.
This is the exact process you will now follow for the entire square footage of the house. Be sure to capture the living room, bedrooms and bathrooms along with all the outdoor areas to really give potential buyers a feel for the entire property. A good tip is to make sure you capture the hallways and interconnecting areas as well so viewers can really move through the home using the virtual tour as if they were there in person.
Depending on the property, this entire process should only take you 15-20 minutes to complete. This is a huge improvement on other similar methods which can take hours to capture an entire property.
Step 5 - How To Get Your Images Edited?
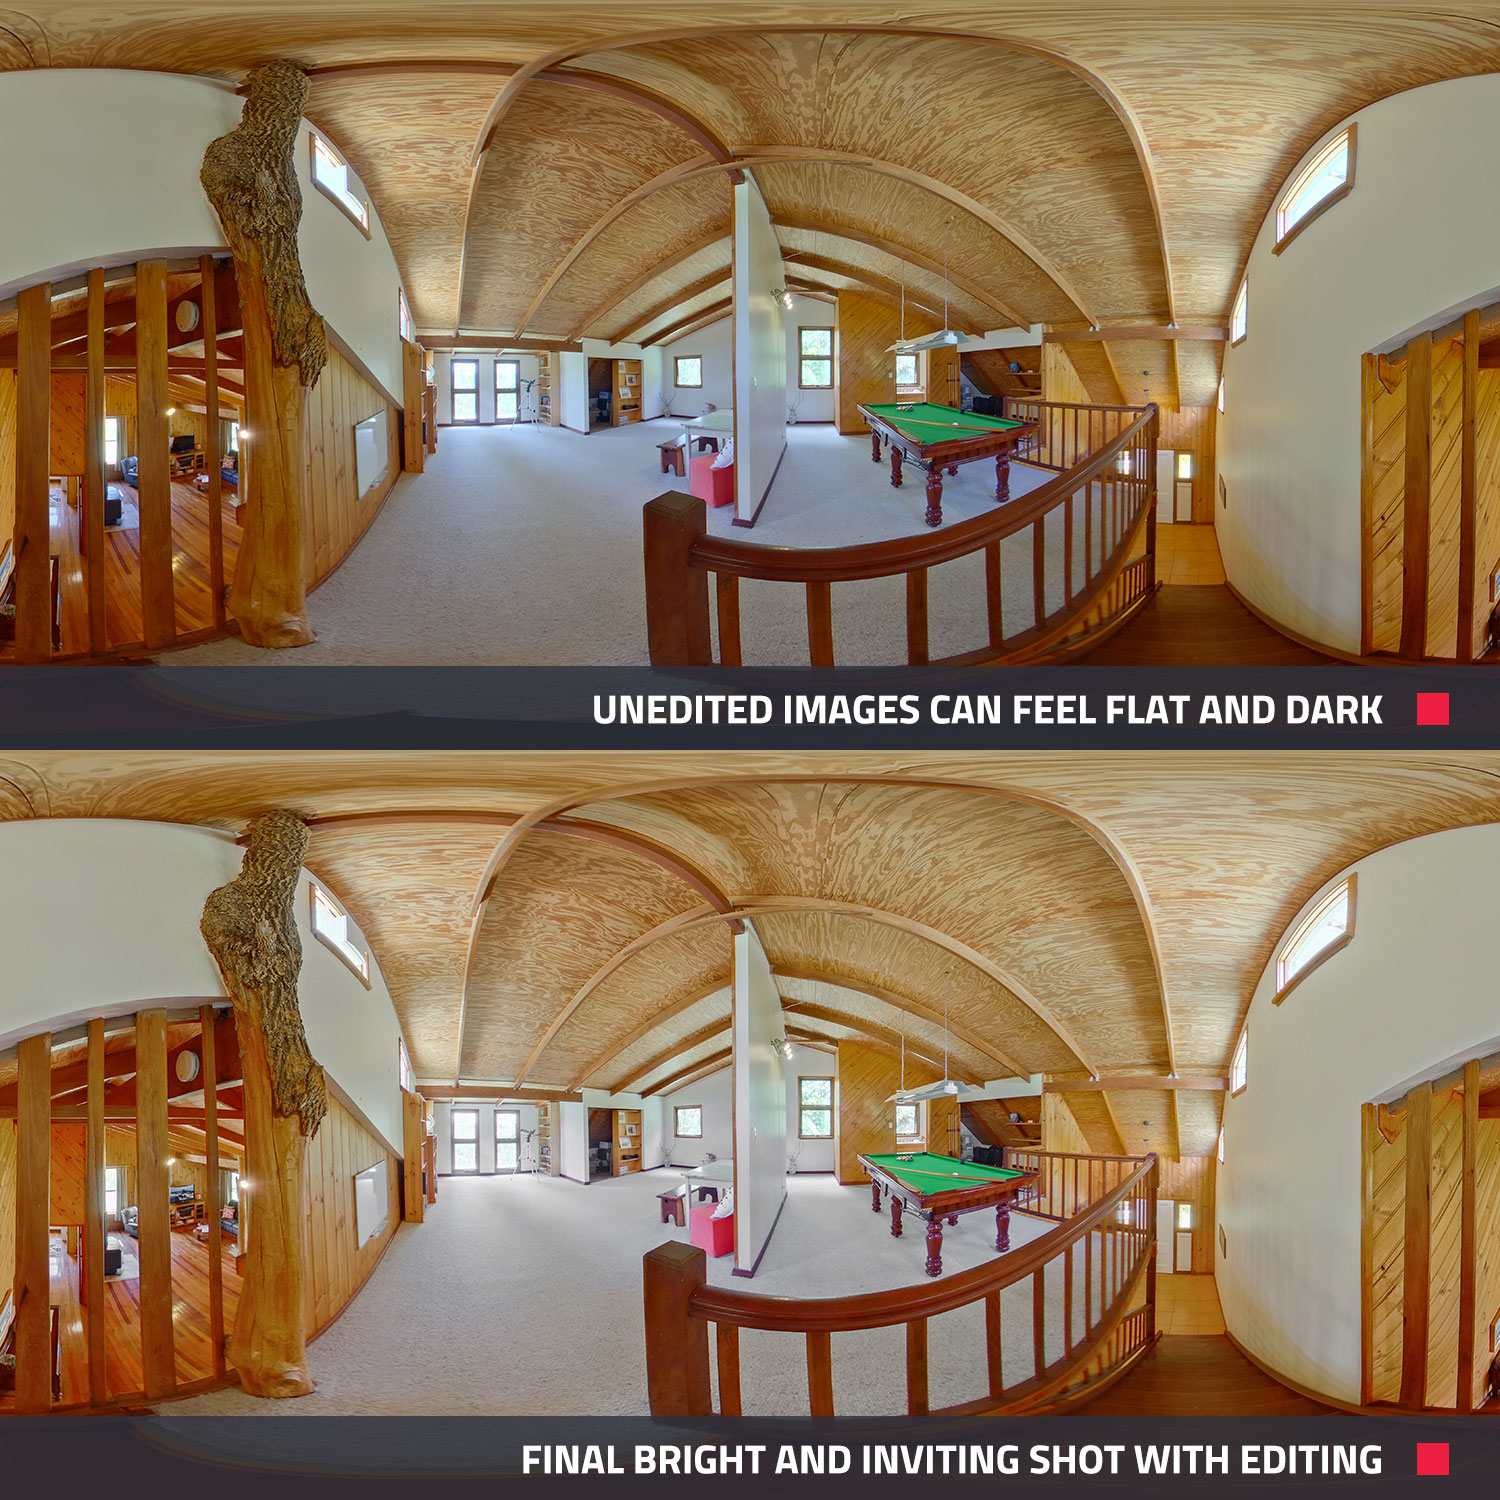
While not essential, we strongly recommend you have all your images edited to ensure the 3D virtual tour is engaging and effective. After all, you’ve gone to all the effort of shooting the property, the last thing you want to happen is for the tour to feel flat and uninspiring.
To have your images professionally edited, simply go to BoxBrownie.com and login to your dashboard. From here, you can scroll down and select the 360 Image Enhancement thumbnail and then upload your raw images.
You will then be asked to enter your preferences including if you would like the grass replaced and what type of sky you would like added in. Once you’ve selected all your preferences, you can then submit your job. It’s as easy as that!
Within 24 hours, our team of professional editors will have enhanced your 360 images which are now ready to be built into a virtual tour.
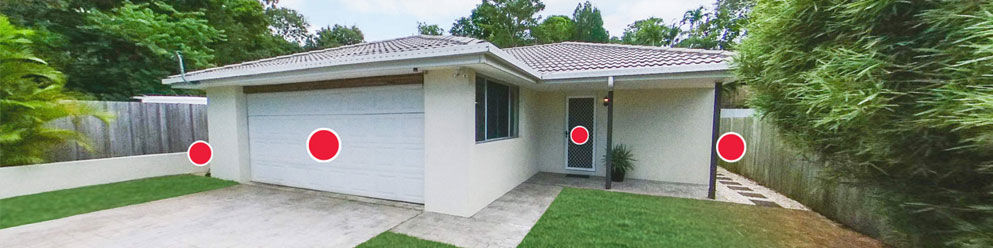
Below are a couple of examples of how effective editing can be in the finished shot.
Step 6 - How To Build Your Virtual Tour?
The final step is to stitch together all your edited images into one engaging 3D Virtual Tour. All your need to do is log in to your BoxBrownie.com dashboard and select ‘360 Virtual Tours’. From here, you can upload your 360 images and name each room accordingly.
Then simply click on ‘next’, submit your job and you’re done.
As with the editing, our team will return the completed virtual tour to you within 24 hours ready to be shared on your website, social media, email or MLS. If you’d like to check out an example tour, click here.
Conclusion:
As we’ve shown in this blog, creating your very own professional 3D Virtual House Tour doesn’t have to be a difficult and time-consuming process. By following a few key steps, you can ensure your next listing will stand hand-and-shoulders above the competition with a professional 360 tour.
If you’re new to BoxBrownie.com and haven’t tried our services before, we are offering four free edits on sign-up. All you have to do is head over to BoxBrownie.com and sign up to give us a try for FREE. If you have any questions or would like to find out more information about what we offer, you can send us an email at [email protected]
RELATED ARTICLES
Love the idea of a virtual property tour but don’t want to spend thousands of dollars on expensive equipment or waste hours on the photoshoot? In this tutorial, we take you through our brand new 360° Virtual Tour service and look at how it can revolutionize your property marketing.
READ MORE
Discover how Ryan Shields replaced slow, expensive photography workflows with SnapSnapSnap and BoxBrownie.com, achieving faster turnaround times, lower costs, and consistently polished listing photos.
READ MORE
Think phone photos can't compete? Think again. In this photo review, Brad breaks down real images taken by agents using only their phones — and shows how simple tweaks with SnapSnapSnap can turn average into amazing.
READ MORE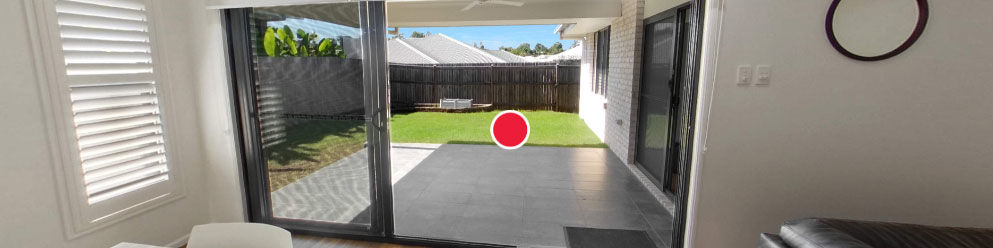
Tired of feeling like your marketing doesn’t stand out from the crowd? Having difficulties showing the property? Are potential buyers unable to travel to visit the home? Creating your very own 360-degree Virtual Tour could be the answer to all these problems and they don’t have to be difficult or time-consuming to create. In this blog, we walk you through each step of the process and show you just how easy it is to get started.
READ MORE
Join our free Make the Switch webinar, and discover how to take high-quality property photos with ease. Learn pro tips, master SnapSnapSnap, and enhance your photography skills to transform your listings and boost results!
READ MORE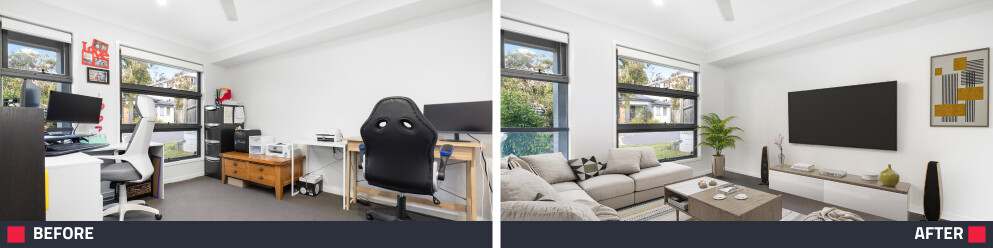
Transform furnished listings into buyer magnets with Virtual Staging. Learn step by step how to create a polished, irresistible property that grabs attention, generates more inquiries, and sells faster.
READ MORE