REAL ESTATE MARKETING HEALTH CHECK - EPISODE 1
Introduction
Ever wondered how you can improve your online marketing through your images? Sometimes it’s hard to know exactly where our marketing ranks when we are so close to it and are very familiar with the properties we are showcasing. Often it can take an outsider’s expert opinion to highlight some simple yet potentially incredibly important areas that can be improved.
For this very reason, we have launched the FREE Real Estate Marketing Health Check. This is where we will perform an unbiased review of your existing property marketing and let you know what could be done to improve your images.
Sound like something you’d be interested in? If you’d like your very own FREE Real Estate Marketing Health Check you can click the button below to get started.
FREE HEALTH CHECK
Today, we’ve been sent a listing in New York found on Zillow to analyze, so let’s take a look.
Image 1 – Front On Exterior Shot
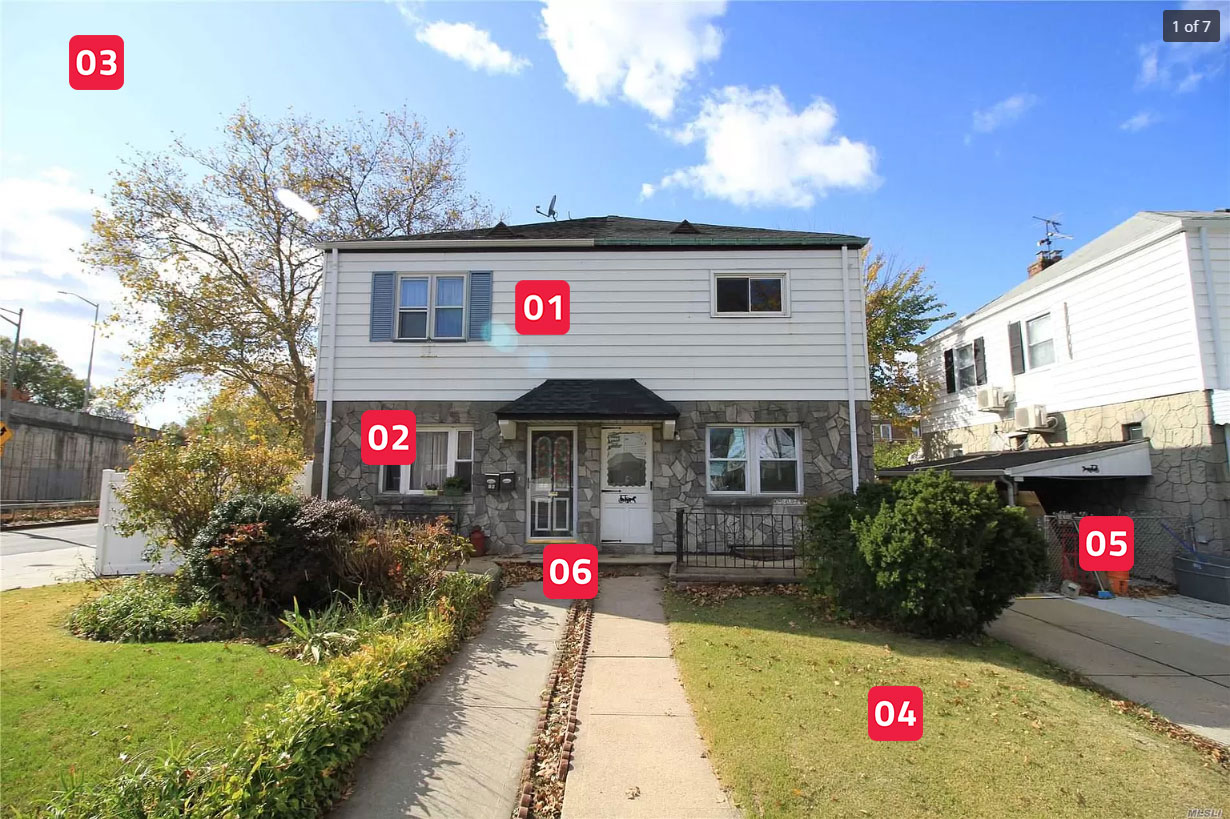 1. Solar flares. These can be very distracting for viewers however, you can use the ‘hand trick’ to help prevent this. If you’d like to know more about this technique, visit our Top 10 Real Estate Photography Tips and check out point number 9.
2. Blinds aren’t open. This can make the property appear vacant and uninviting. As a general rule, always open up the blinds on an exterior shot.
3. The sky is dull. This can significantly impact the eye-catching appeal of the image. Our Image Enhancement Edit is a great way to overcome this.
4. The grass is untouched. Again, this can impact the overall appeal of the property and can be improved by our Image Enhancement Edit.
5. To avoid clutter, it’s best to try and shoot at a different angle. This would also help bring a sense of depth and scale to the house itself.
6. Clean up the leaves and garden matter. This can be an unwanted distraction for potential buyers.
Image 2 – Lounge Room
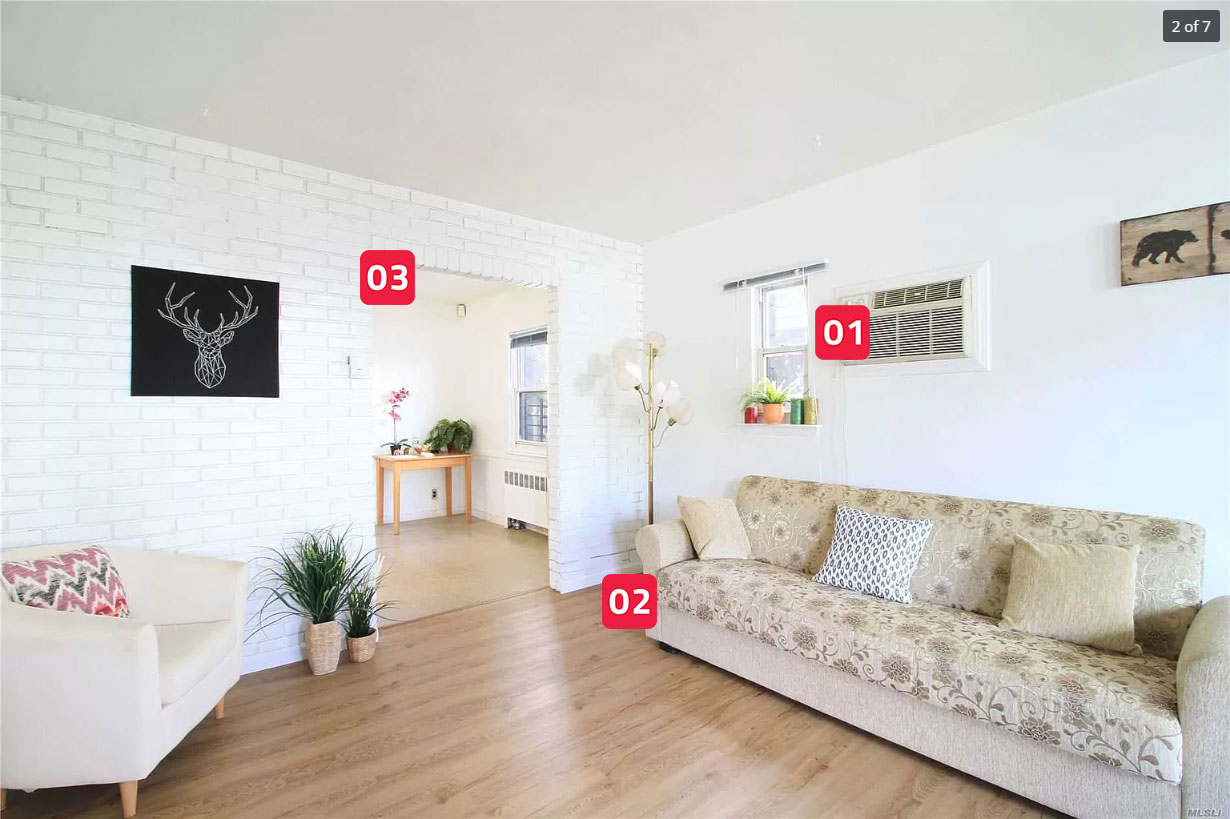
1. Lacking window detail. In this case, it’s not clear what is outside these windows. Bracketing is the key to overcoming this problem and you can find out more about this technique in our detailed blog on HDR bracketing.
2. Remove the power cord. Any items that are not required in the shot should be removed to limit any potential distractions. Our Item Removal Edit can also assist with this.
3. Turn on all internal lights. This will help the home feel lived-in and inviting.
Image 3 – Lounge Room (Alternate Angle)
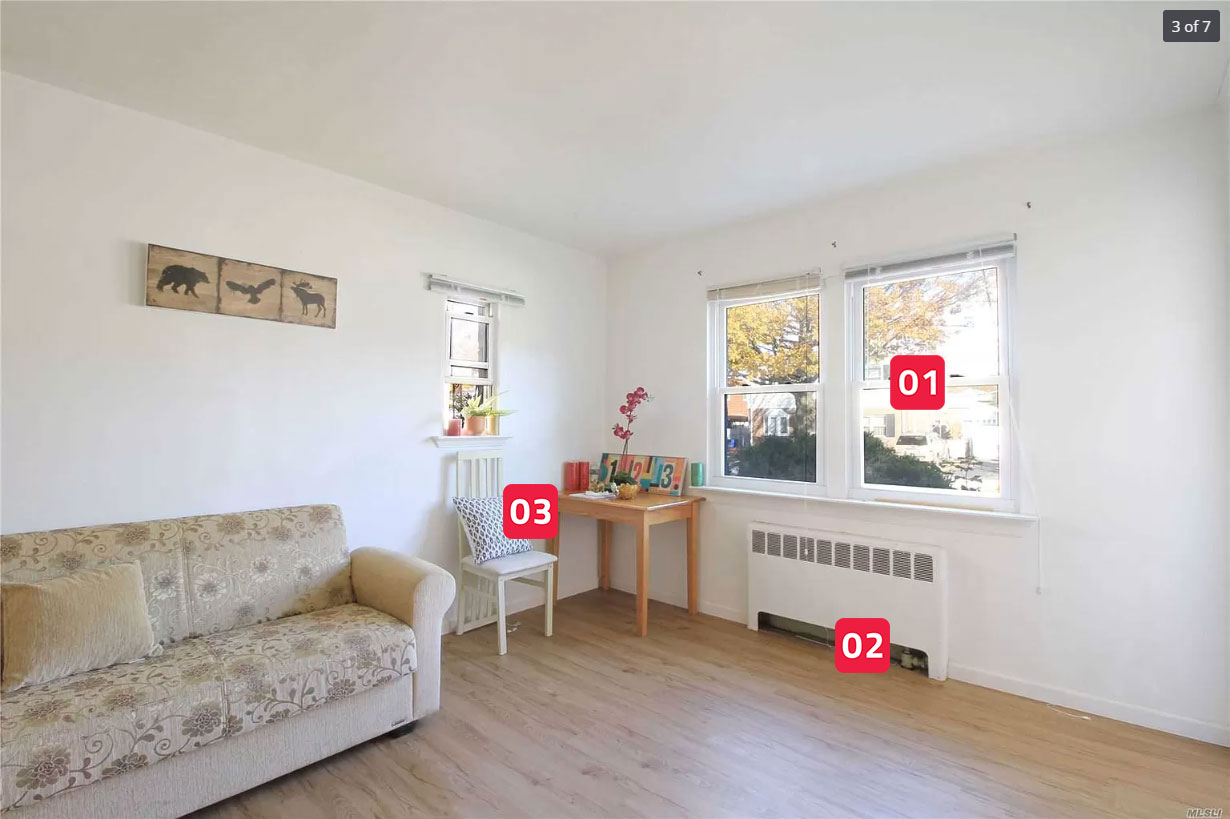
1. Lacking clear window detail. Again, the view outside is obstructed which could have been improved by using the bracketing technique.
2. Hide away any cords. Where possible, we always want to help the image feel clean and clutter-free.
3. Remove any unnecessary furniture. To ensure all the home feels as generous as possible, it’s always a good idea to remove any unnecessary furniture which, in this case, would be this chair sitting on its own.
Image 4 – Interior Image 3
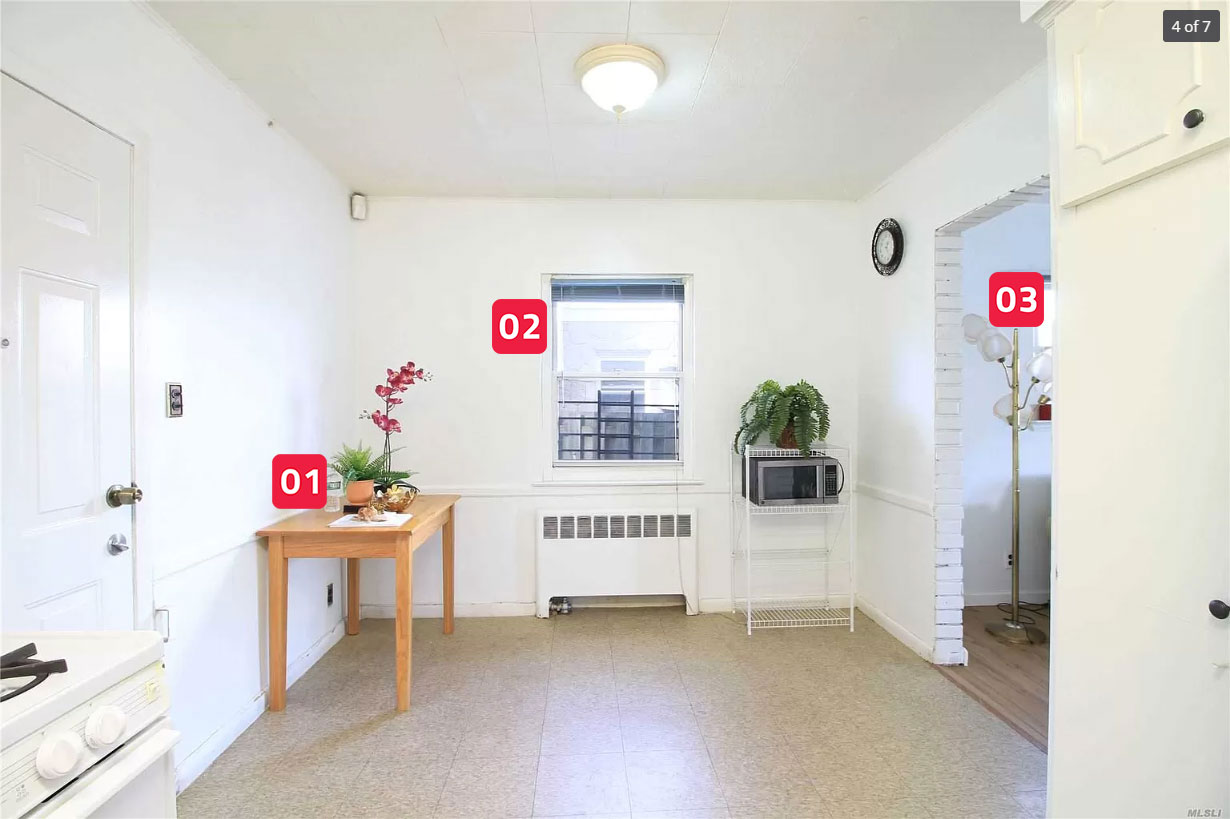 1. Remove unnecessary items. As mentioned previously, unnecessary items can distract potential buyers’ focus. In this case, the drink bottle on the table should have been removed.
2. Lacking window detail. Again, we can see the window detail is blown-out which could have been improved by bracketing the image.
3. Turn on any lamps. Having lights on can bring a sense of warmth to the home and the cord should have been tucked away out of sight. The main light is turned on, which is great.
Image 5 – Kitchen
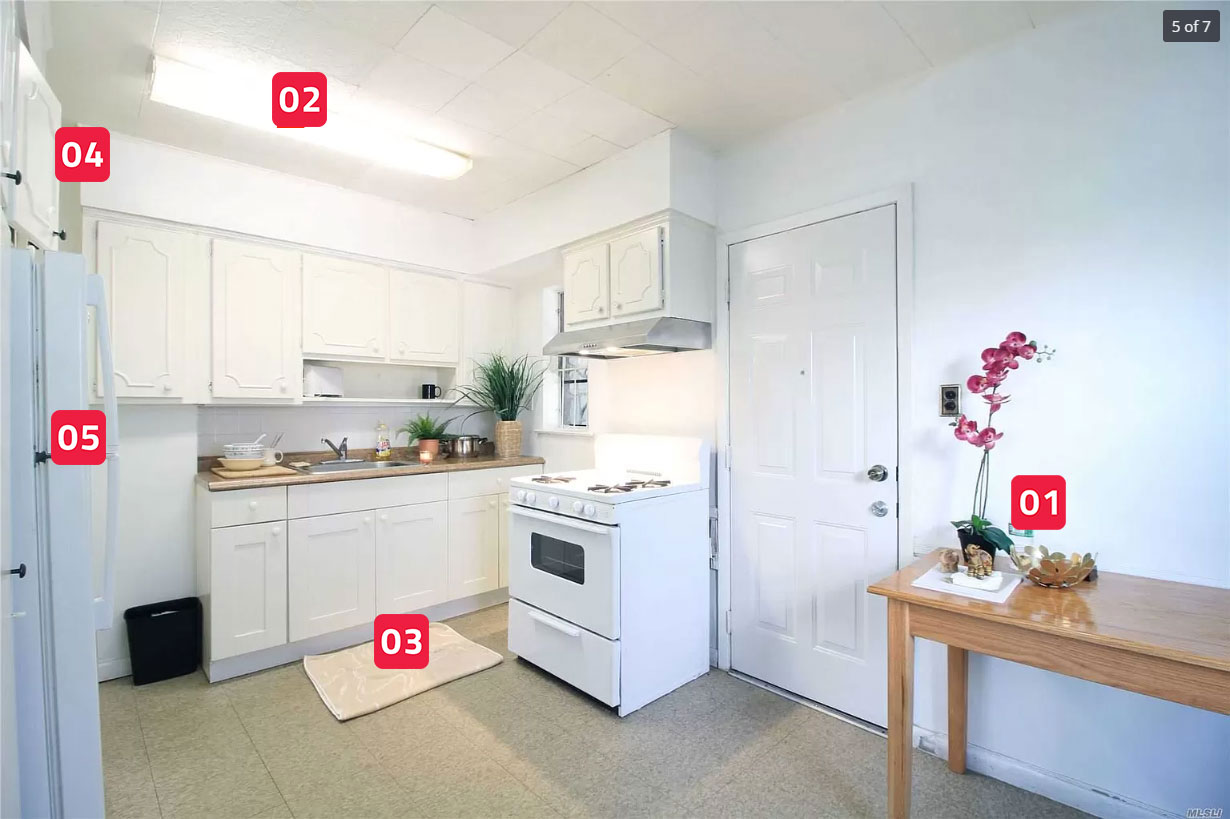
1. Remove unnecessary items. We can still see the water bottle in this image on the table which ideally should have been removed. Our Item Removal Edit could help remove this.
2. The light is blown-out. Bracketed images can also prevent this issue with bright internal lights and will bring a sense of clarity to the image.
3. Ensure the kitchen feels clutter-free. By removing any unnecessary items, the kitchen will feel more spacious and inviting. This can either be done prior to taking the image or through our Item Removal Edit.
4. Close all cupboards. It’s always a good idea to close all the cupboards to bring a sense of order to the image.
5. Shoot from a different angle. By changing the angle of the shot, the photographer could have avoided capturing the edge of the fridge in the frame.
Image 6 – Lounge Room (Alternate Angle 2)
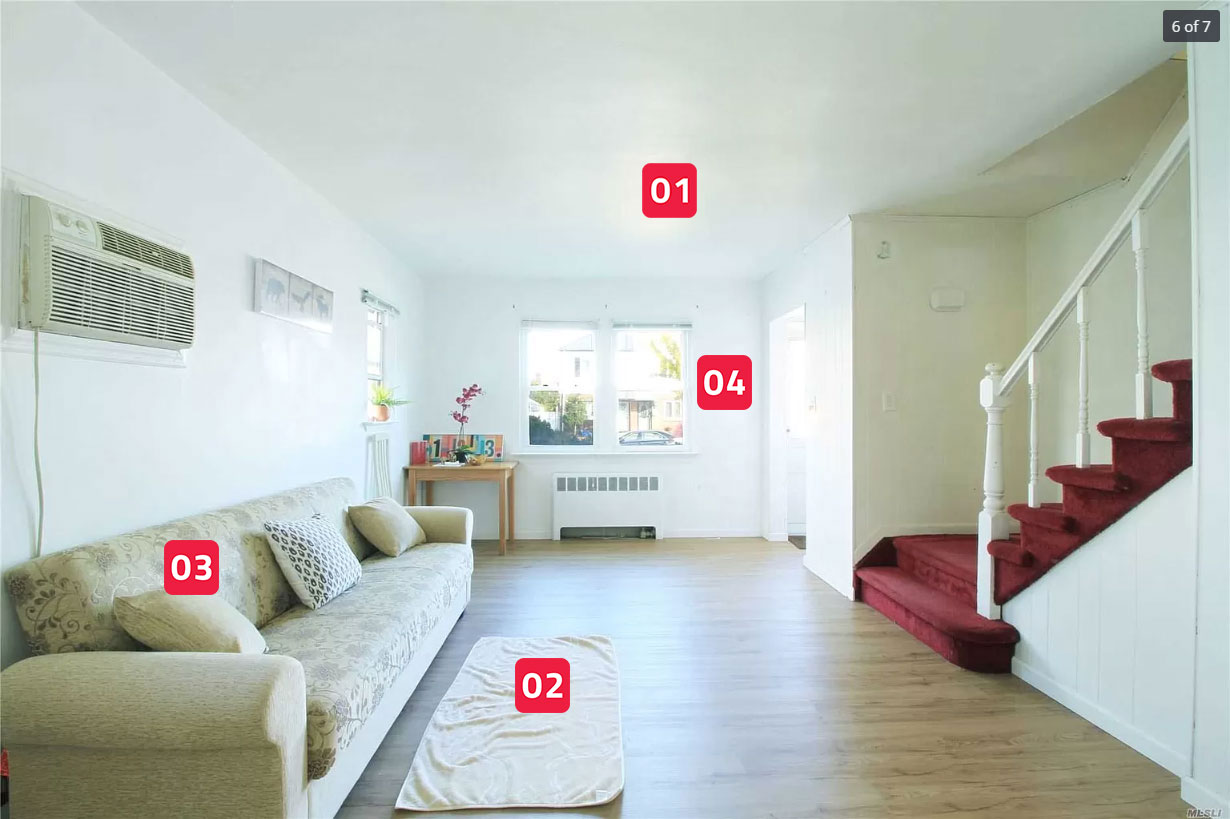
1. The light is unclear. As we have discussed in previous images, by bracketing the internal images you can help avoid bright lights being blown-out in the final image.
2. Remove the rug. This is an unnecessary item that should be removed to increase the sense of scale in the room.
3. Straighten the cushions. This is a simple fix and can again, bring a sense of order and tidiness to the room.
4. Unclear window detailing. Bracketing the image will help capture the external window detail and reduce the blown-out appearance of the windows and doorway.
Image 7 – Exterior Shot From Side
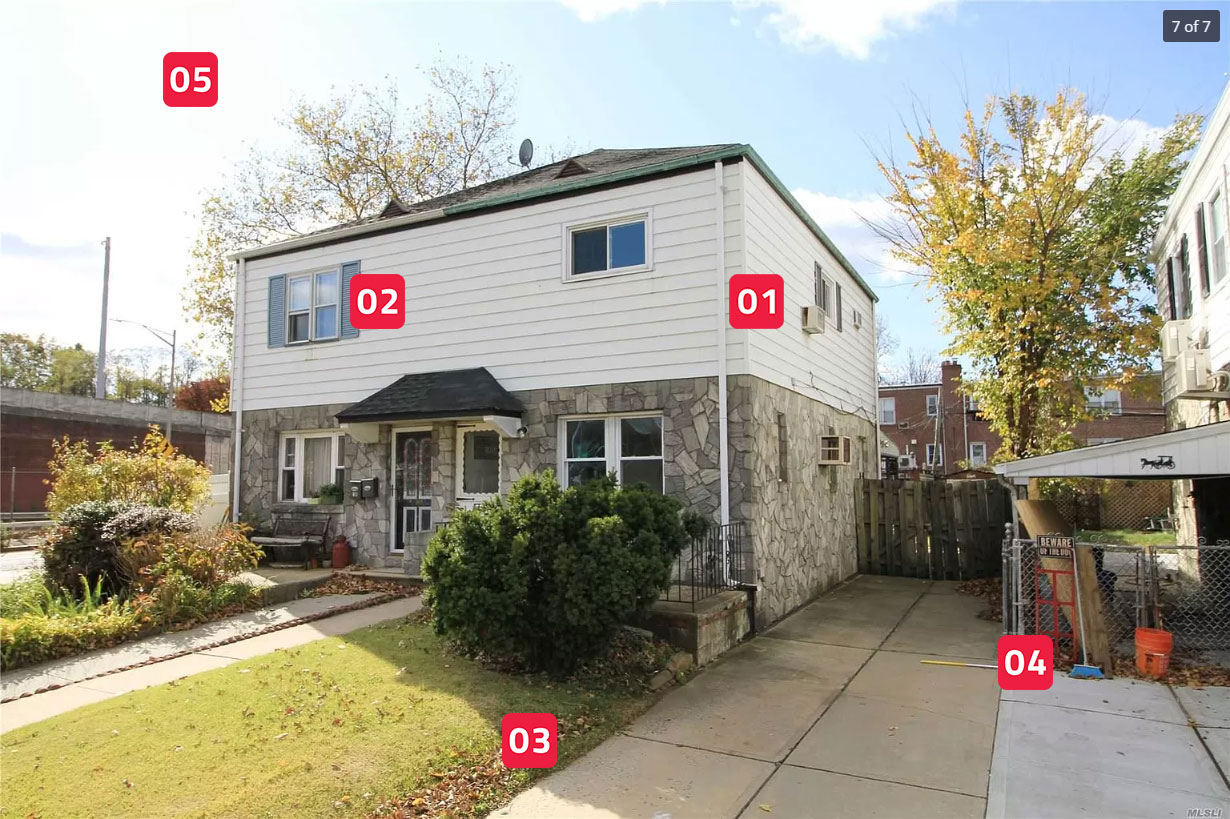
1. Great angle of the shot. This angle highlights the depth and scale of the house itself.
2. Blinds aren’t open. Whenever shooting the exterior, it’s a great idea to open any blinds to bring a welcoming and lived-in feel to the home.
3. Remove the fallen leaves. Our Item Removal Edit can remove the fallen leaves in this image.
4. Avoid the neighbors’ clutter. It’s best to try and angle the image to avoid capturing the clutter from the neighbors. If this is not possible, the Item Removal Edit can help to fix this.
5. Consider a Day To Dusk Edit. Our Day To Dusk Edit has been shown to increase the overall click-through rate of the shot when used as the hero image and can showcase the property in the best light.
Conclusion
As you can see, our Real Estate Marketing Health Check is a great way to get an unbiased, professional opinion on some key areas that could be improved with your current real estate photography. And the best part is it’s 100% free. If you’d like to have your own Real Estate Marketing Health Check, click the button below to get started.
FREE HEALTH CHECK
RELATED ARTICLES

In this post, we share with you some of our rich history in the technological artform of virtual staging. We’ve been acknowledged as the first, the best and the fastest virtual staging provider on the planet. Now, we are also the cheapest.
READ MORE
AI Copywriting is a game-changer for listings, but uncertainty may be holding some real estate professionals back from taking advantage of this exciting technology. Well, not anymore – this blog will break it all down for you so that you can utilize AI to deliver compelling content and stay ahead in a competitive market.
READ MORE
Want to maximize your off-plan property sales? Leverage the dynamic power of high-quality Renders and the use of multiple facades. Discover how this strategy provides standout visualizations, attracts more buyers, and drives sales.
READ MORE
Did you know, homes that are staged sell 75% faster than those that are vacant? Virtual Staging has the potential to revolutionize the way you market vacant homes, but the big question is, can you use this powerful tool when shooting a home using a smartphone? In this blog, we compare two smartphones to a traditional DSLR camera to find out.
READ MORE
Ready to stand out and get more leads? Explore five free BoxBrownie.com resources designed to help you capture better photos, streamline your workflow, and create standout listings that drive faster results.
READ MORE
These four steps will help turn even your wildest real estate goals into achievable everyday realities. If you want to want to send your career into the stratosphere, this post will set the skyrocketing in motion.
READ MORE