HOW TO SHOOT A HOUSE FOR UNDER $16
Introduction
Real estate photography can quickly become expensive which is less than ideal. However, creating high quality professional images can be achievable at a fraction of the cost.
To demonstrate this, our real estate photography guru and Co-founder Brad Filliponi is going to shoot a property with a smartphone. You will learn the key tips on the most important areas in the home so your listing will stand out.
The equipment used is:
- Samsung Smartphone Galaxy S9
- Moment Wide Angle Lens
By using a wide-angle lens, you can get as much as possible to fit into the frame without the use of expensive photography equipment.
ENTRANCE
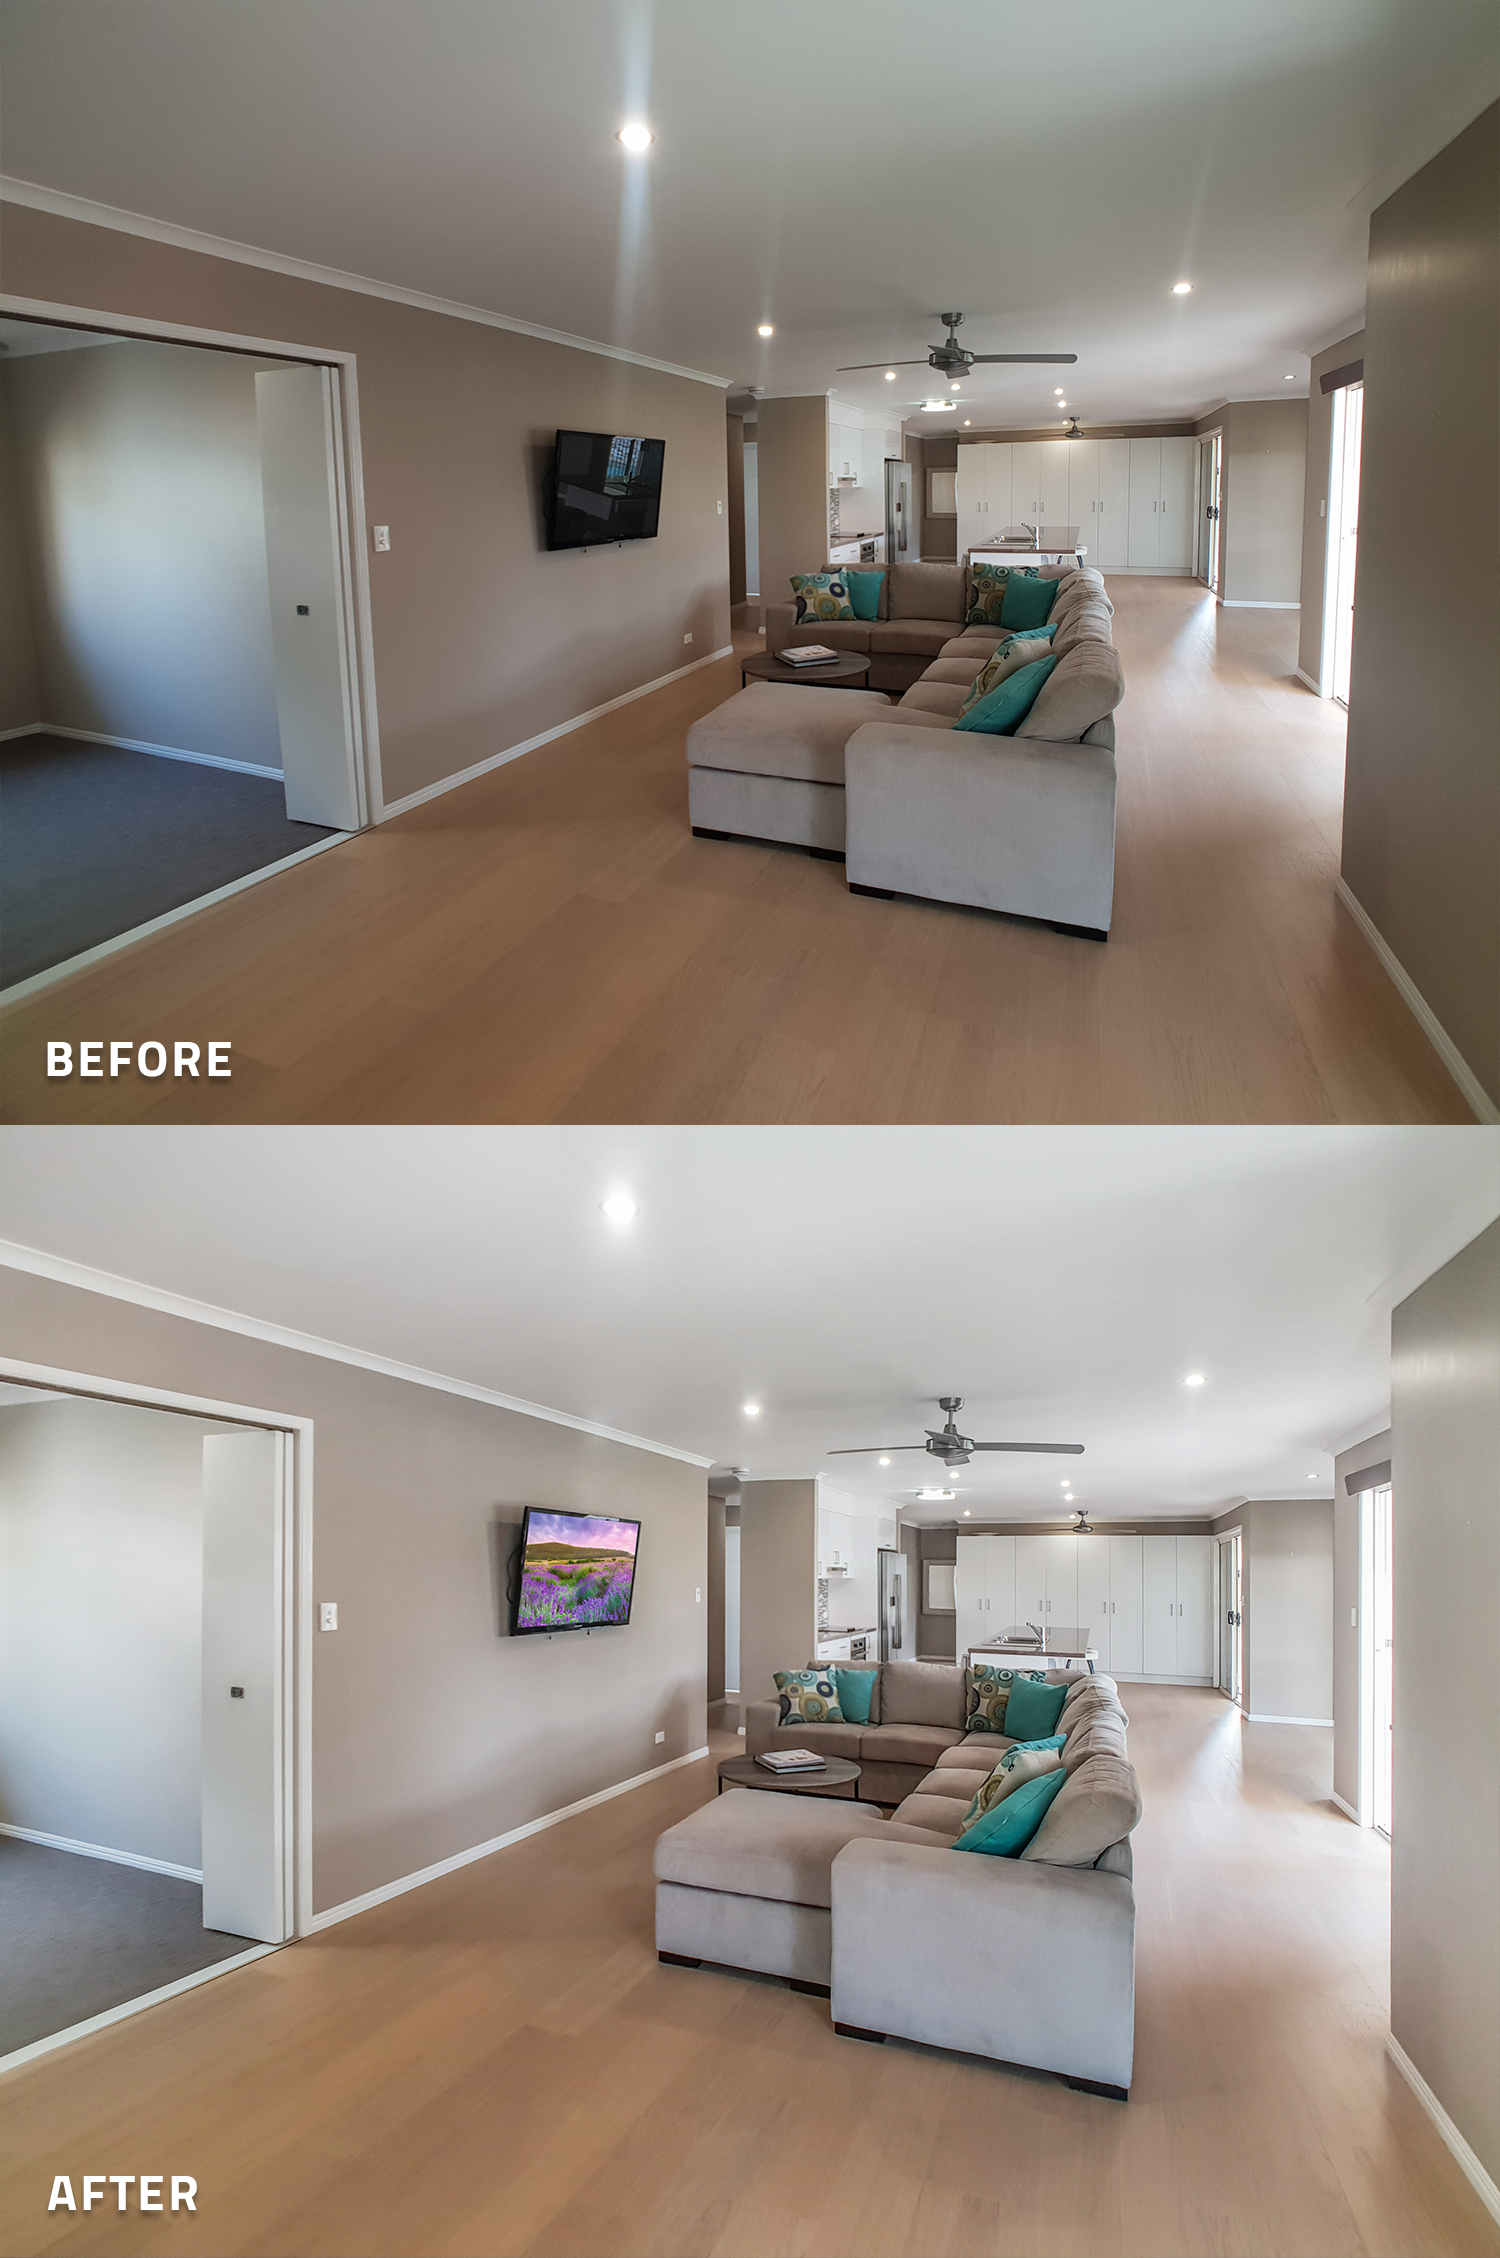
The first image we are going to shoot is the front entrance. You want to take a wide shot of this beautiful opening to really showcase the kitchen, dining and lounge room all in the one area.
To adjust the brightness, you can click on the same and the exposure feature will display for you to modify. Ensure you are taking the image on straight angle and proceed to take the shot with nice steady hand.
MEDIA ROOM
Next, we are going to take a photo of the media room. You maybe thinking whether you need a tripod, but as long as you continue taking your images with a nice steady hand you don’t need any extra equipment. Our team of editors can then take your images and enhance them leaving you with high-quality professional photos.
TIP: Just remember that all your images taken are clear as you don’t want any unappealing blurry images.

STUDY
The next room we are going to shoot is in the study. It is a great selling point because not every house has one, so you really want to use this to your advantage.

ENTERTAINING AREA
We are going to head back to the main entertaining area, where we are going to shoot the kitchen, dining and lounge from a different angle. Remember to fix any items that look out of place before taking the photo and open the front door so you can really show the beautiful open flow space.

MASTER BEDROOM
The master bedroom is a room that cannot be missed. Before shooting, ensure all items are correctly placed and open any blinds entirely to display the outside view and bring as much light into the space. Turning those bedside lamps on can really make the room more inviting.

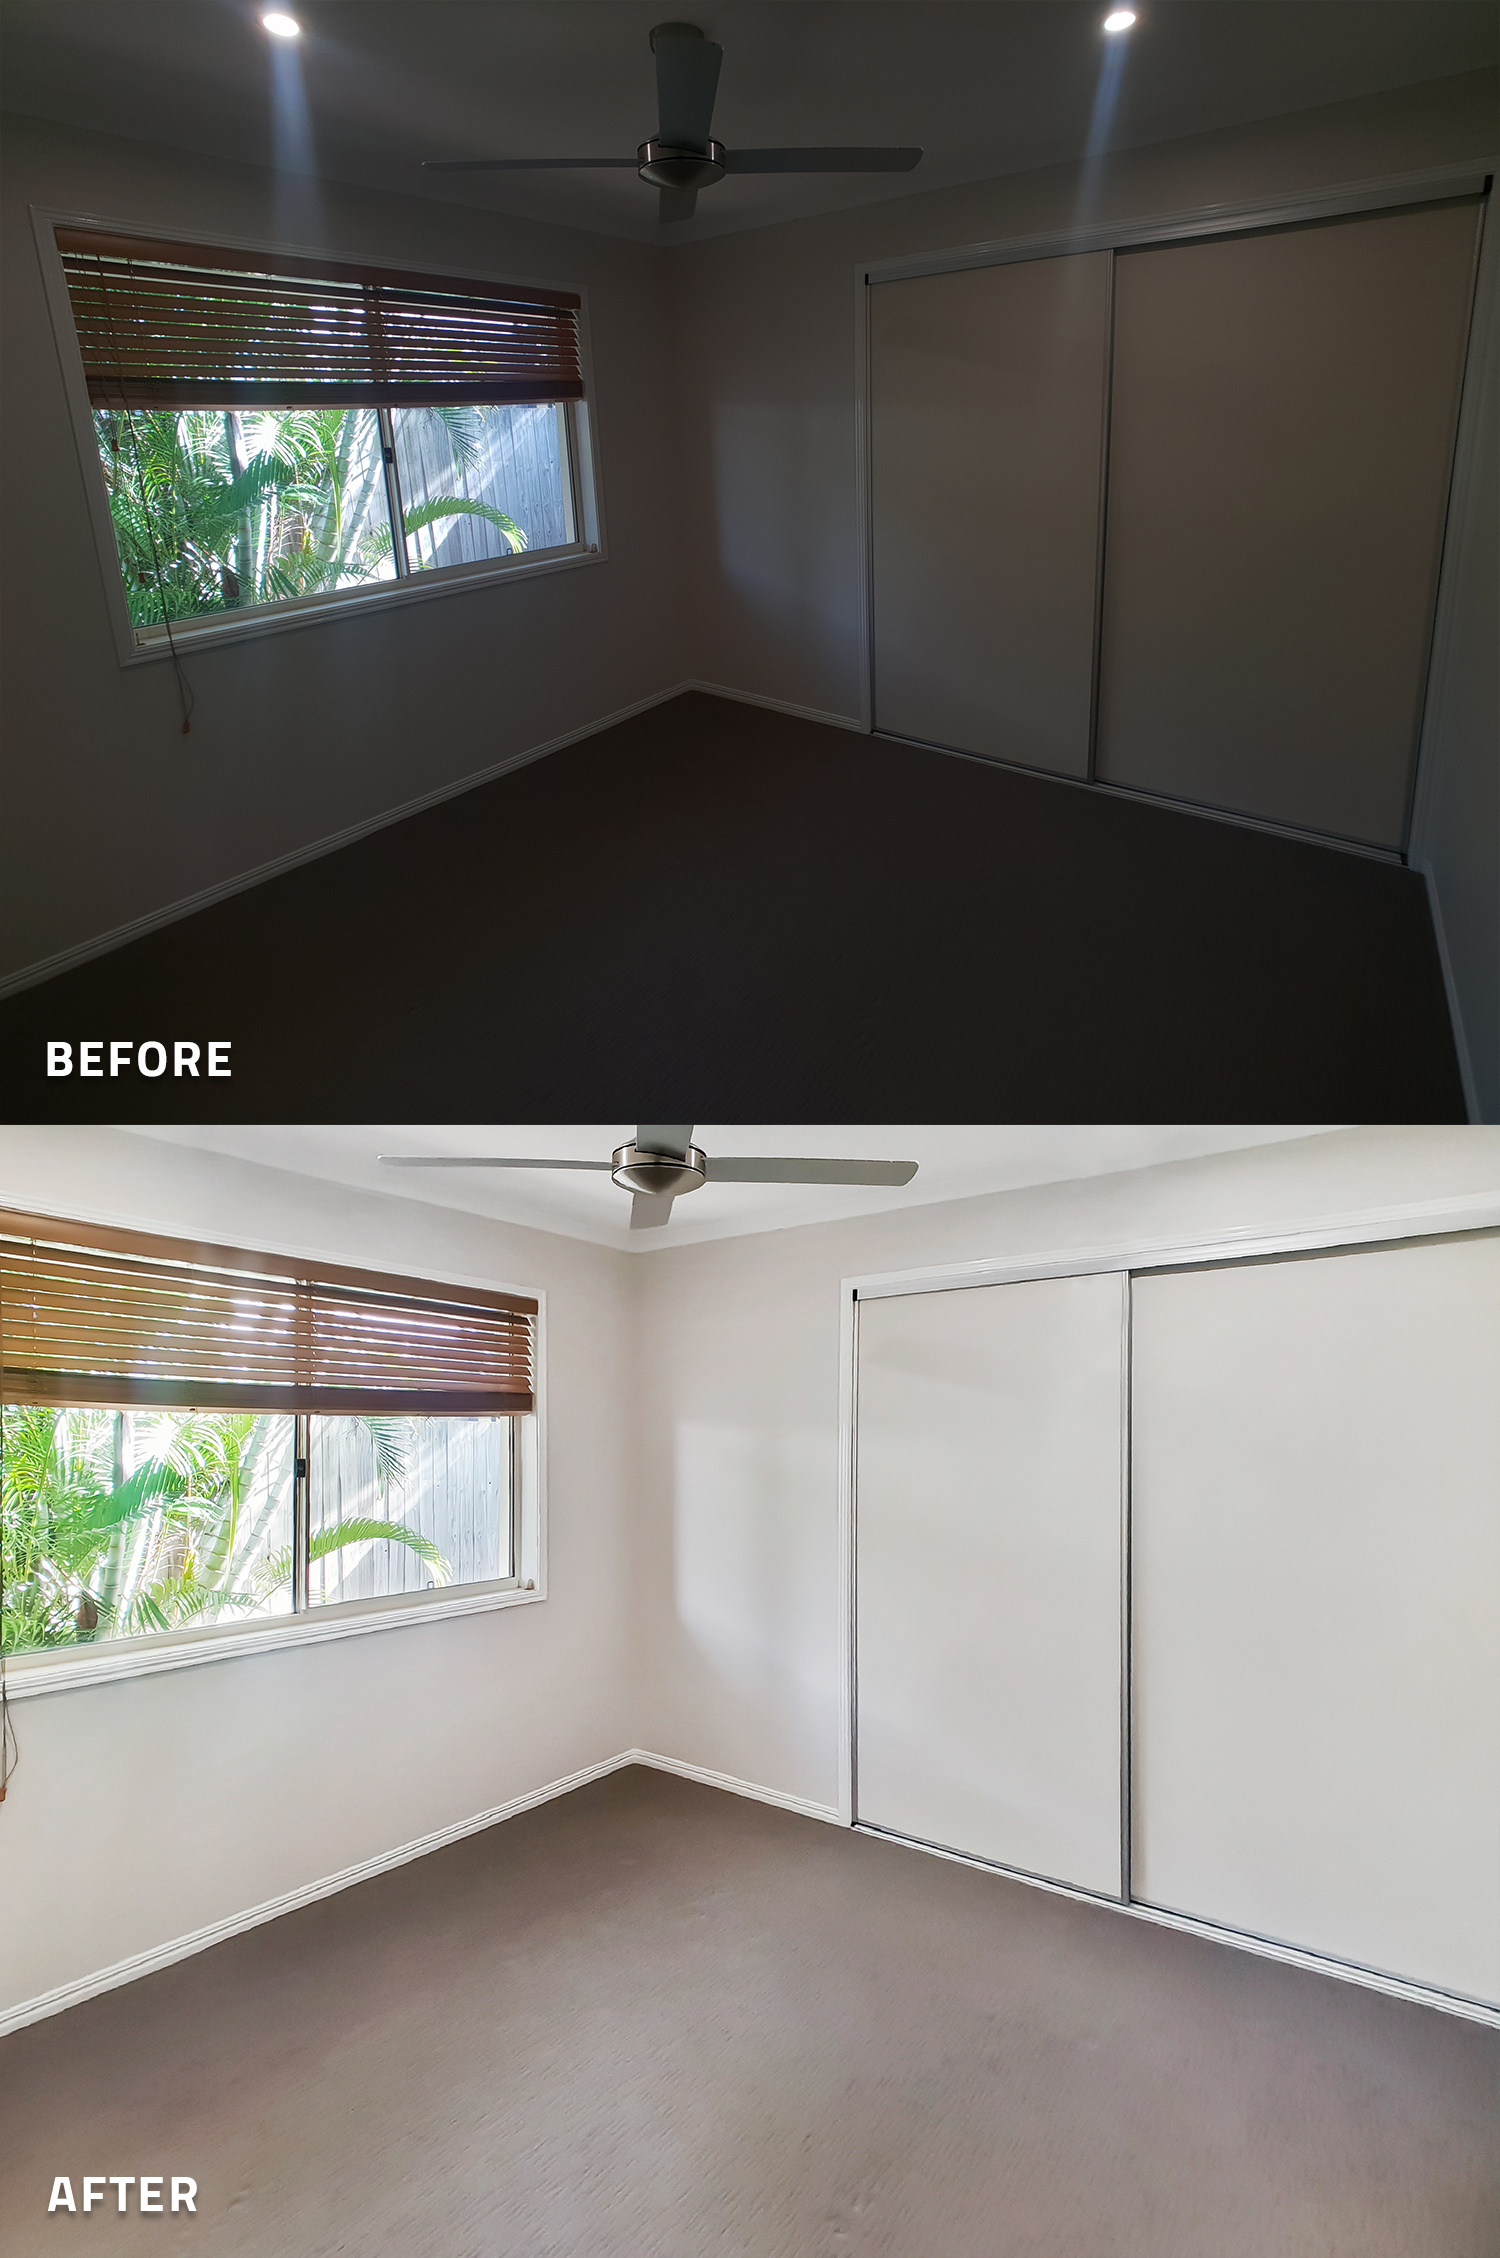
SECOND BEDROOM
As we move onto the second bedroom, you can often have a well light room but an overexposed window and external view. By clicking on the screen, you can alter the brightness to balance out the exposure across the entire room.
TIP: You want to be able to see as much details inside the room as you can from the exterior view out of the window, therefore the photo we have taken is significantly darker inside to be able to capture some of the exterior detail. Our team of experts can easily lift the shadows in the room, but they cannot make out something that isn't there if the all-important view outside is overexposed.
BATHROOM
We have skipped the ensuite on purpose in order to shoot the biggest and best-looking bathroom in the whole house. When shooting bathrooms, it is always a great tip to close any doors behind you i.e. a toilet or laundry door. Closing doors will prevent reflections on the glass and tiles.

BACKYARD
Moving onto the exterior of the property, we are going to start with the backyard. With this photo, we really want to highlight the size of the land, patio area and the layout of the backyard.

POOL AREA
Moving over the other side of the patio area, we are going shoot the beautiful pool area. A feature of the property that you don’t want to miss. 
EXTERIOR FRONT OF THE HOME
Using the beautiful palm trees at the exterior of the property to frame the shot. It will give this hero shot a really great street appeal.

Conclusion
With Brad’s expert tips for shooting a property on a budget usingyour smartphone and a wide-angle lens attachment you can easily achieve these images. Professional images you can use to market this medium sized home for only $16.
RELATED ARTICLES
Want to take your listings to the next level? In this blog, we'll provide you with expert tips and tricks for creating a successful property listing that will grab the attention of home hunters and help secure a buyer quickly.
READ MORE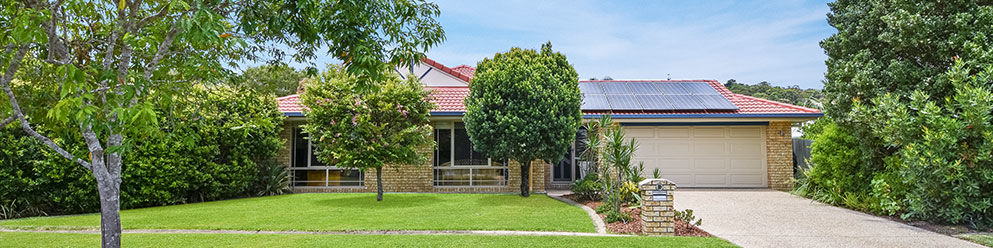
Want to learn how to take amazing real estate photos that attract more buyers? Well you’ve come to the right place! In this article, world class real estate photographer Brad Filliponi shares some of his tips and tricks on how to make your property images stand out.
READ MORE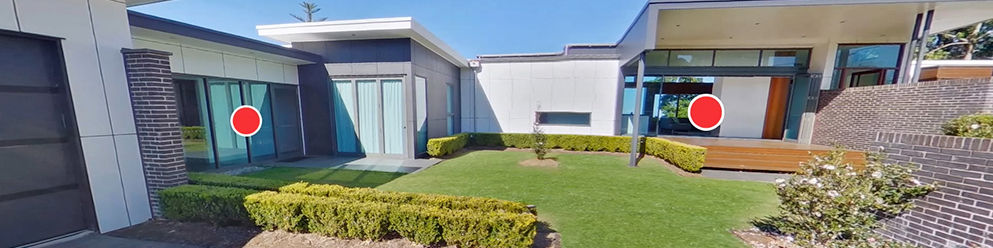
Understand the power and effectiveness of virtual property tours but not sure how to get started creating your own? In this blog, we show you just how simple and affordable creating your own virtual tour can be and how it can be done in as little as 20 minutes.
READ MORE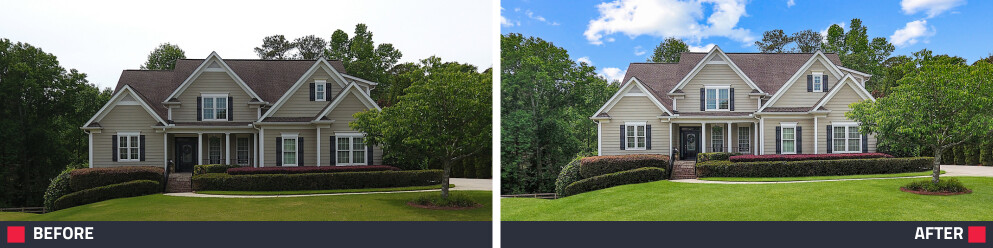
Welcome to BoxBrownie.com. Get set up quickly for professional property photo edits with 4 free trials. Access your dashboard, how-to videos, photography app, and expert resources to save time and elevate listings.
READ MORE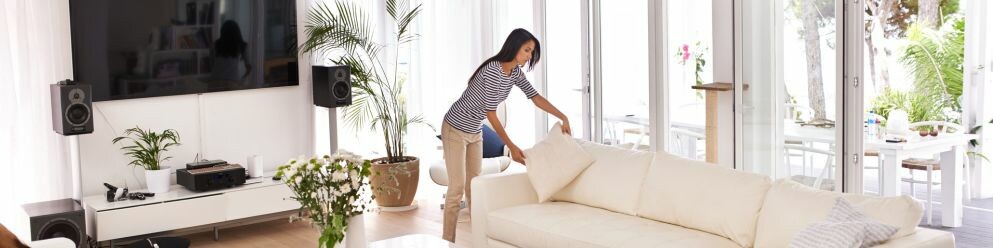
First impressions count, and high-quality photos can set your short-term rental apart from the competition. Follow these expert tips to declutter, stage, and light your property to showcase its best features.
READ MORE
When property listings fail to convert buyers, it is not always price or presentation. It is clarity. Buyers need to instantly understand how the space actually works. Floor plans are key to attracting more qualified buyers and renters. Learn how they make a difference.
READ MORE