HOW TO SHOOT REAL ESTATE IN THE RAIN
Introduction
Bad weather can delay you from getting your property listed. Whilst waiting for the weather to clear, you are missing out on marketing it to potential buyers. This is a less than ideal situation for any real estate agent. We have created a blog to completely minimize this issue. No longer will you be held up with weather restrictions to get your latest property listed. Our expert photographer and co-founder Brad Filliponi is going to show you how to navigate around taking those killer shots in extreme weather conditions. He will be taking photos of the entrance of a property from three different angles to show you how easy it can be.
When preparing your camera to take the photo, you want to ensure to frame the image. What does that mean? Ideally, you want to ensure you are getting as much of the property in the image as possible. When you are ready to take the shot, shade the lens with your umbrella. The purpose of the umbrella is to keep the camera gear dry. It's also very important to cover your lens so it doesn't get any rain specs on it.
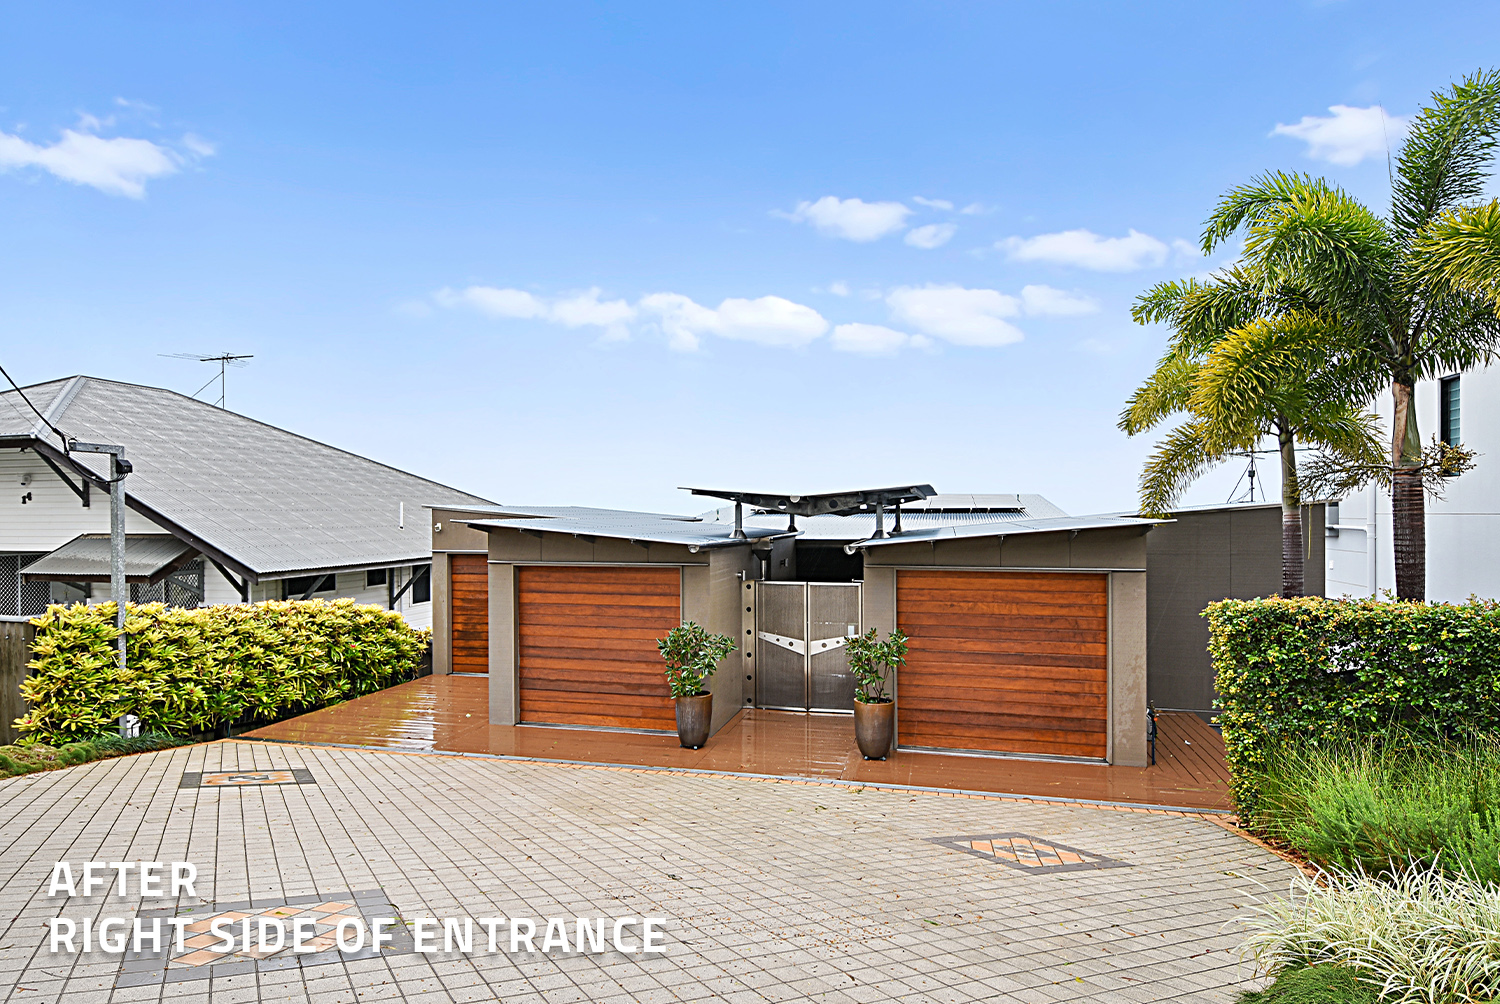
TIP: Use a lens cloth in between shots to wipe over the lens and camera to keep it clean and dry from any water that may splash onto the camera. You also need to use it to clean your lens and keep it free from water droplets.
We will move onto the second and third angle where the framing of the image and shading the lens is just as important. While we don't recommend that shooting in wet weather is ideal for every property, it is a great solution if you don't want to miss an advertising deadline.

In this shoot, we have taken bracketed images to get us the best possible result to market the property. For more information on how to shoot bracketed images, click here.
Conclusion
With these simple tips, you don't need to hold off marketing your property due to bad weather. The BoxBrownie.com team can replace those overcast skies with stunning blue clear skies. We will have your images returned to you ready for you to market in 24 hours.
RELATED ARTICLES

Discover the transformative power of shadow removal in property photography. Make images brighter, bolder, and more inviting. Explore seven powerful reasons why this technique is a game-changer for your marketing—capturing more attention and converting more buyers and renters.
READ MORE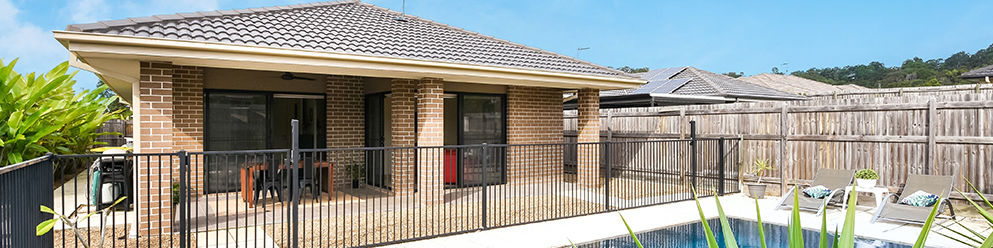
As an expert in real estate photography, Brad Filliponi is going to share his key tips for preparing and shooting a property from start to finish.
READ MORE
Did you know, homes that are staged sell 75% faster than those that are vacant? Virtual Staging has the potential to revolutionize the way you market vacant homes, but the big question is, can you use this powerful tool when shooting a home using a smartphone? In this blog, we compare two smartphones to a traditional DSLR camera to find out.
READ MORE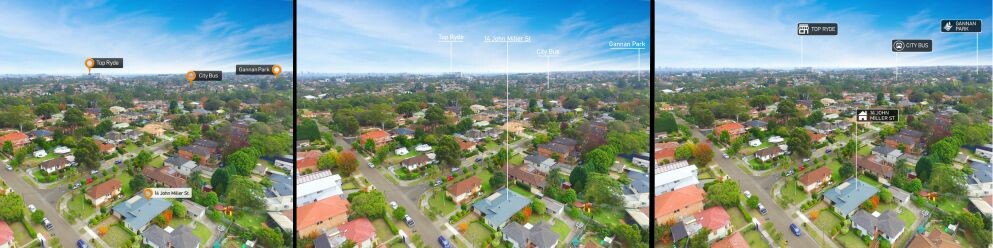
Looking for a fresh way to make your property stand out? Our revamped Aerial Drop Pin edits are here! With sleek new pin designs and customizable options to match your branding, you can create stunning, on-brand visuals that grab attention.
READ MORE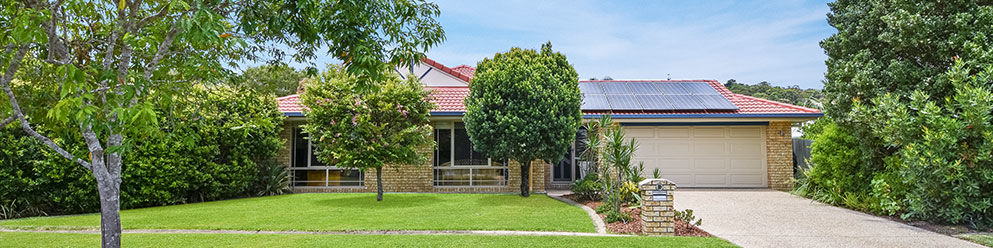
Want to learn how to take amazing real estate photos that attract more buyers? Well you’ve come to the right place! In this article, world class real estate photographer Brad Filliponi shares some of his tips and tricks on how to make your property images stand out.
READ MORE
Want to take your real estate photos to the next level? These 10 quick tips from Brad Filipponi will help you capture clean, professional images that stand out and sell faster—whether you’re using a phone or DSLR.
READ MORE