THE COMPLETE DRONE REAL ESTATE PHOTOGRAPHY TUTORIAL
Introduction
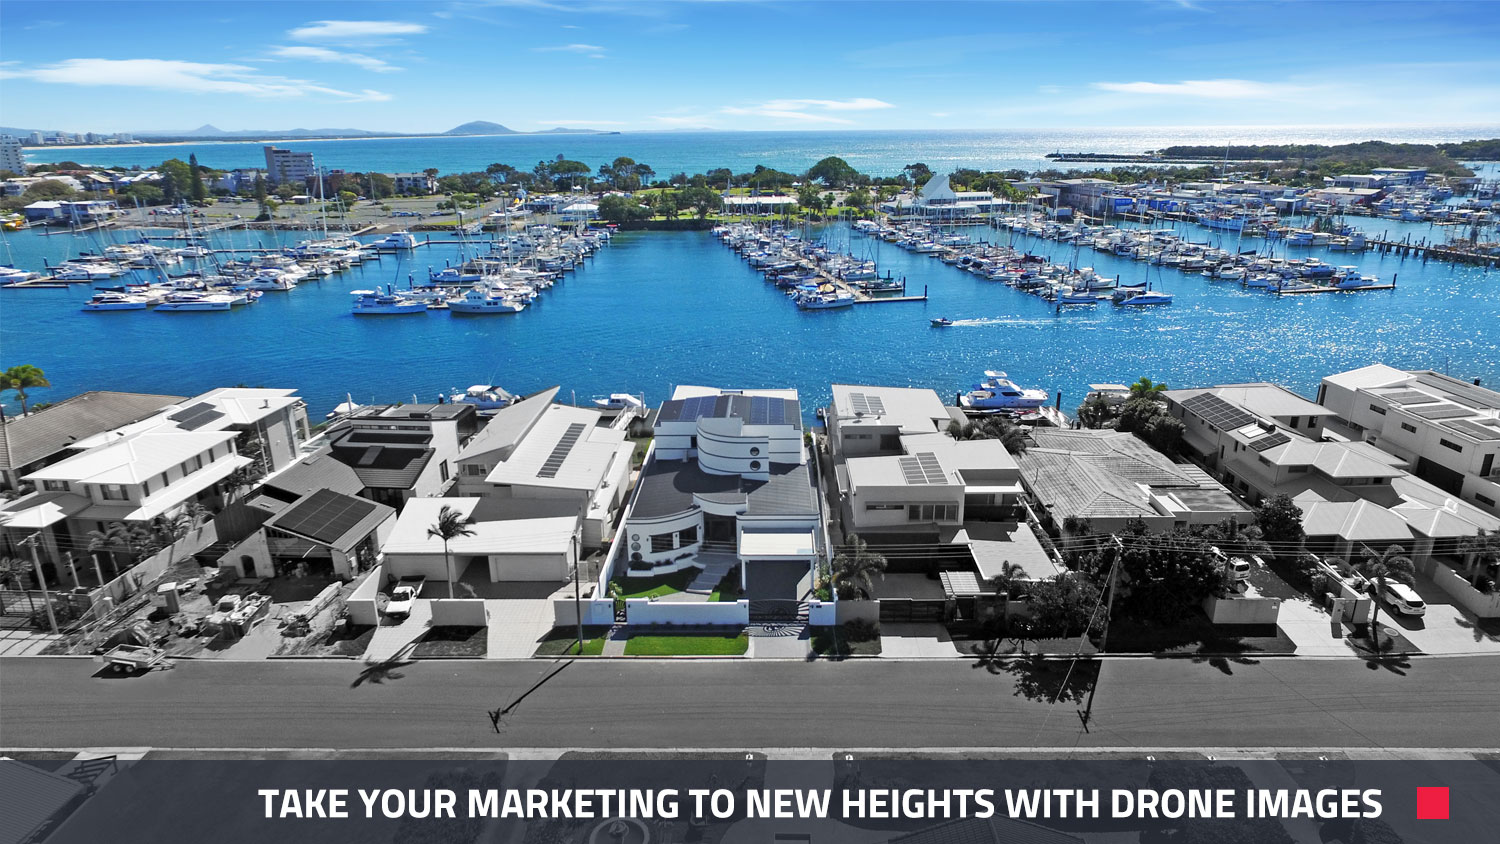
It’s never been easier to take your real estate photography to new heights than with quality photos and videos captured using a drone.
Effective aerial photography can showcase unique aspects of the property that you simply can’t get from ground level. This might include capturing that stunning location and proximity to major landmarks or maybe you’re looking to show off the home’s spectacular landscaping, pool, and natural surroundings.
Important: In the USA, you must hold an FAA 107 Commercial Drone License (or hire someone who does have one) to legally post drone photos for commercial use.
Whatever the reason, as real estate agents it’s never been more important to ensure our listings stand out from the crowd and effective drone photography is a fantastic way to showcase the property to a potential buyer. In this tutorial, we are going to take you through every step of the process from choosing the right drone to buy and how to set it up to taking that perfect drone photo and having your images professionally edited. By the end of this tutorial, you will know exactly how to shoot real estate with a camera drone.
1) Choosing The Right Drone To Buy
There are plenty of drones on the market to choose from and without a complete buying guide, it can all get a bit overwhelming. If you’re on a smaller budget, we recommend shooting with the DJI Phantom 3. This drone will cost roughly $1,400 however if you have a little more money in the reserves you can’t go past the DJI Mavic which will set you back roughly $2,500 (at the time of writing this tutorial).
2) How To Set Up The Drone For Real Estate Photography
Depending on the drone you have chosen, this process may vary however, we will talk you through the steps when setting up a DJI drone.
The first step is to pair your drone with your smartphone. To get started, download the free DJI app from the App Store or Google Play and open up the app to input the following settings.
• Set up the drone for a single shot
• Set the image ratio to 16:9
• Leave the white balance on automatic
Before launching the drone, ensure the lens is wiped clean and is free of any debris that may cause the image to blur or smudge. It’s critical to calibrate the GPS each time you fly to ensure you have proper control of the drone during the flight time.
3) How To Shoot A Property With A Drone
This is the fun part, but before you operate the drone be sure to check your surroundings for any obstructions that could be dangerous like power lines and trees. As the drone pilot, when you are sure the flight path is clear you can launch the drone by pressing the controller toggles in an opposite diagonal direction as shown in the image below.

You can angle the camera in a downward direction by pressing the top left button. As an aerial real estate photographer, there are typically several key angles and drone shots you will be looking to capture.
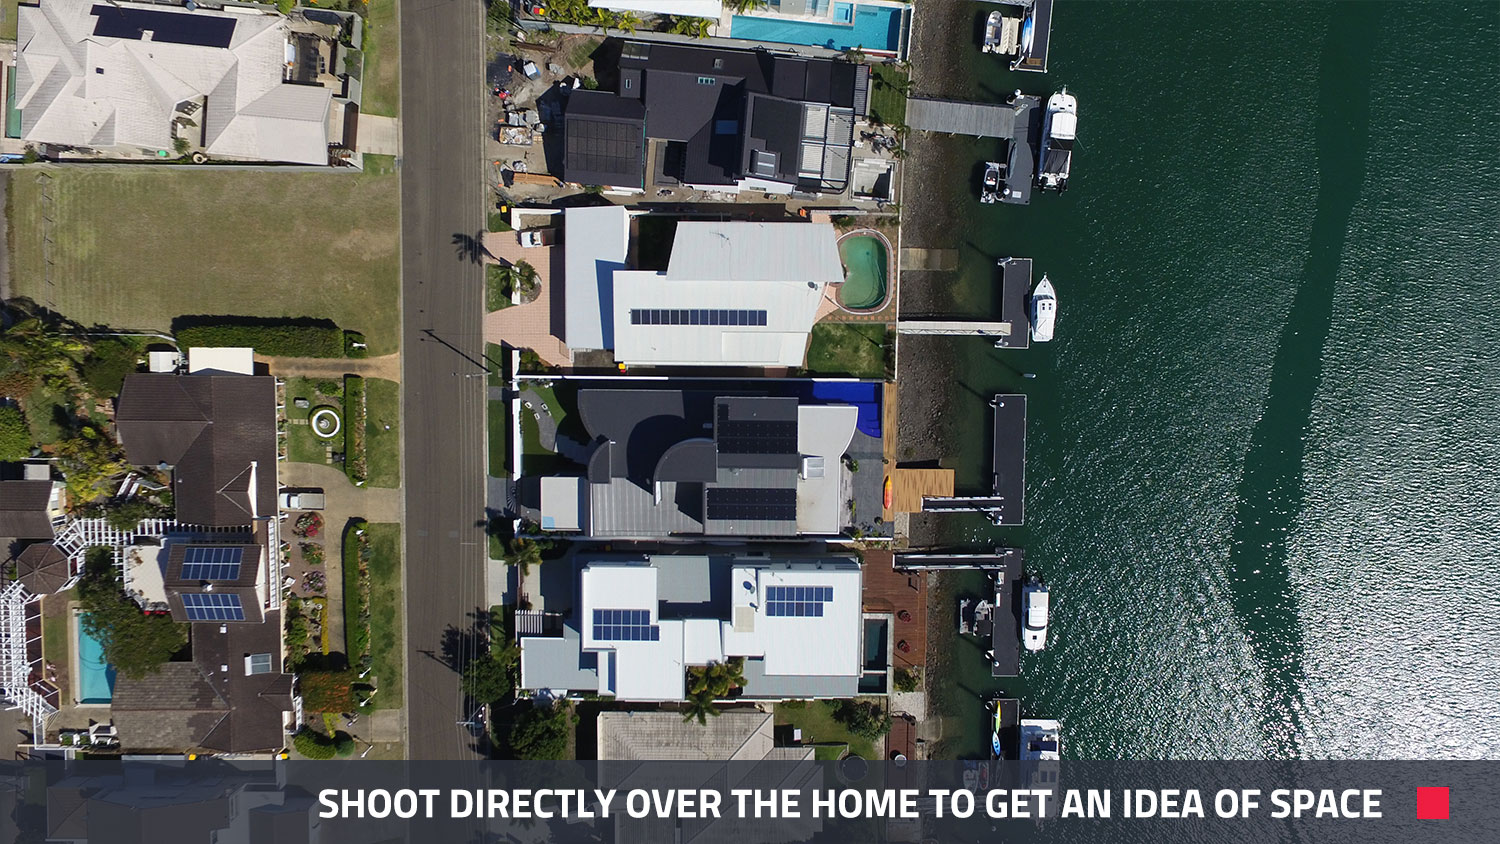
A shot from directly above the property is critical when giving the potential buyer a feel for the space on offer. This is a great way to highlight the property’s size, layout, and any key features like a pool, tennis court, or pontoon.
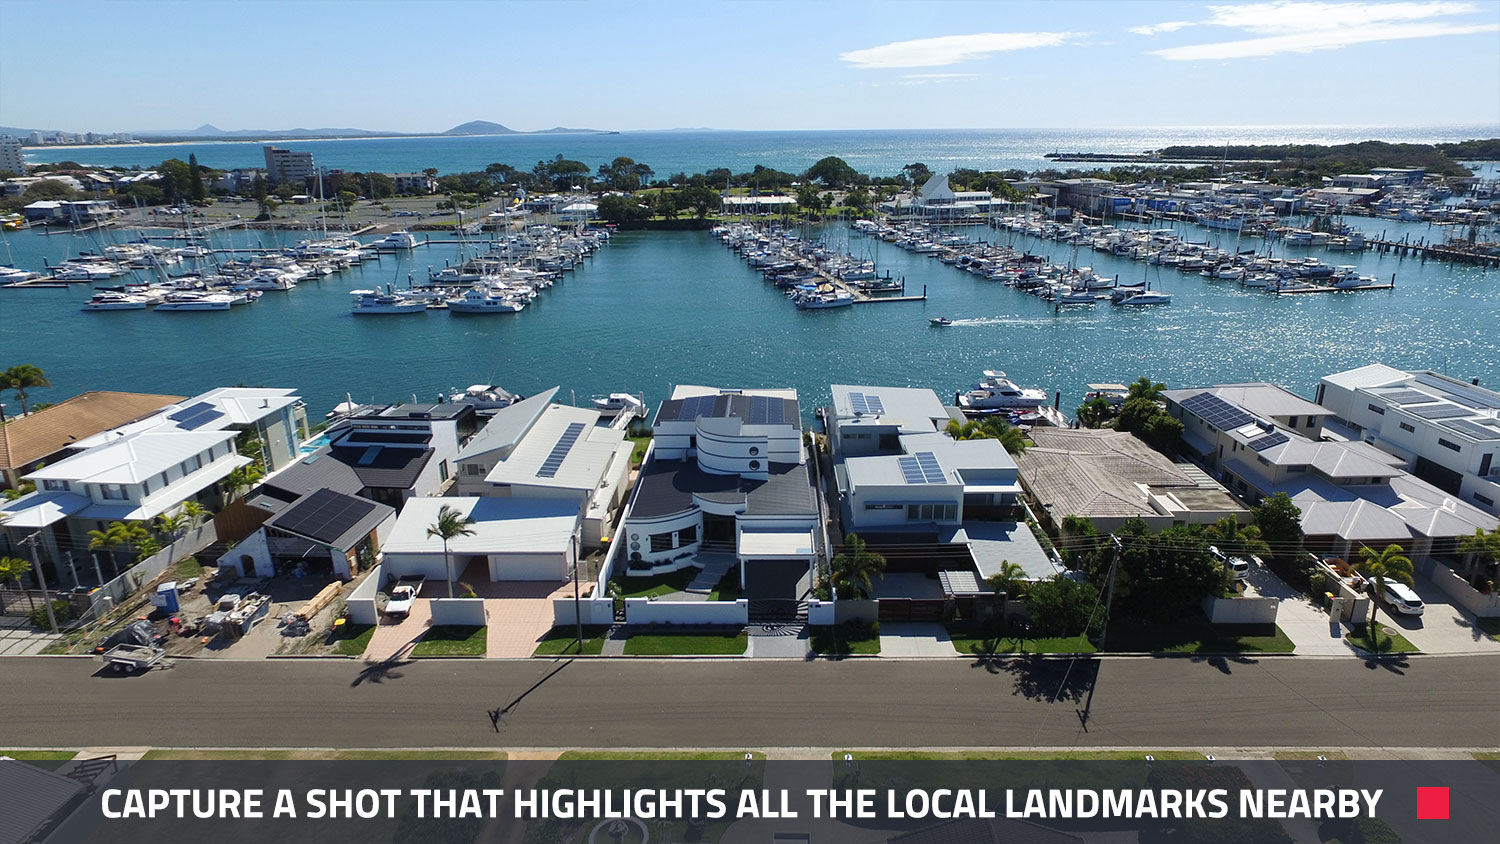
By capturing the local landmarks, you can give the buyer an idea of attractions within easy reach like schools, beaches, canals or parks.
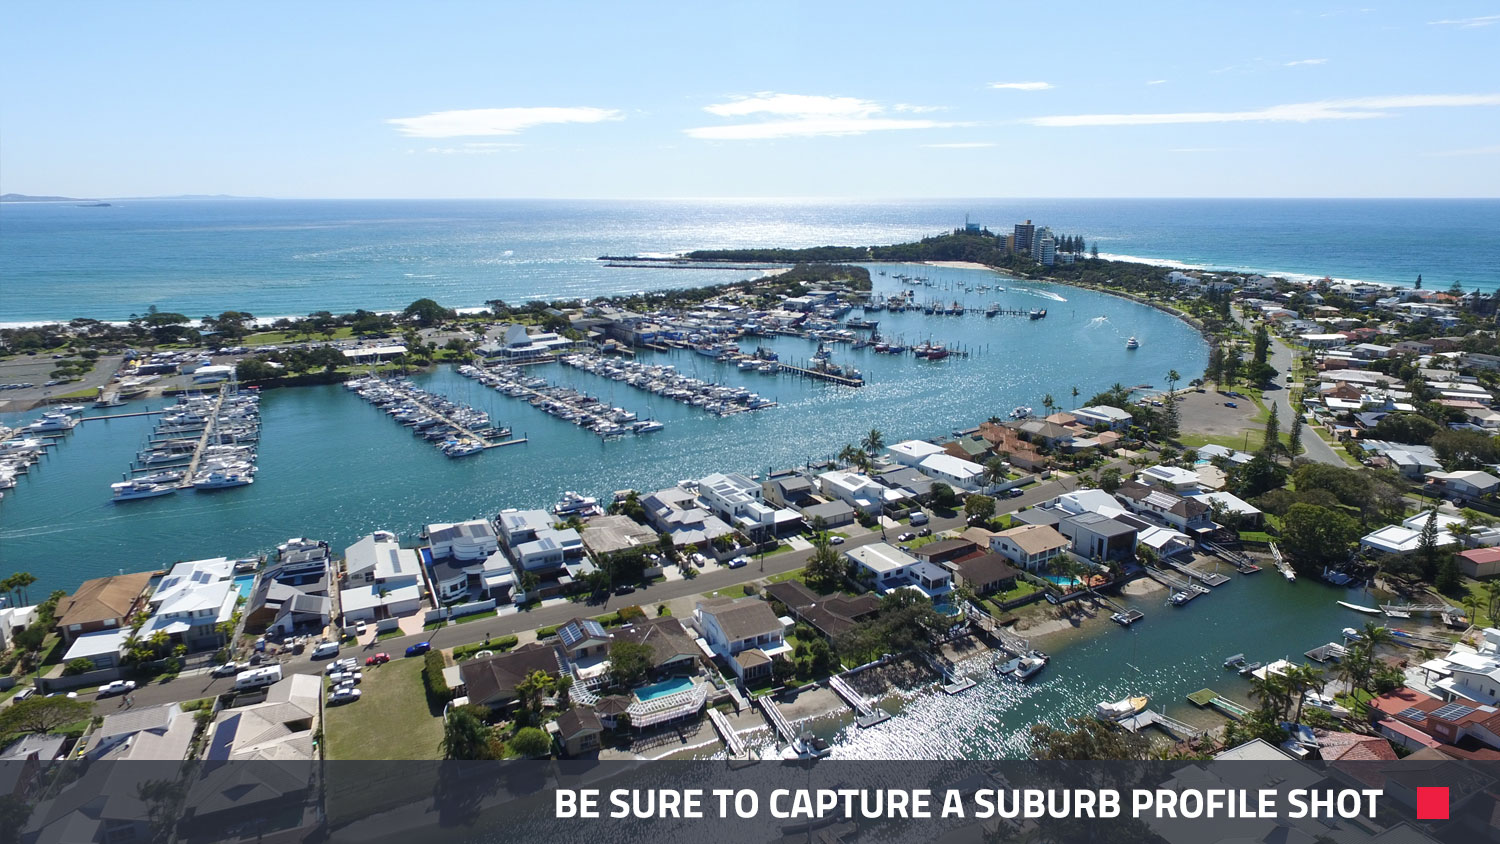
A suburb profile shot is a great way to highlight nearby landmarks that are just a short drive away. This could include amenities like shopping centers, schools or cultural attractions and is also a great tactic when marketing commercial real estate.
As with all property photography, it’s important as a drone photographer to take more shots than you think you will need to ensure you have a range of images to choose from when you are back at the computer. The last thing you want is to have to head back out to the property to retake images that you missed on the day.
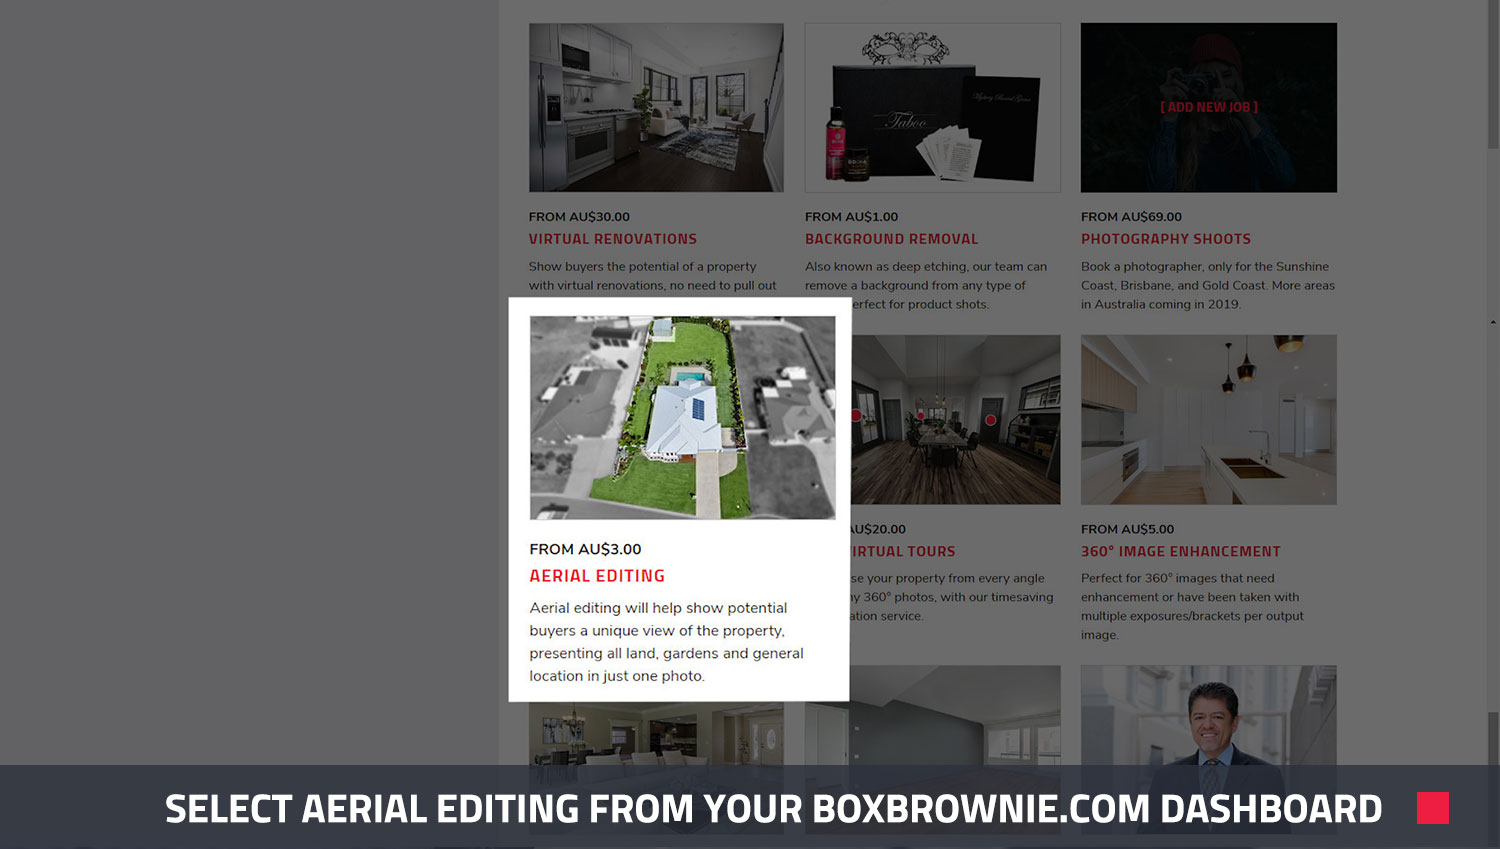
4) How To Get Your Drone Photos Professionally Edited
Having your drone photos edited is as simple as logging onto the BoxBrownie.com dashboard and selecting ‘Aerial Editing’ from your choice of job categories.
Next, give your new job a name, upload your drone photos, and then simply click ‘next’. Our standard aerial edit does include image enhancement which means your images will come back looking fantastic. Our team of professional editors can replace the sky where necessary, enhance the grass, adjust the water color and improve the overall presentation of the image.
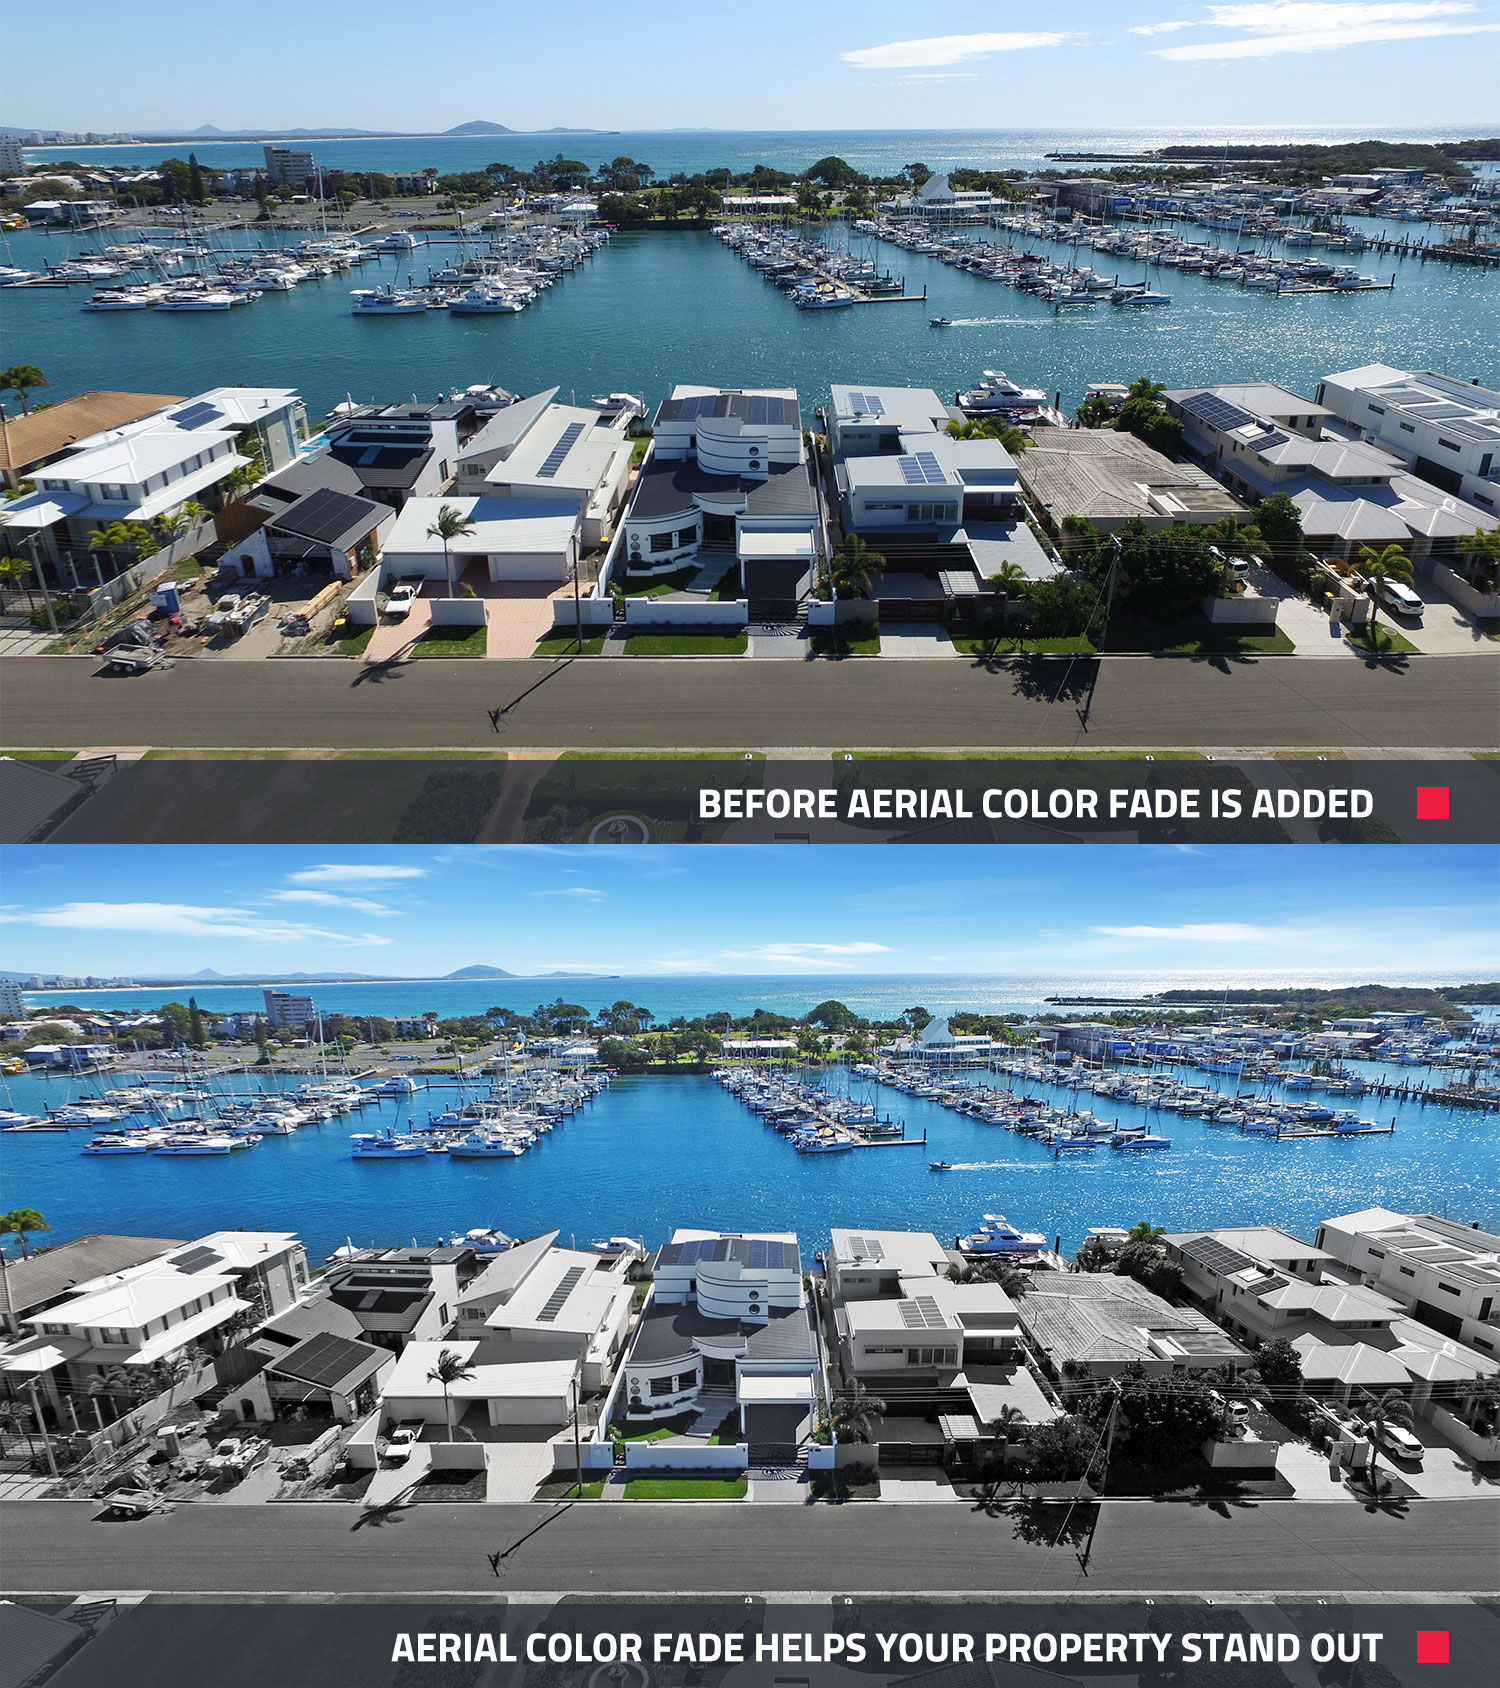
If you’d like any additional editing, you can choose from a range of different types within the ‘Optional Extras’ dropdown menu. There is a selection of excellent options to choose from including Aerial Color Fade where we turn the neighboring properties gray to highlight your listing.
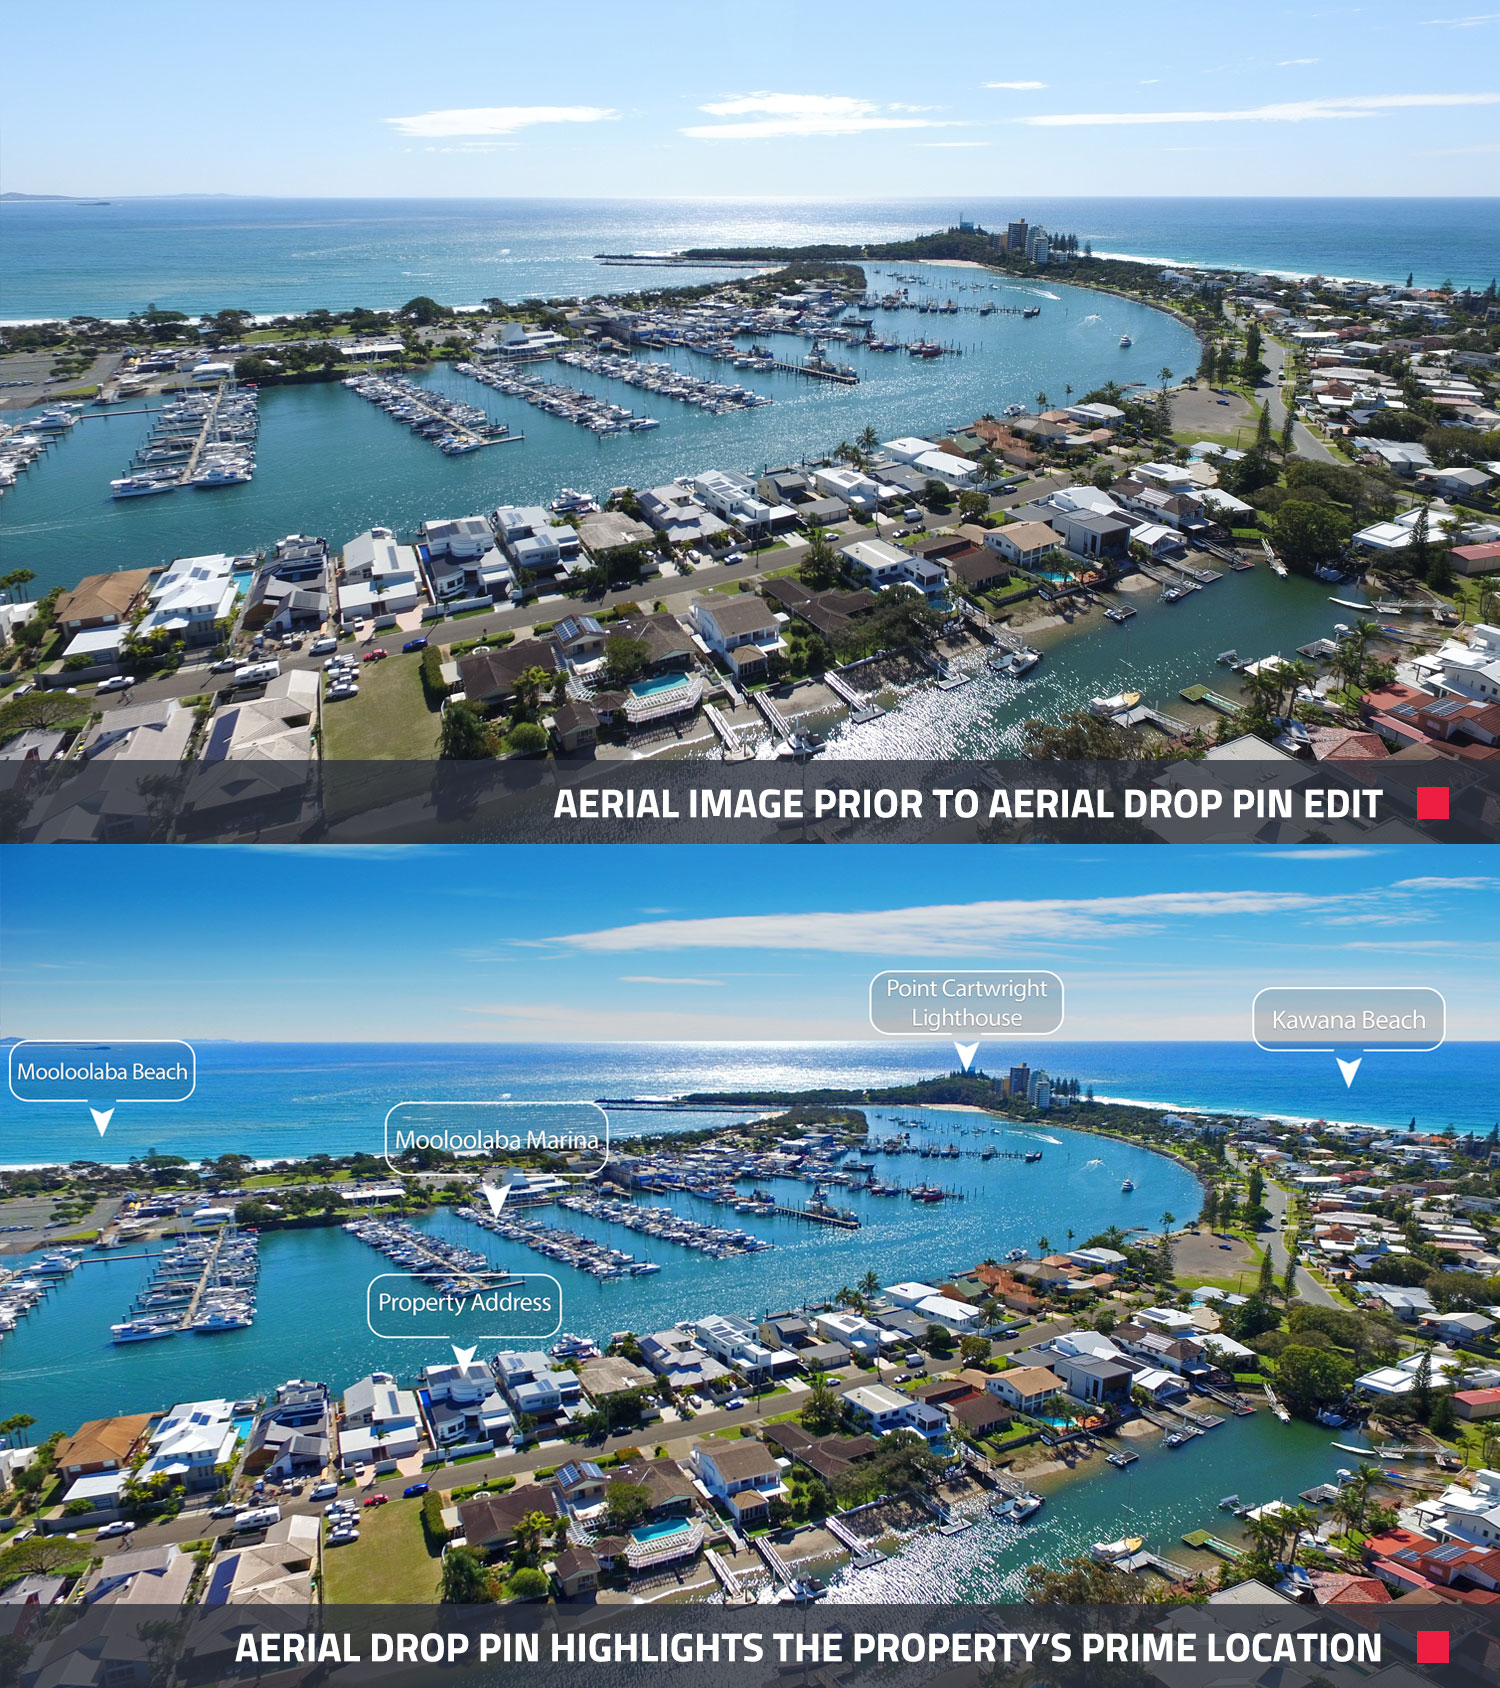
You can also choose from the Aerial Drop Pin edit where you can show off how great your property’s location is with nearby landmarks and attractions.
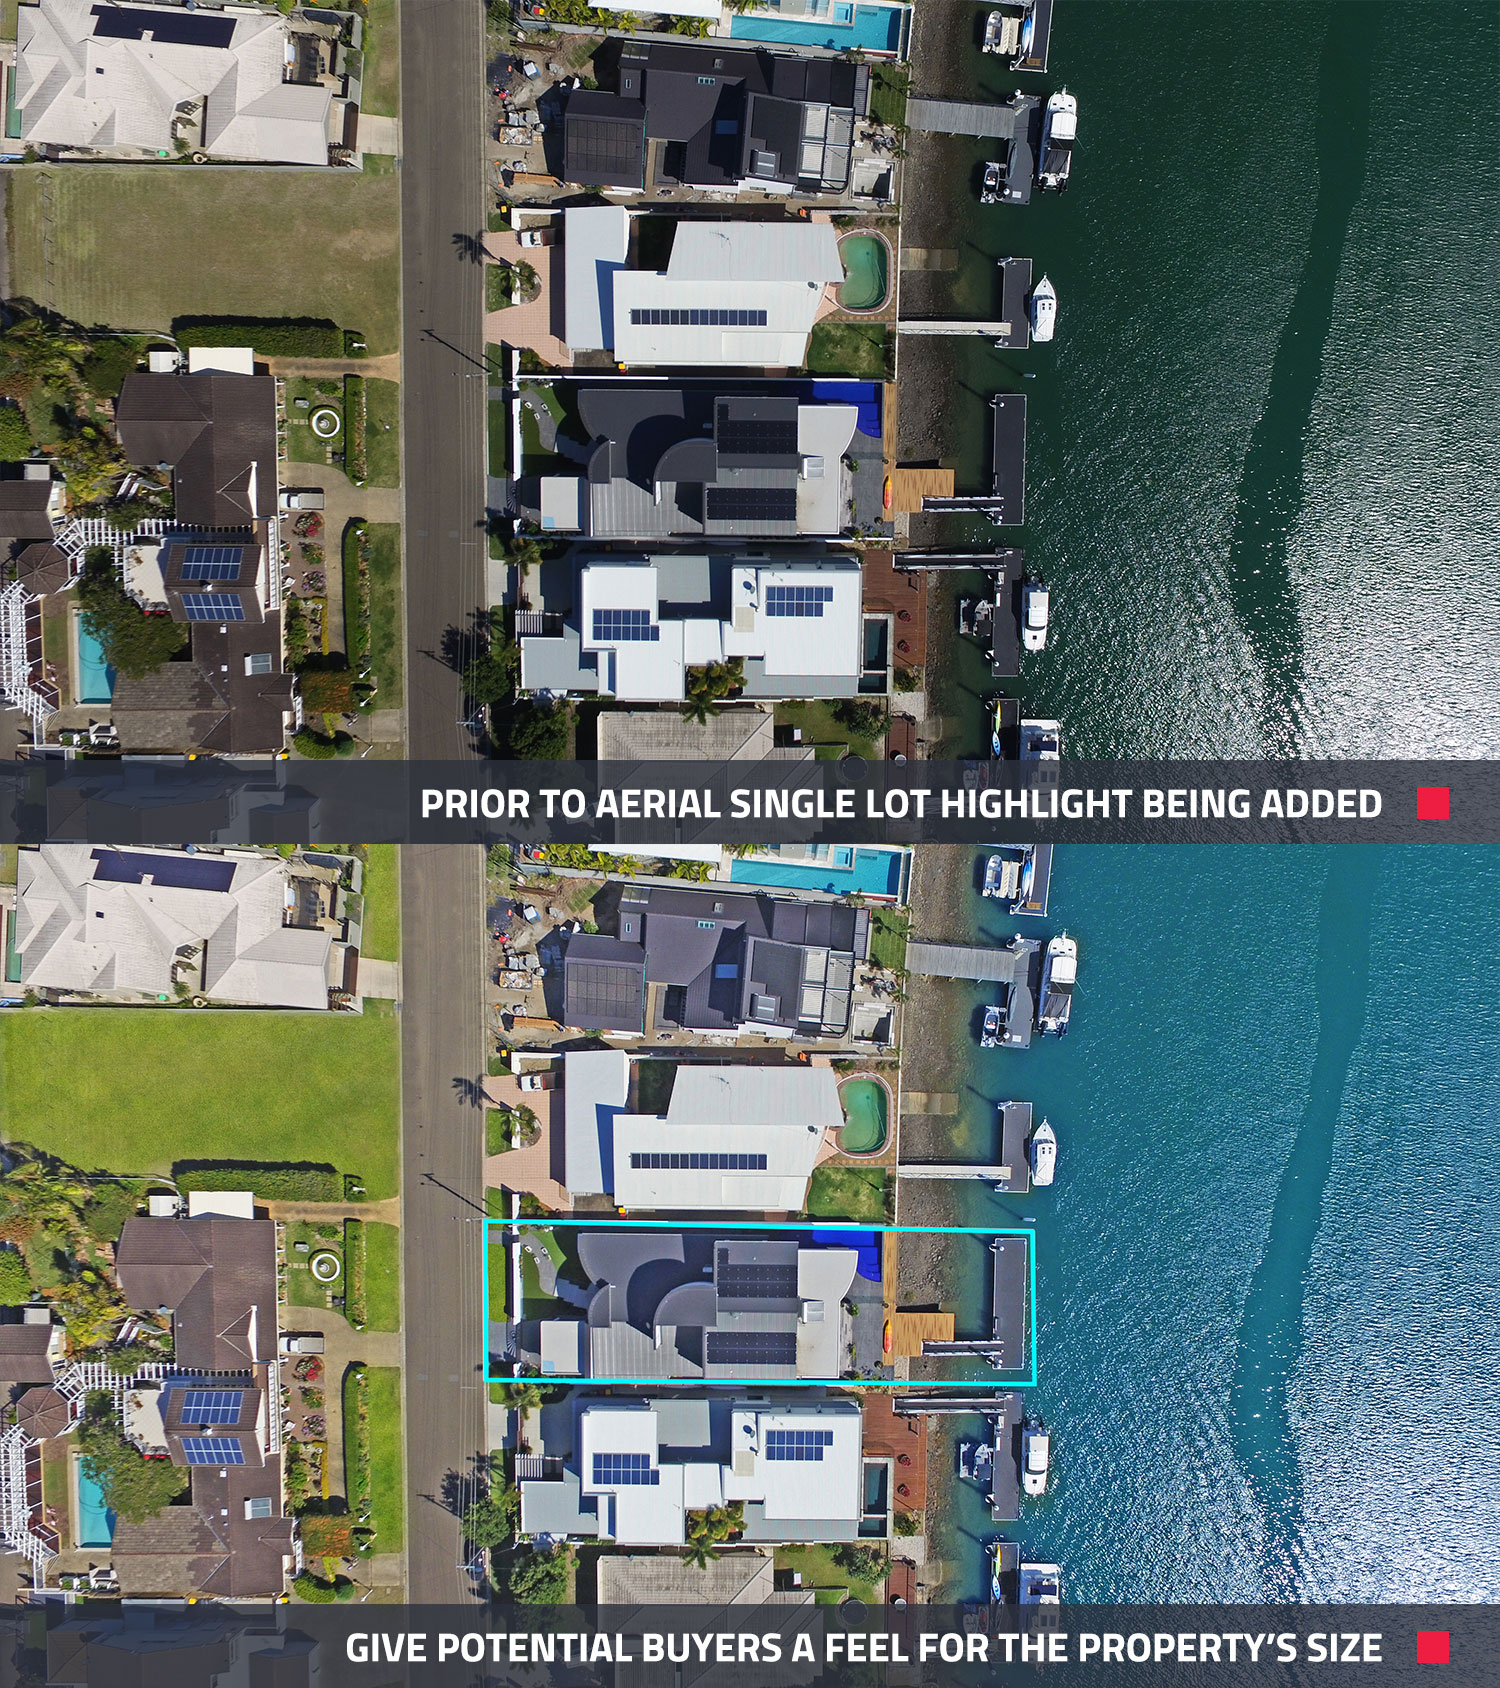
Aerial Single Lot Highlight is a popular choice for agents who want to give potential buyers an understanding of the property’s boundaries and land size.
Once you have selected your edits, you can then go ahead and submit your new job. Within 24 hours, you will receive your professionally edited images that are ready for your property marketing. It really is that simple.
Conclusion
As we have demonstrated in this tutorial, shooting real estate drone photography doesn’t have to be a daunting process. Whether you’re a real estate agent or a real estate photographer, once you have the right equipment, a few tips and tricks, and professional editing from our team at BoxBrownie.com, taking your property marketing to the next level is a piece of cake.
If you’re new to BoxBrownie.com and would like to give us a try, we are offering four free edits for your first job. Simply head over to BoxBrownie.com and create a new account. There’s no credit card required on signup and there are no subscription fees. If you have any questions, feel free to send us an email at [email protected] and a member of our friendly team will be in touch.
RELATED ARTICLES
The list that keeps on giving. Our enormously popular Pre-Photography checklist is intended to be used with every new house a photographer must shoot. Here we’ll show you how it can save bundles of time and pave the way to much stronger marketing materials. Discover why the checklist has become our most downloaded document.
READ MORE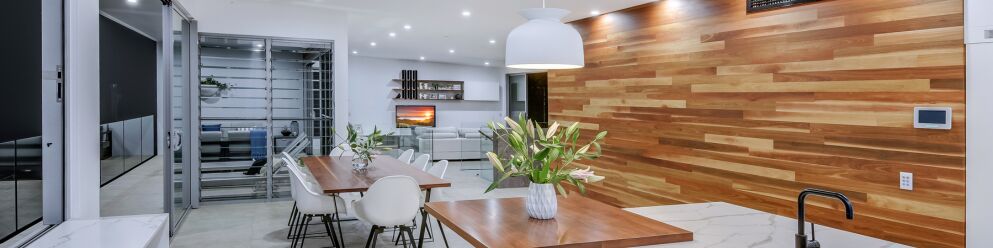
When it comes to real estate photography, there are many things to consider to ensure that the property looks its best, and one of the most important things to keep in mind is lighting. Should you turn the lights on or keep them off when shooting a property? Read this blog to find out.
READ MORE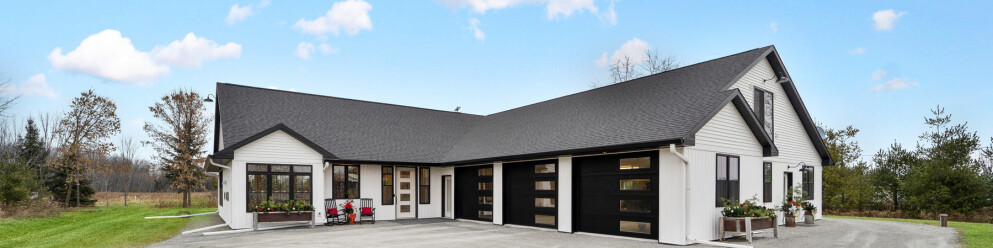
Want to know the dos and don'ts of using sky replacement in real estate photography? Learn how to ethically market property photos using this editing technique. Discover what's allowed, what's unethical, when to use it, and how it can benefit your property listings.
READ MORE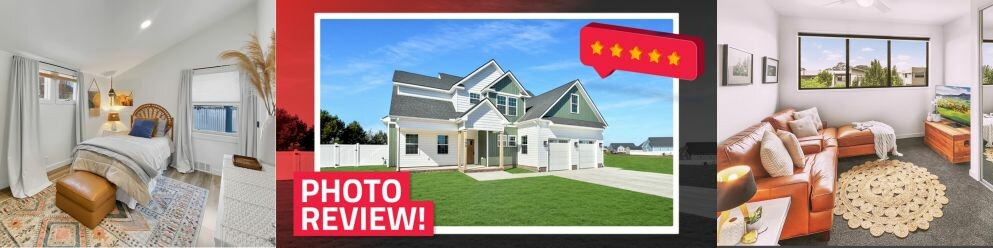
In our latest video, Brad shares essential photography tips while reviewing images taken by real estate agents with SnapSnapSnap. Find out what works and what can be improved. With Brad’s insights – you can maximize every shot you take!
READ MORE
How do you prepare and photograph a new listing when you may also be experiencing significant difficulties simply gaining access to the home? In this blog, we take a look at our top 10 tips for shooting a property when you can’t access the home yourself to help you combat these difficult times.
READ MORE
Haven’t shot a virtual tour before? No worries, our latest video will guide you through shooting a property for a virtual tour with a 360° camera. Get the inside know-how, so you can start creating dynamic marketing by showcasing a home virtually.
READ MORE