HOW TO SHOOT A HOUSE IN UNDER 7 MINUTES
Introduction
Want to learn how to shoot real estate like a pro? What about learning how to shoot a property in under 7 minutes? Well we've done exactly that! In this article, world class real estate photographer Brad Filliponi shares some of his tips on how to shoot and sell property faster!
Tip 1 – Use a professional setup
Using a professional setup will make your life so much easier! Brad’s recommended setup is the following:
- Nikon D7200
- Nikon DX AF-S 10-24mm f3.5 lens
- Nikon Speedlight SB-910 with diffuser
- Tripod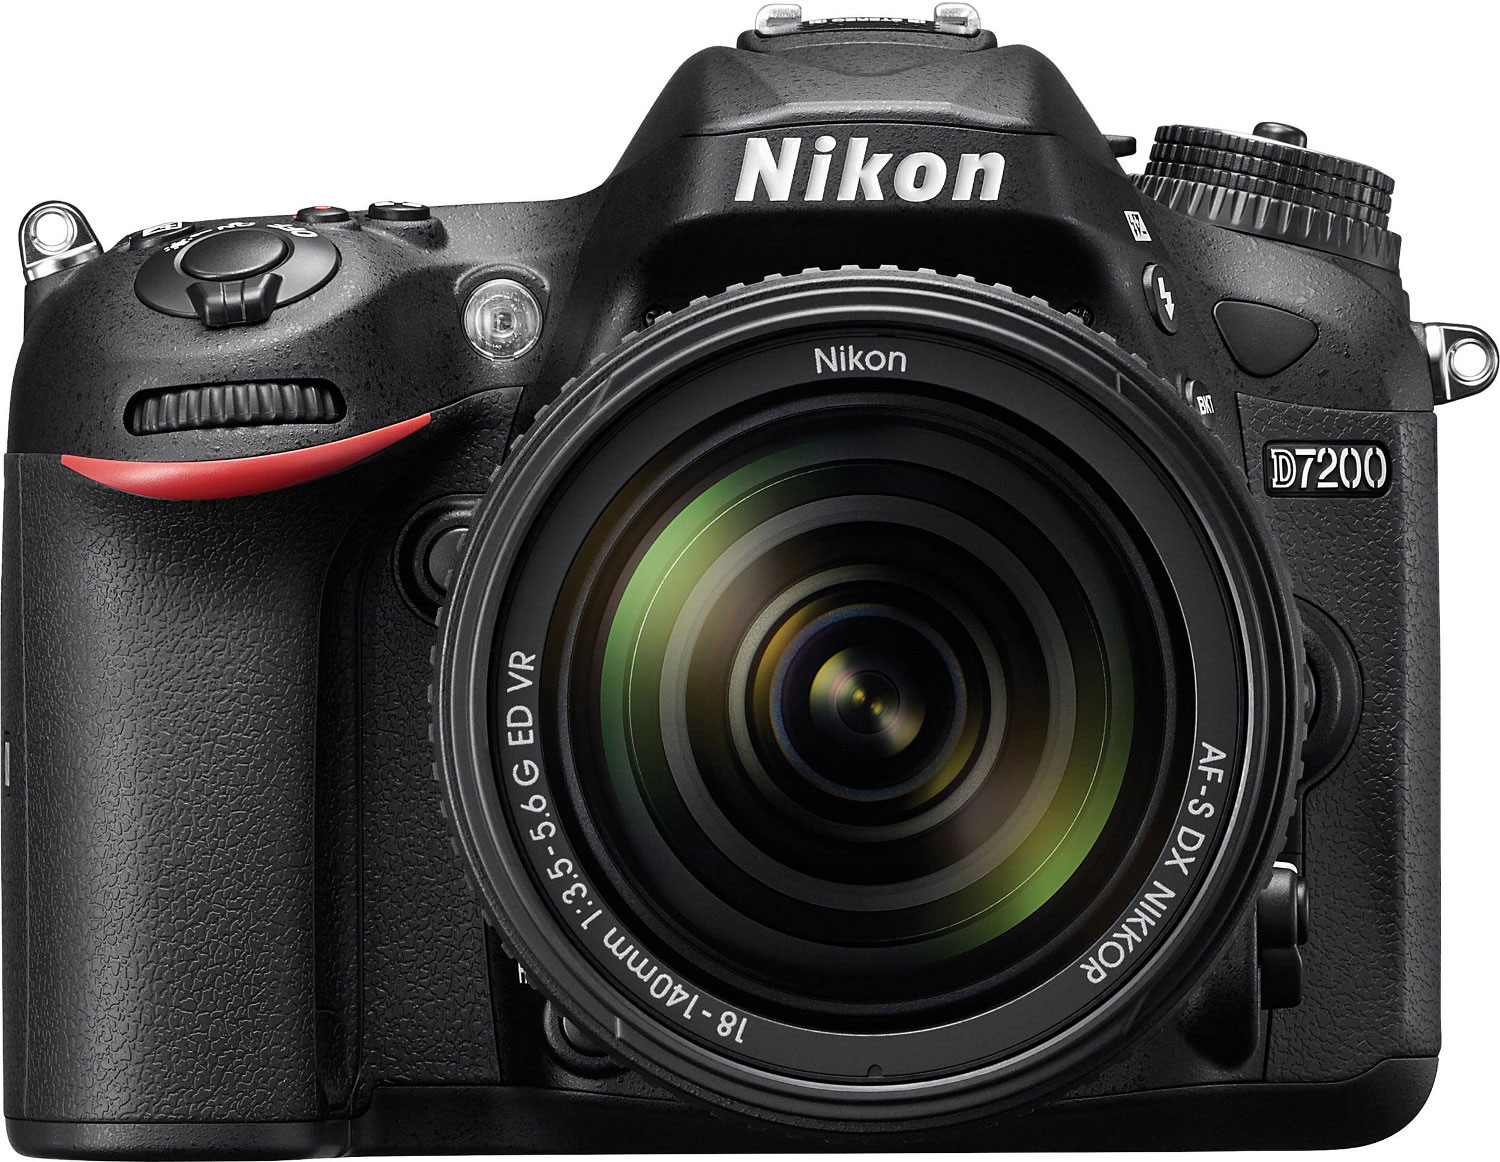
Tip 2 – Use a camera that can auto bracket
Auto bracketing is where your camera can automatically take 5 shots at 5 different exposures. You ideally want to be using a setup where you can literally press the shutter release once to take all 5 exposures. The 5 bracketed shots are then blended together producing a final professional image.
Tip 3 – Prepare the house before shooting it
Before you pick up your camera, make sure the house has been prepared to shoot! If real estate photography had to be broken down into 3 key areas:
- 1/3 is preparing the house
- 1/3 is photographing the house
- 1/3 is editing the pictures
All 3 areas have to be on point in order to produce a professional result.
We even offer a pre-photography checklist to help you ensure the property is ready every time!
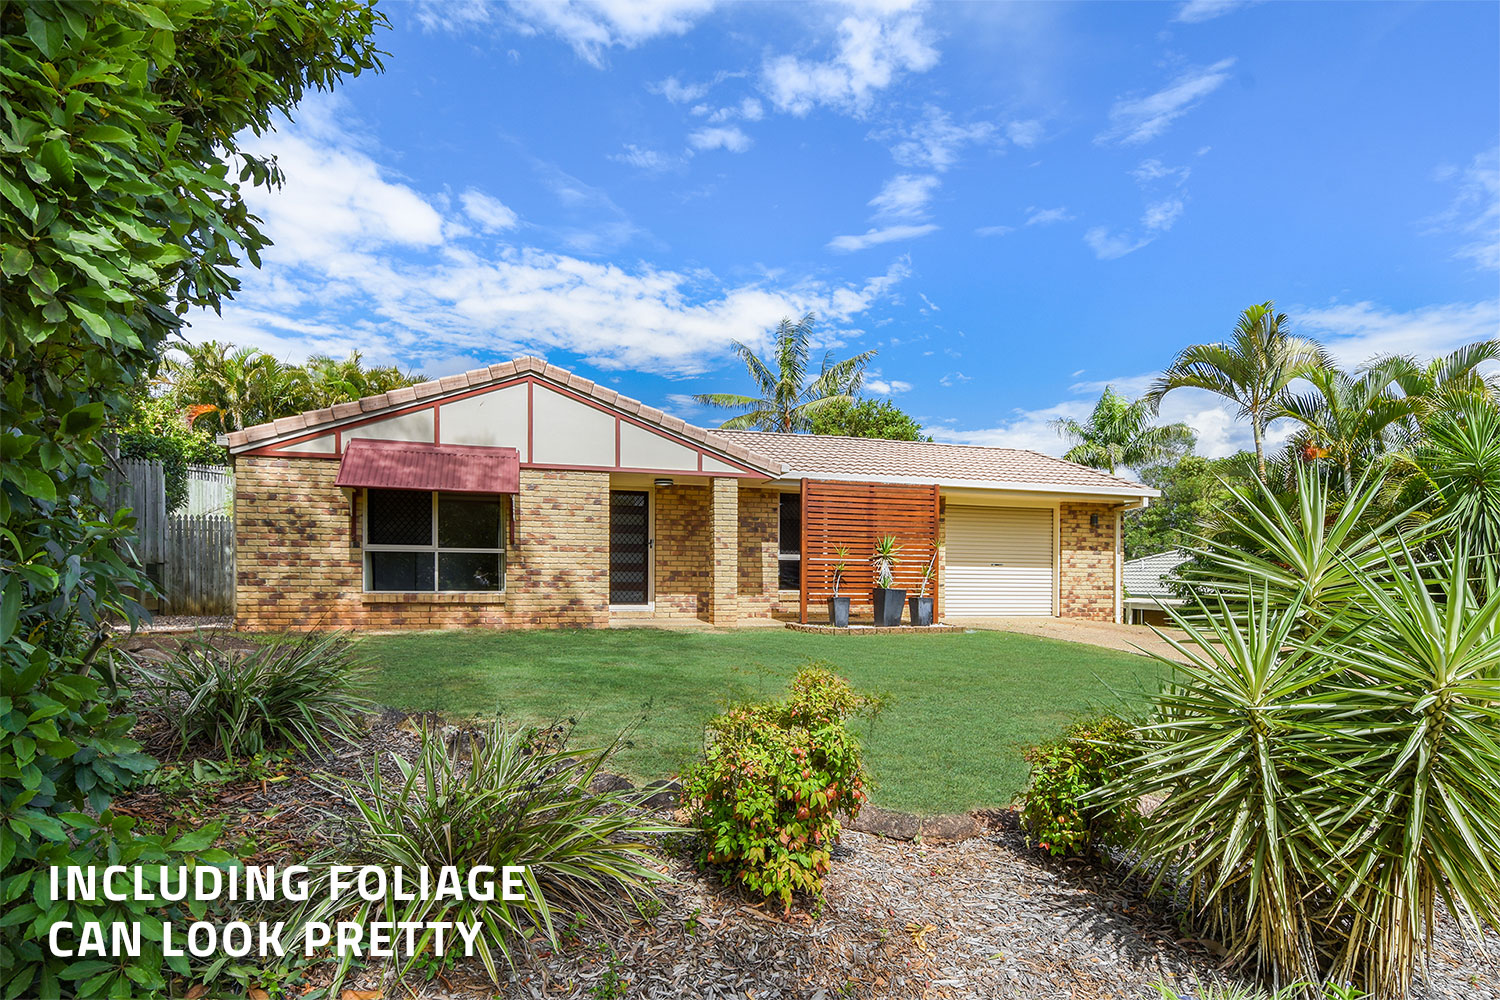
Tip 4 – Try including foliage in the shot
When shooting the house exterior, try experimenting a little by including a little foliage in the shot (sky or the ground). It can give the property a very beautiful feel.
Tip 5 – Shoot from higher ground
Shooting from the higher ground generally produces a far more aesthetic shot. On the other hand, shooting a property from the lower ground is generally not the preferred angle.
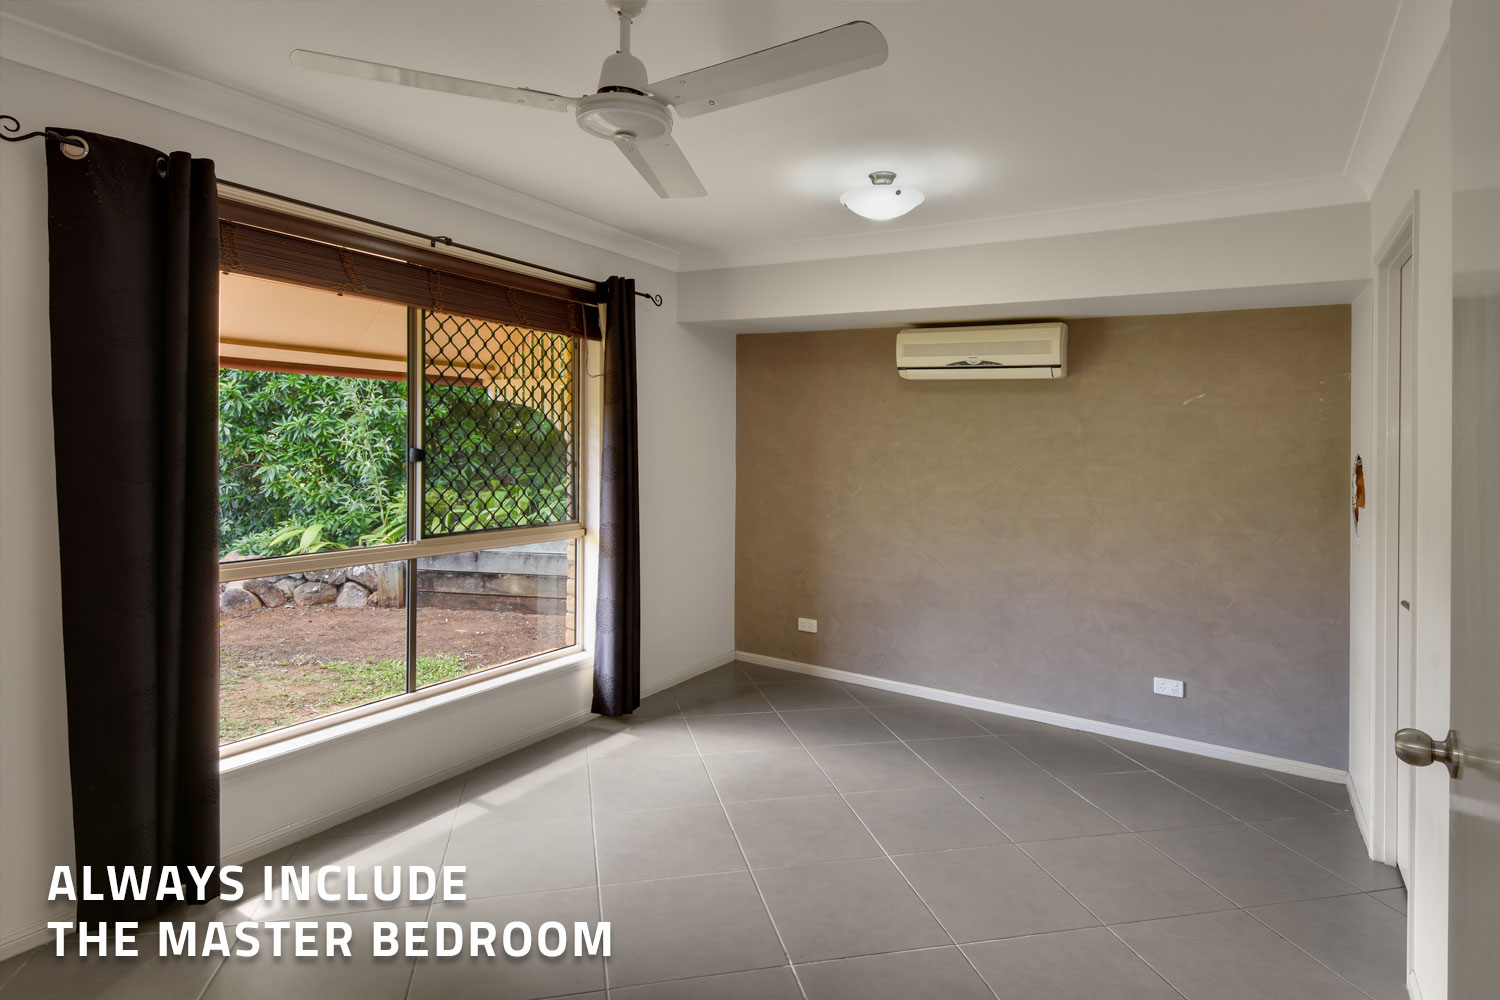
Tip 6 – Always shoot the master bedroom
The master bedroom is a key room of any property and should always be included.
Tip 7 – Shooting the second bedroom
If you’re shooting a second bedroom in a house where all the bedrooms look very generic, be mindful of what’s outside. The bedroom with the best view outside will generally be the shot to include.
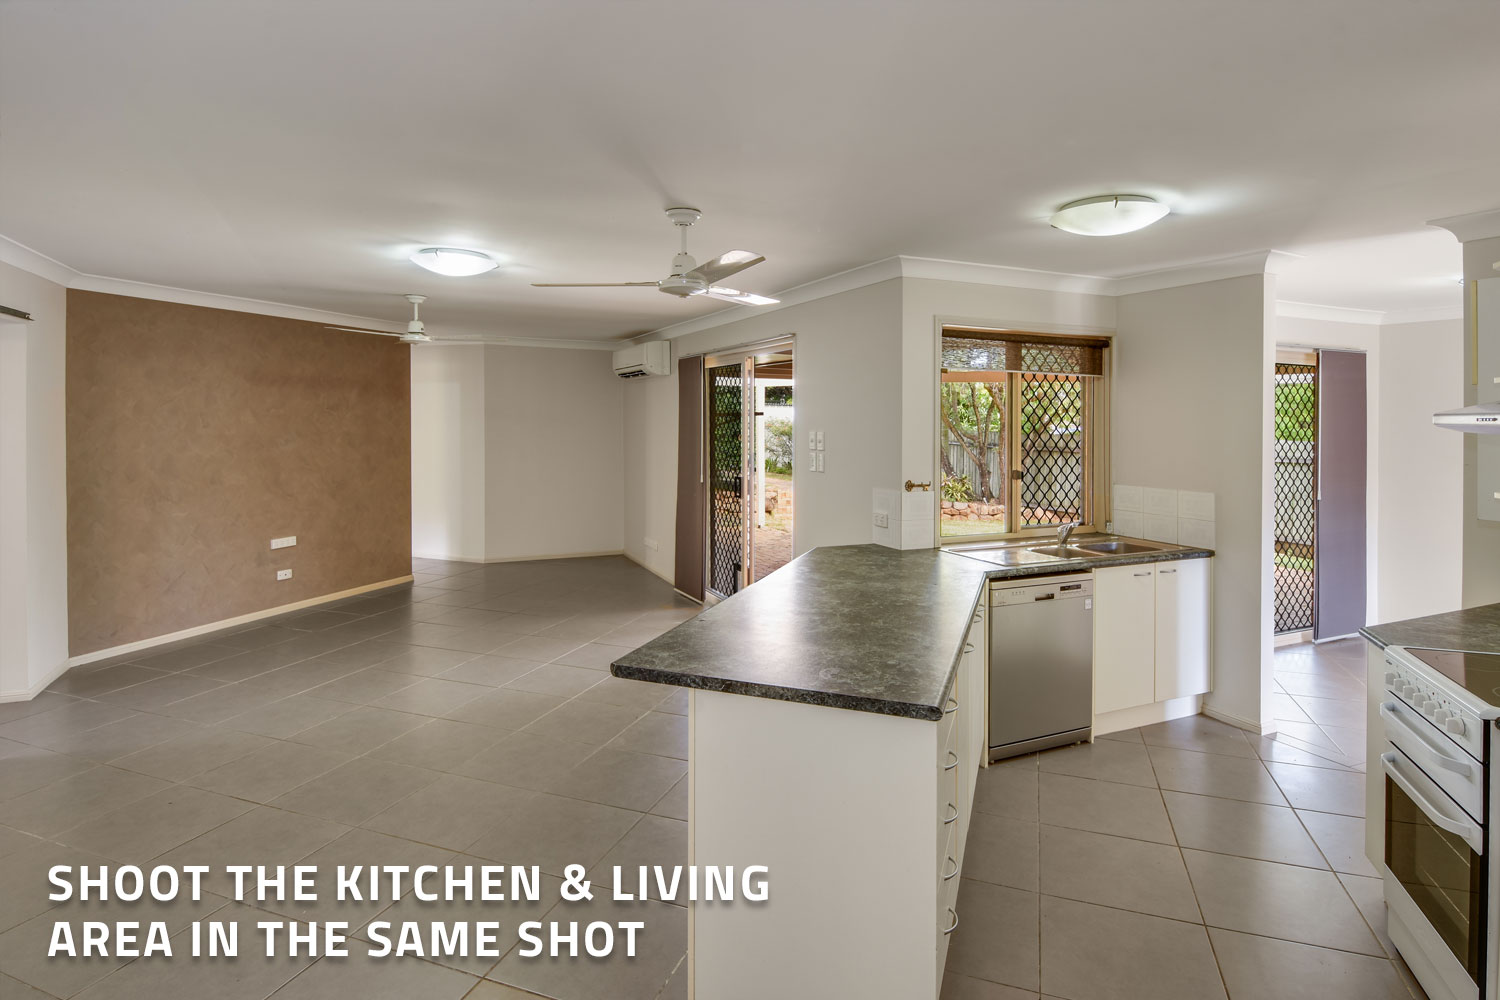
Tip 8 – Include the kitchen and living area in the same shot
Always great to include the kitchen and living area in the same shot if possible. They are both such a key areas of the house.
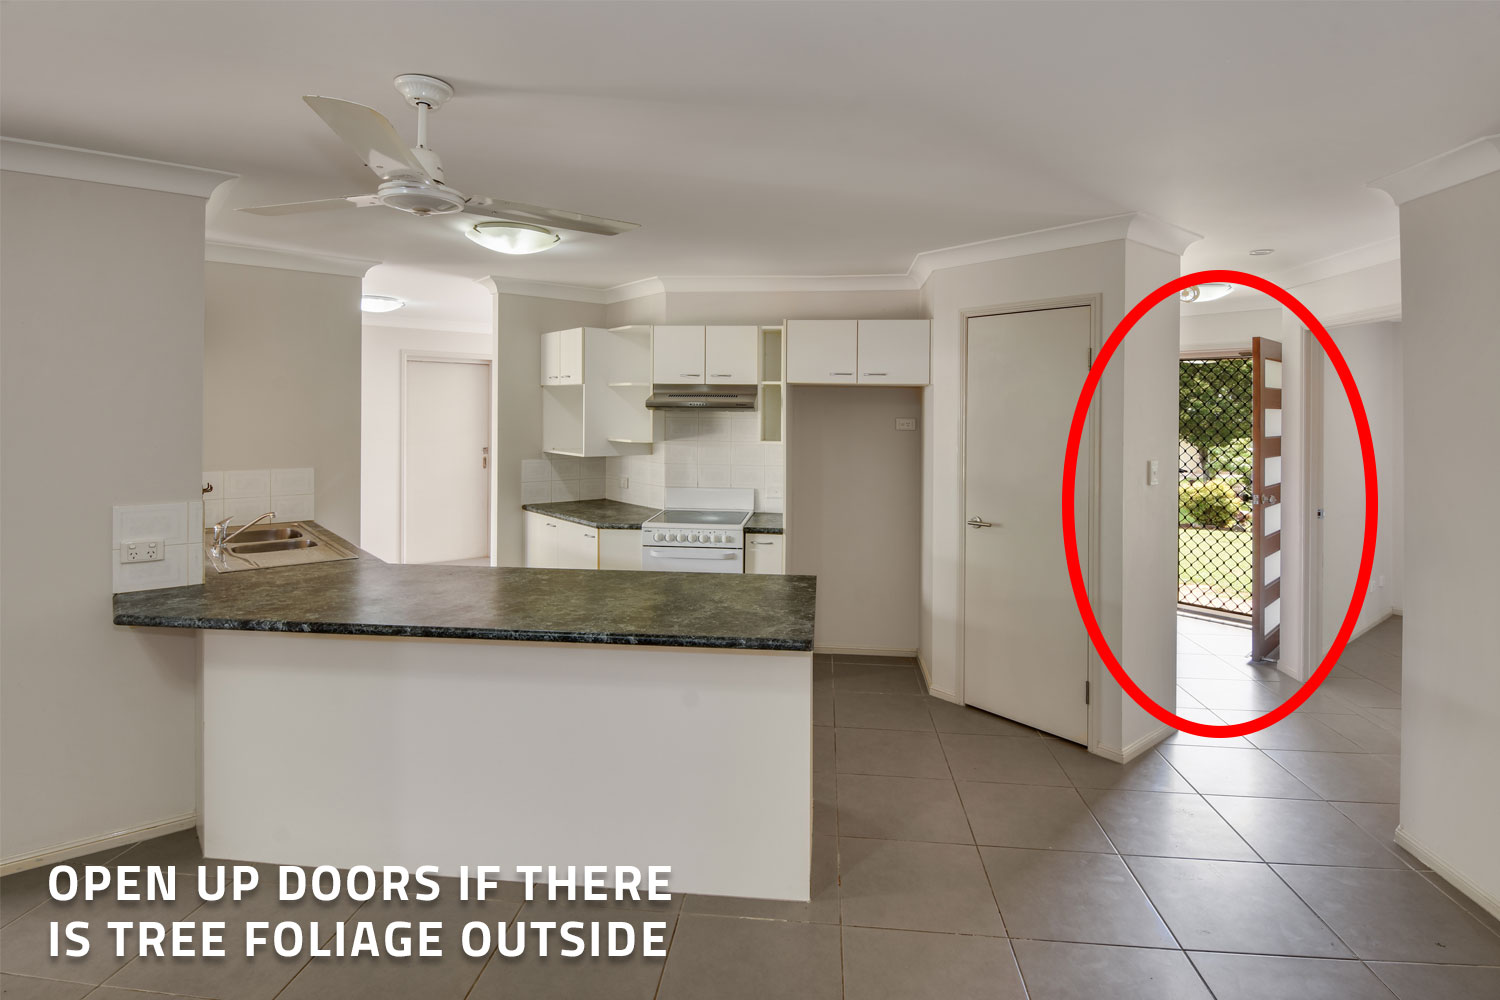
Tip 9 – Open up doors if there is a nice view outside
Always be mindful of what’s behind outside doors when shooting interiors. If there’s a nice view outside (like green tree foliage), then ensure to open up the door to create more flow to the area. This will also add a pop of green to your photo which can be a really nice touch (especially if your house interior is a monotone color).
Tip 10 – Shoot extra shots on site
Always better to shoot a few extra angles onsite then to come back and re-shoot any angles that you may have missed.
Tip 11 – Jump out of the reflection when shooting bathrooms
When shooting the bathroom, press the shutter release and jump out of the shot. It's far easier to edit out the tripod from the mirror reflection (rather then editing out both yourself and the tripod!).
Summary
So there you have it... 11 cool tips on how to shoot property faster and better! We hope these tips help you with your real estate marketing so that you can generate more interest and make more sales!
RELATED ARTICLES
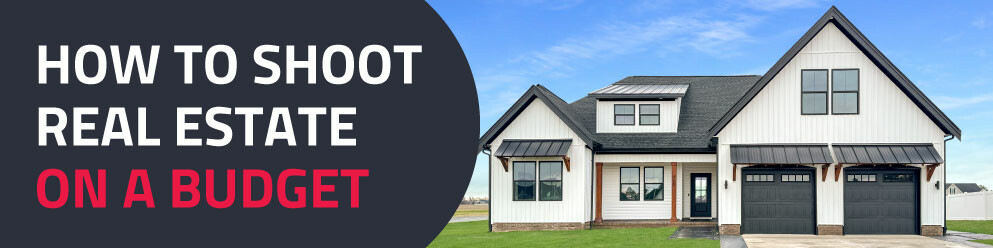
Discover how to shoot high-quality real estate photos on a budget! Learn pro tips, the best smartphone tricks, and how SnapSnapSnap’s automatic bracketing makes editing effortless.
READ MORE
Eager to experiment with 360-degree virtual tours but are nervous about spending too much time and money getting started? In this blog, we put three of the best 360-degree budget cameras to the test to understand if it's possible to produce professional-quality virtual tours for real estate without breaking the bank.
READ MORE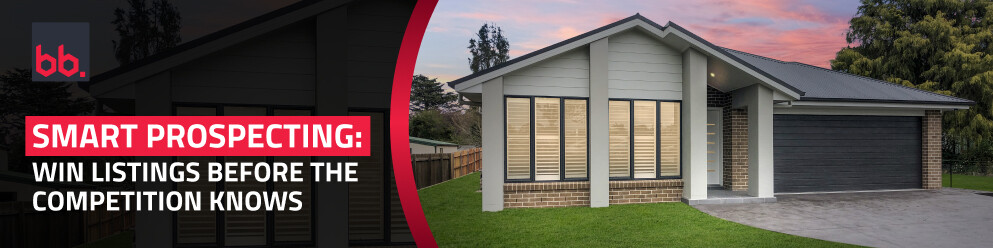
Want to secure more business? Wow sellers at listing presentations with our winning strategy! And for prospecting, use the same tools to generate leads with a marketing strategy personalized for each potential client.
READ MORE
Sure, Instagram’s important. But potential clients are more likely to ask Google about you before they check your IG. This video shows you how to stand out from the crowd on Google, and how we can help you accomplish this important aim.
READ MORE
Get your team 2026-ready with our free property marketing training! We tailor each session to your team’s needs — from cost-effective photography that streamlines your marketing to creating listings that stop the scroll. Save time, boost results, and start January strong.
READ MORE
Market your property by standing out from the crowd with an engaging hero shot. Learn the tips to look out for when selecting the right image for your listing.
READ MORE