HOW TO SHOOT REAL ESTATE PHOTOS IN THE RAIN (WITHOUT RESCHEDULING)
Rain never checks your calendar. The listing goes live Friday, the sellers took the day off work, and you wake up to a forecast that's gone gray from end to end.
You can shoot real estate photos in the rain, and you can get results a seller will be happy with. It comes down to three things: the order you shoot in, the settings you use in low light, and what you hand off to post-production afterward.
Here's how to run a wet-weather shoot without losing the day.
Short on time? Shoot interiors while it's pouring, save exteriors for the first dry gap, put the camera on a tripod, turn on every light in the house, and let editing handle the gray sky and the wet driveway.
1. Check a Live Radar Instead of Just the Forecast
Rain almost never falls steadily all day. It comes in waves with gaps in between, and those gaps are where your exterior shots can get captured.
An hourly forecast won't help you find them. "80% chance of rain" tells you nothing about when. A live radar map shows you the rain itself: where it is right now, which direction it's moving, and how long before it clears the property.
RainViewer is a good free option. It covers more than 80 countries and includes a two-hour rain forecast, so you can see your gap before you leave the house. Most free radar apps offer something similar.
Once you can see the break coming, you're working from a plan instead of a guess. Radar says the rain eases around 2 p.m.? Shoot every interior first and step outside at 2.
Share that plan with the homeowner when you arrive. "I'll start inside and head out once it clears" sets a far better tone than explaining at the end of the shoot why there are no exterior photos.
2. Shoot Interiors First, Exteriors Last
Here’s the thing: when it’s raining heavily, you can actually see the rain falling in your photos.
Those raindrops can blur your shots and create reflections or haze, which distracts from the property’s features. Even worse, the rain can be visible on everything from the building’s exterior and windows to paths, gardens, or driveways.
Start indoors and work through the full interior list while the weather does whatever it's doing. By the time you finish, you've either caught a break in the rain, or you have a complete set of interiors and a much shorter return trip.
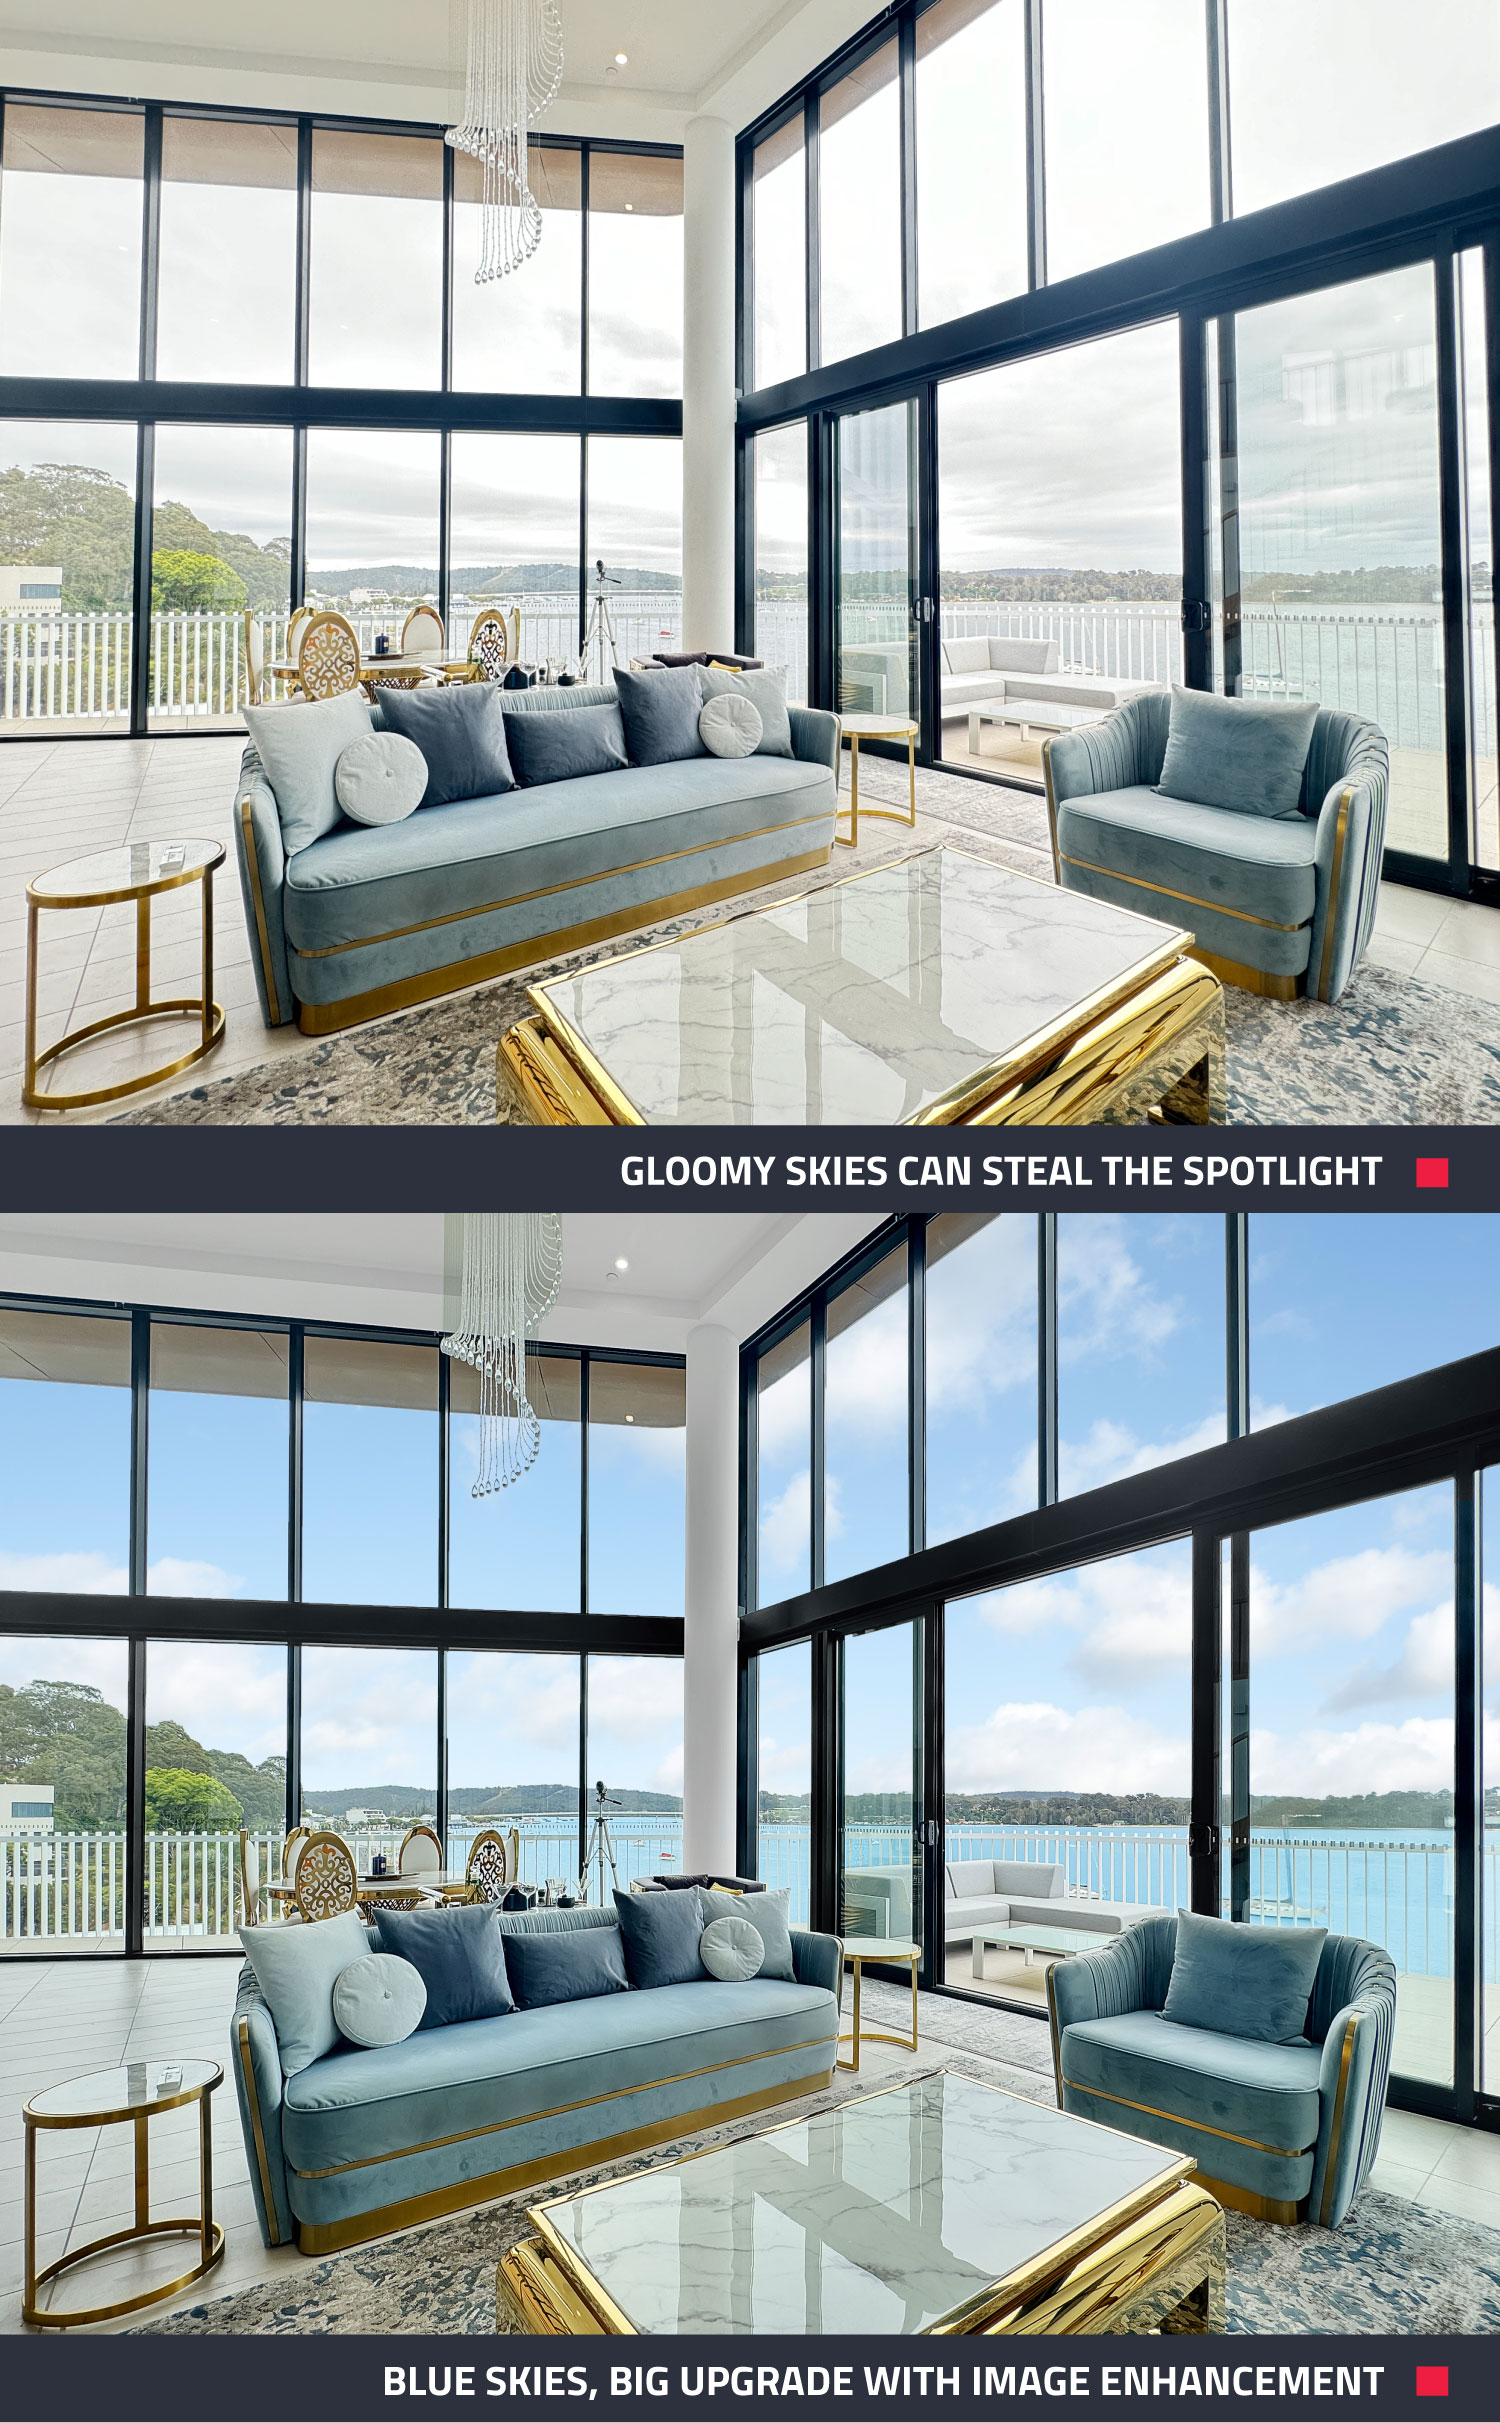
These shots are perfect candidates for an Image Enhancement edit, which we can easily apply to transform dreary skies into bright, sunny backdrops.
If you do get a dry gap, prioritize in this order: front facade, rear yard and outdoor living, then any secondary angles. Facade first, always.
3. Bring an Umbrella
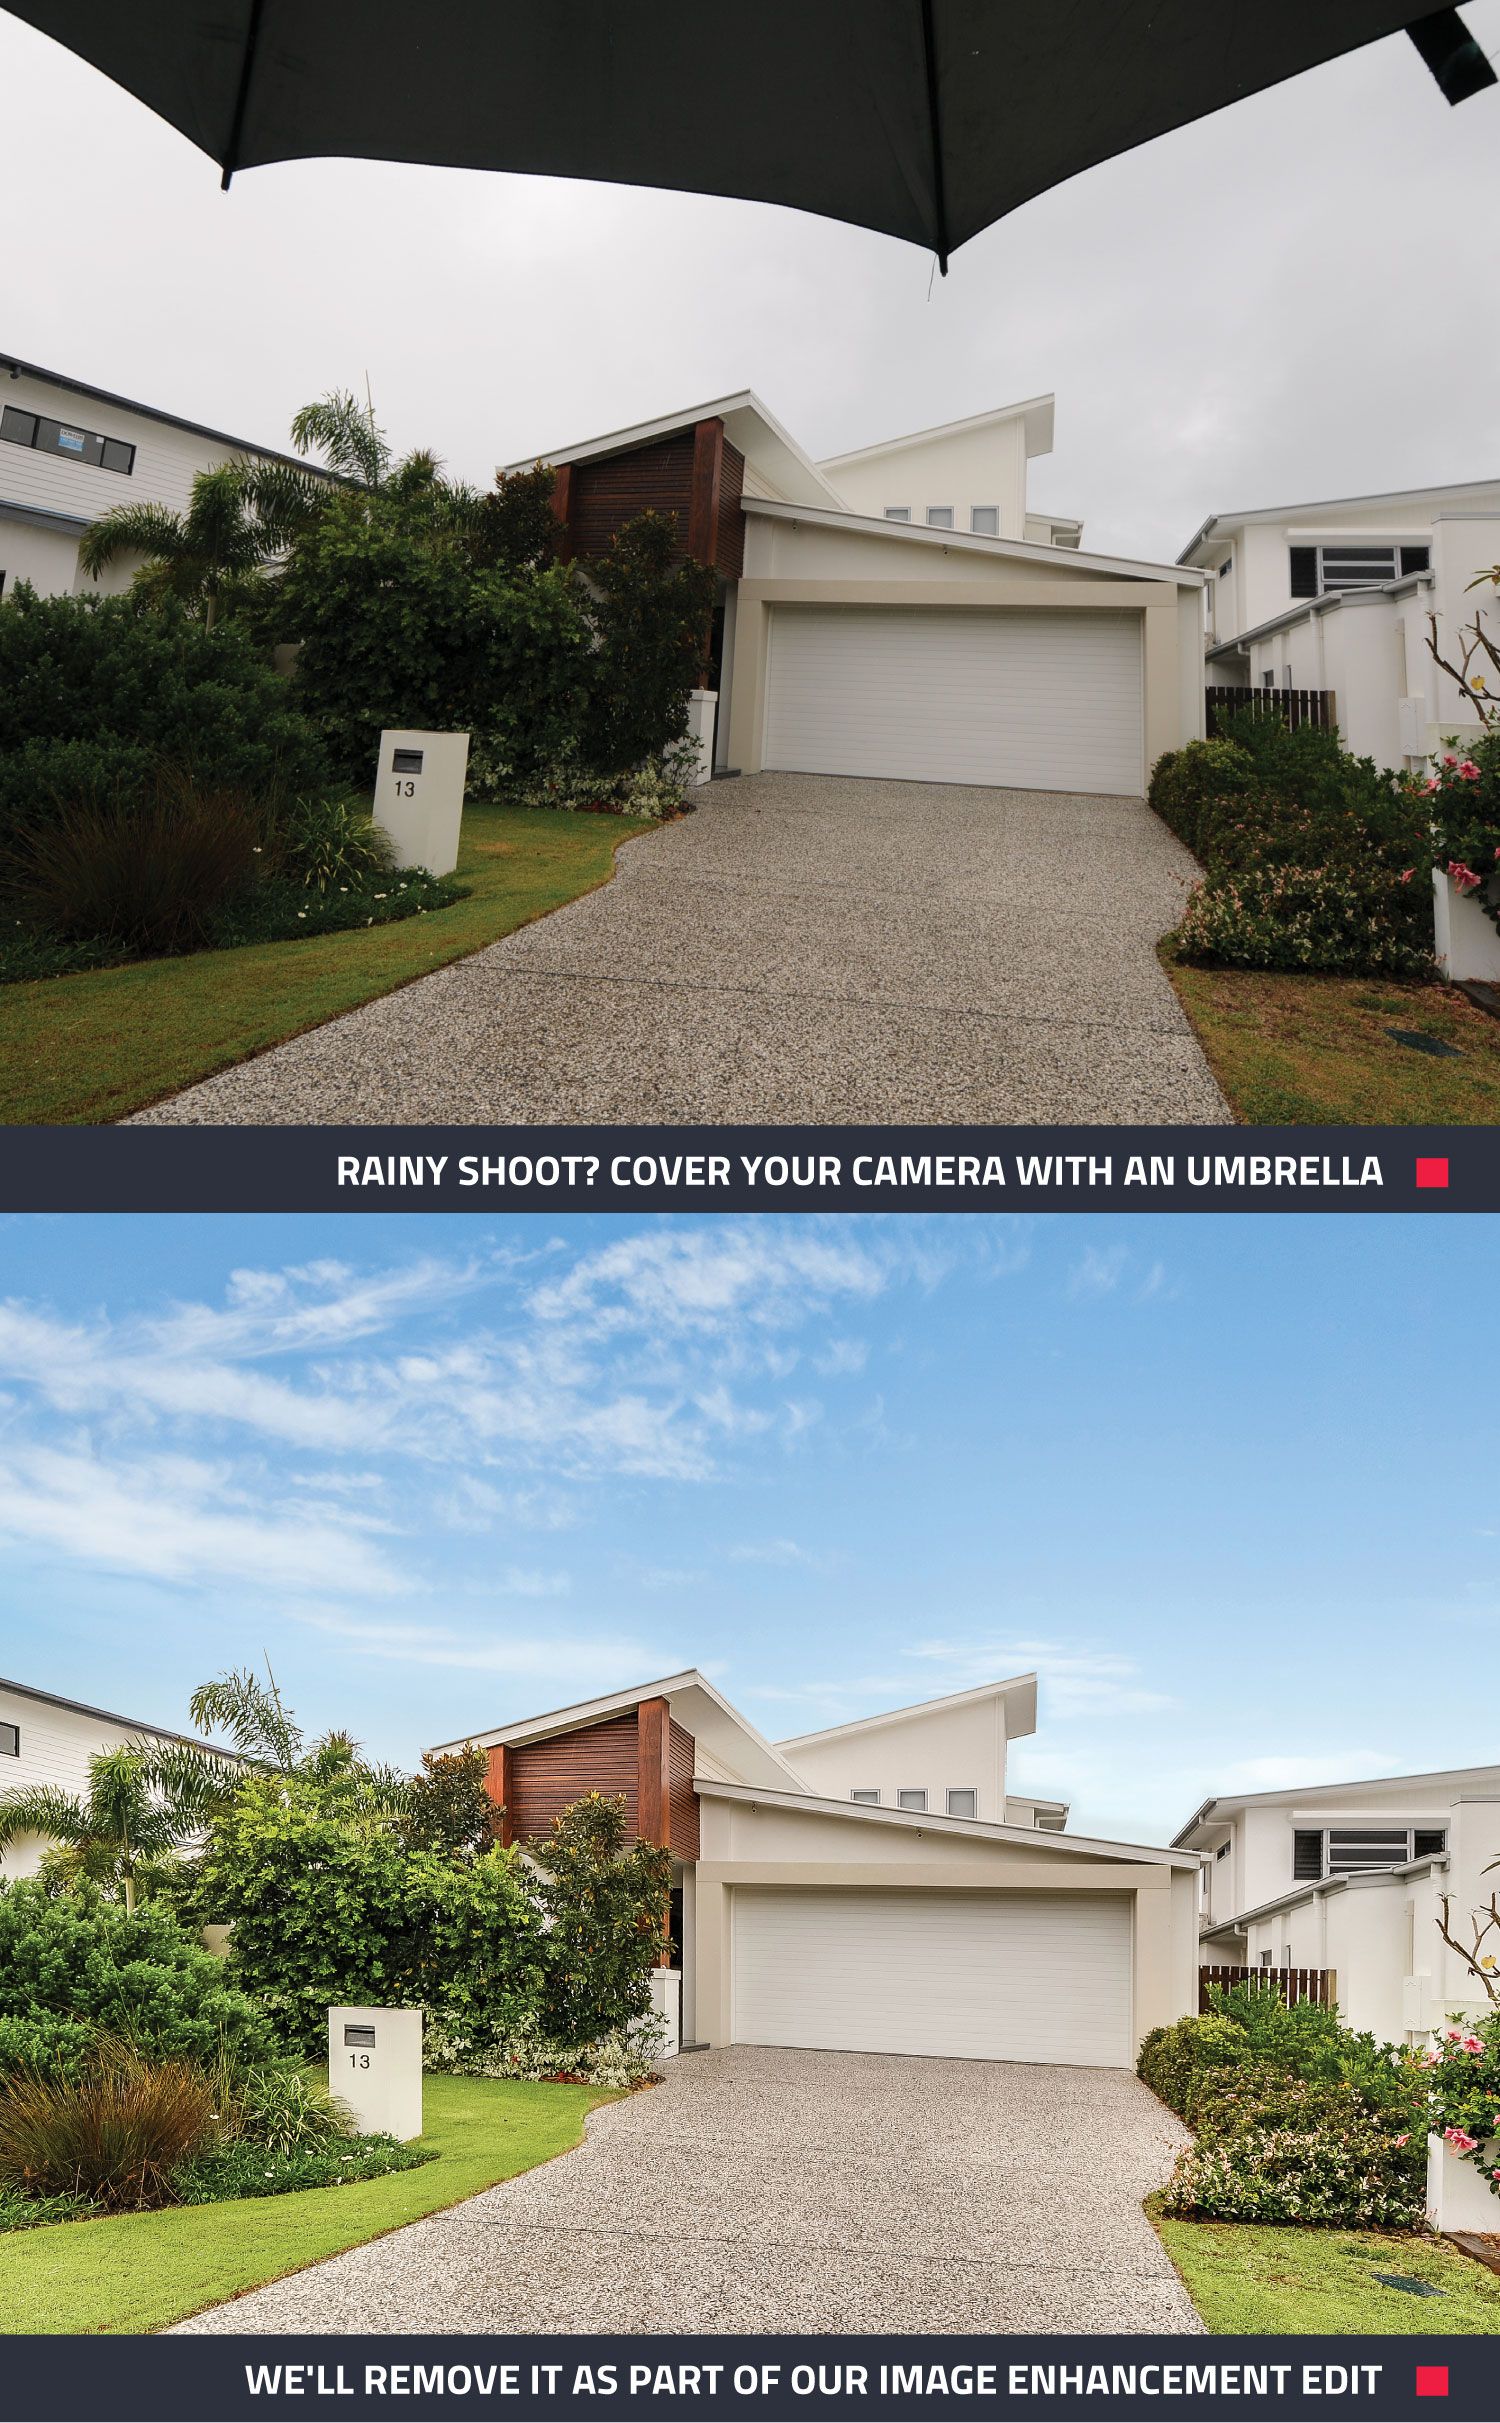
It sounds simple, but bringing an umbrella can be a lifesaver during a rainy shoot. It’s not just for you—it helps protect your camera from direct raindrops when you’re shooting outdoors. Pair it with a lens hood or rain sleeve for extra coverage, and you’ll reduce the risk of water spots and keep your gear safe and dry.

4. Use Cloud Cover to Your Advantage
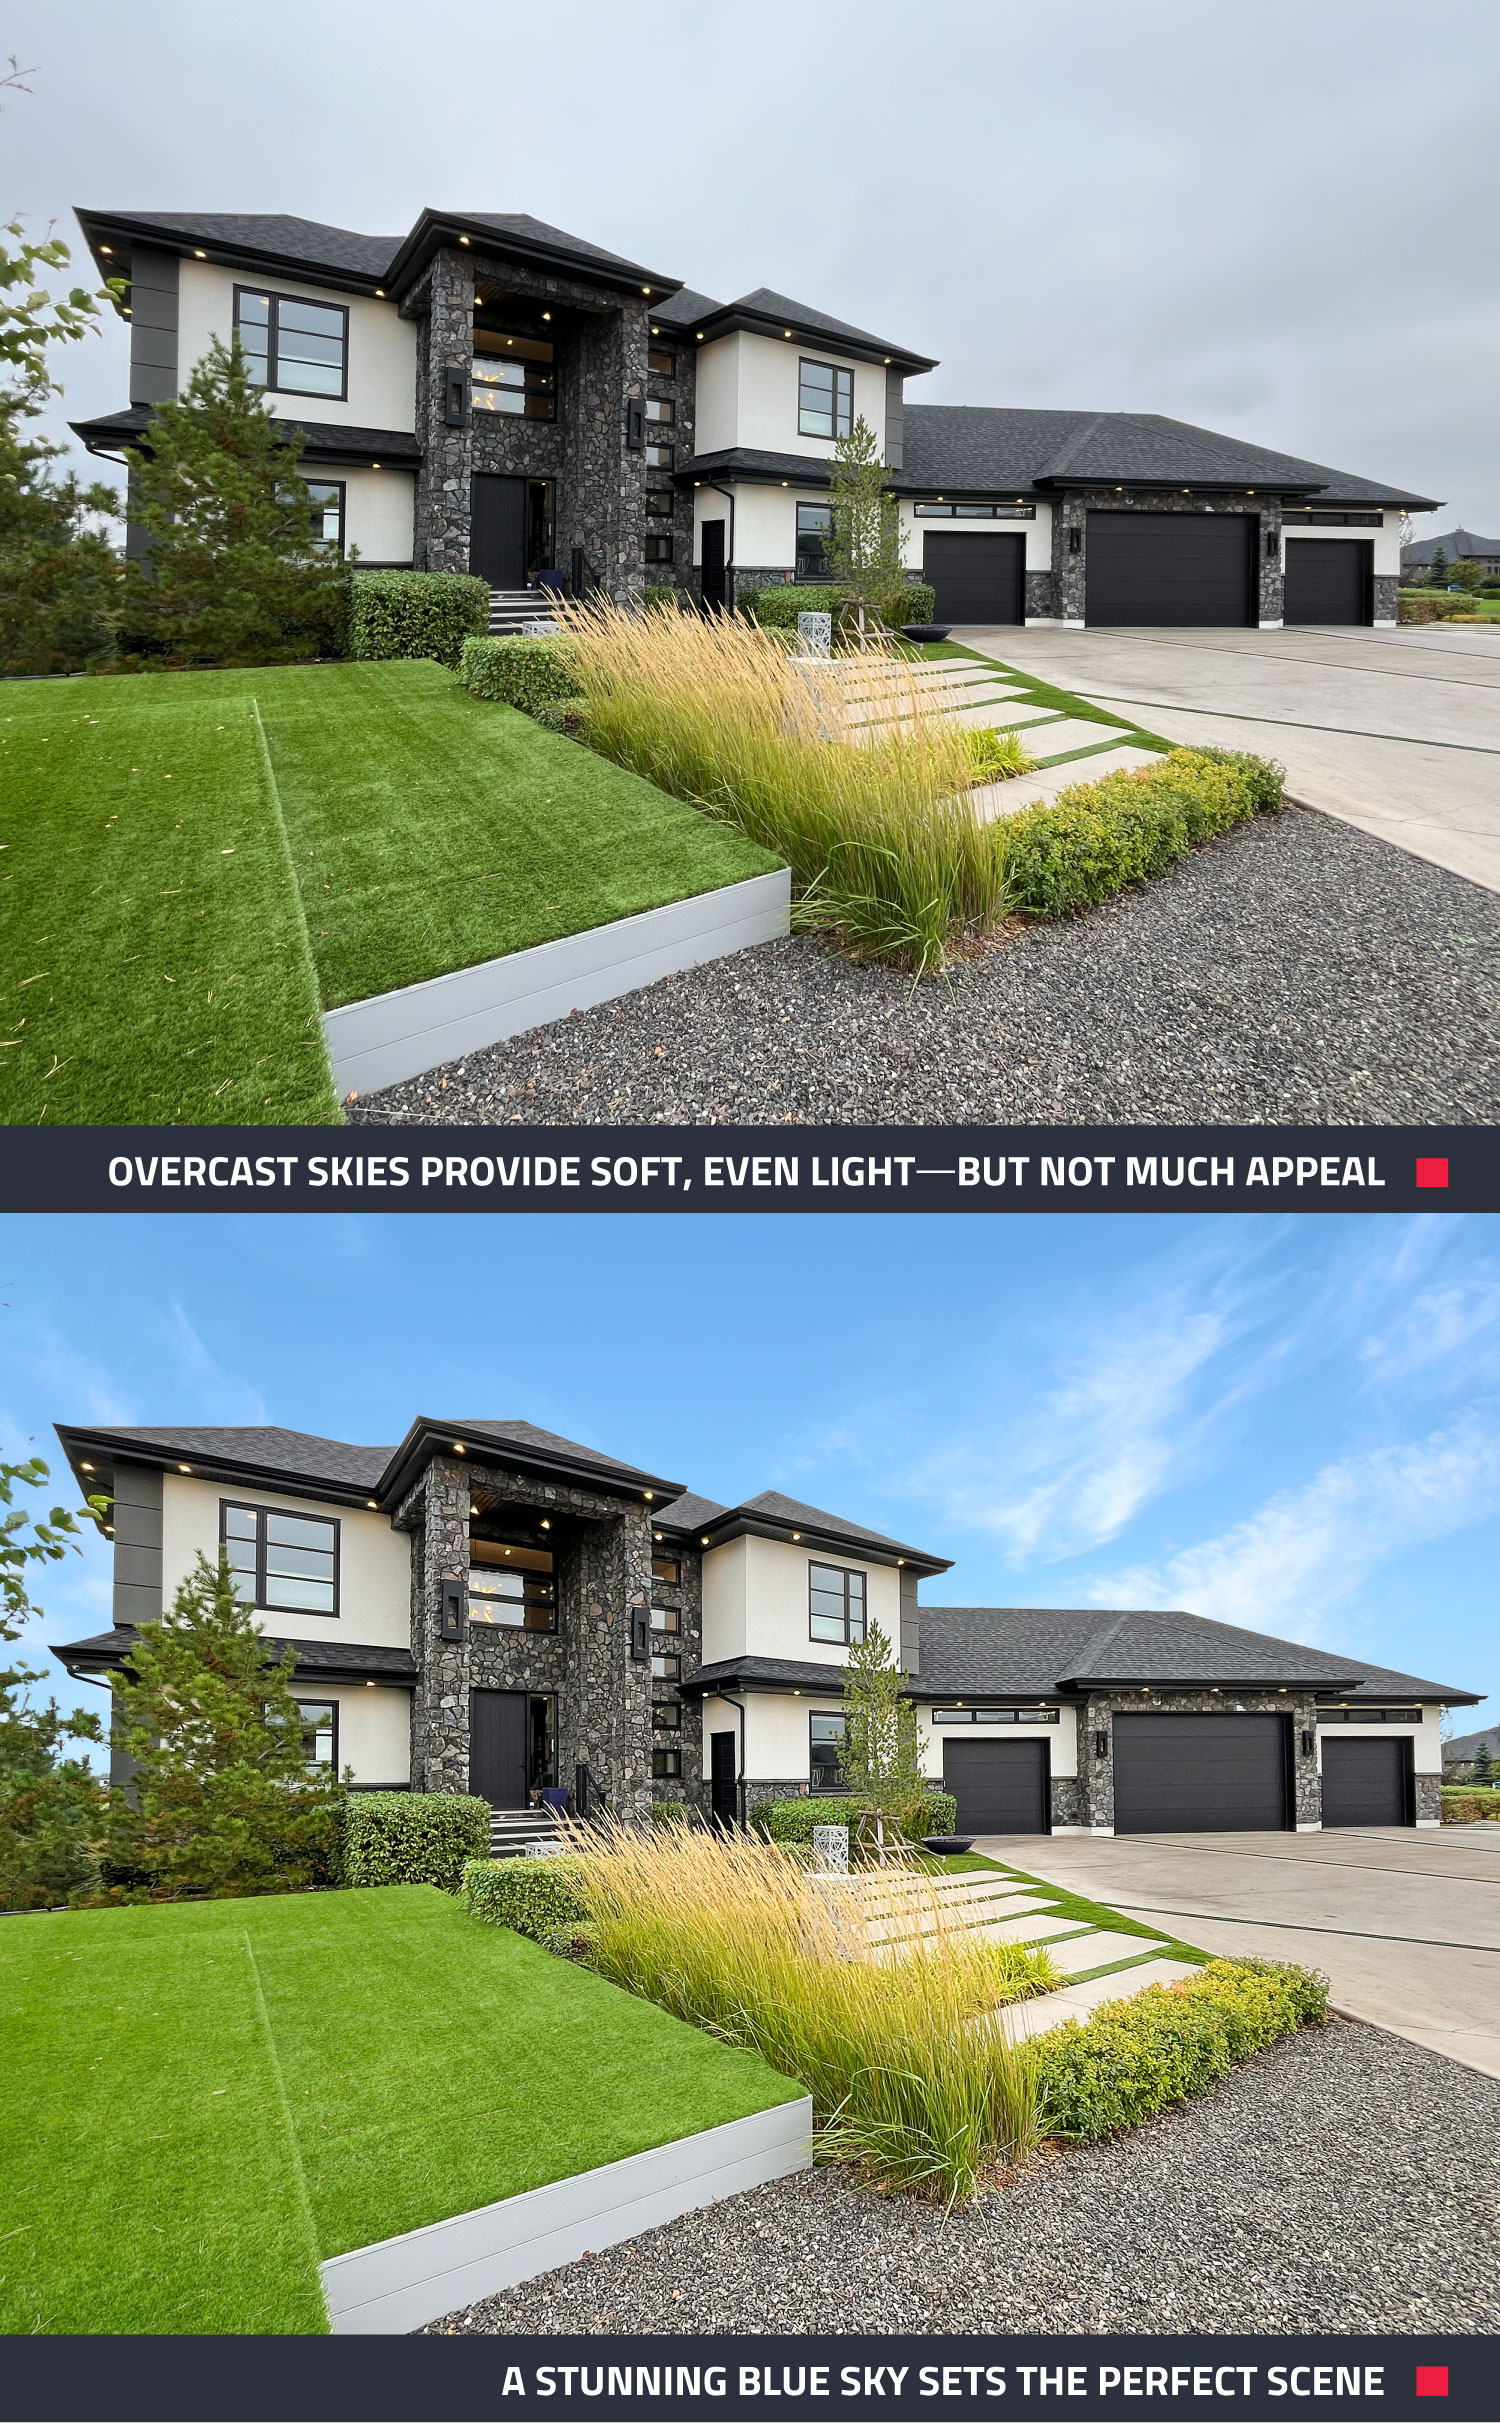
Here's the part many tend to forget: overcast light is genuinely good light.
Cloud cover works as a giant diffuser. It softens harsh shadows, eliminates the blown-out highlights you fight on a bright afternoon, and lights every side of a building evenly. There's no scrambling to shoot the north face before the sun swings around.
It's particularly good for gardens, courtyards, covered patios, and any exterior detail shot. Foliage saturates beautifully under diffused light. And once the rain stops, wet paving and stone go dark and rich in a way dry surfaces never do.
5. Turn on Every Light in the House
Gray daylight makes interiors look flat and cold. The fastest fix costs nothing.
Walk the property and switch on everything: overheads, lamps, under-cabinet strips, the range hood light, the vanity lights, closet lights, and any exterior fixtures visible through windows. Open every blind and curtain to their widest position.
The goal is warmth and dimension. Lit lamps in a corner give a room depth that flat window light can't, and warm pools of light against cool daylight read as inviting rather than dim.
6. Wipe the Lens Frequently
Even a light mist leaves water on the front of your lens. You won't spot it through the viewfinder, but it turns up in the finished photo as a soft, hazy patch in one corner of the frame.
Keep a microfiber cloth in your pocket, not in your bag, and wipe before every exterior frame. Thirty seconds of habit here saves an hour of retouching later.
Worth knowing: moving a cold camera into a warm house fogs the lens instantly. If you're going back and forth, give the body a few minutes to acclimate before you start shooting, or keep a second lens sealed in your bag as a backup.
7. Clean It Up with Item Removal & Virtual Cleaning
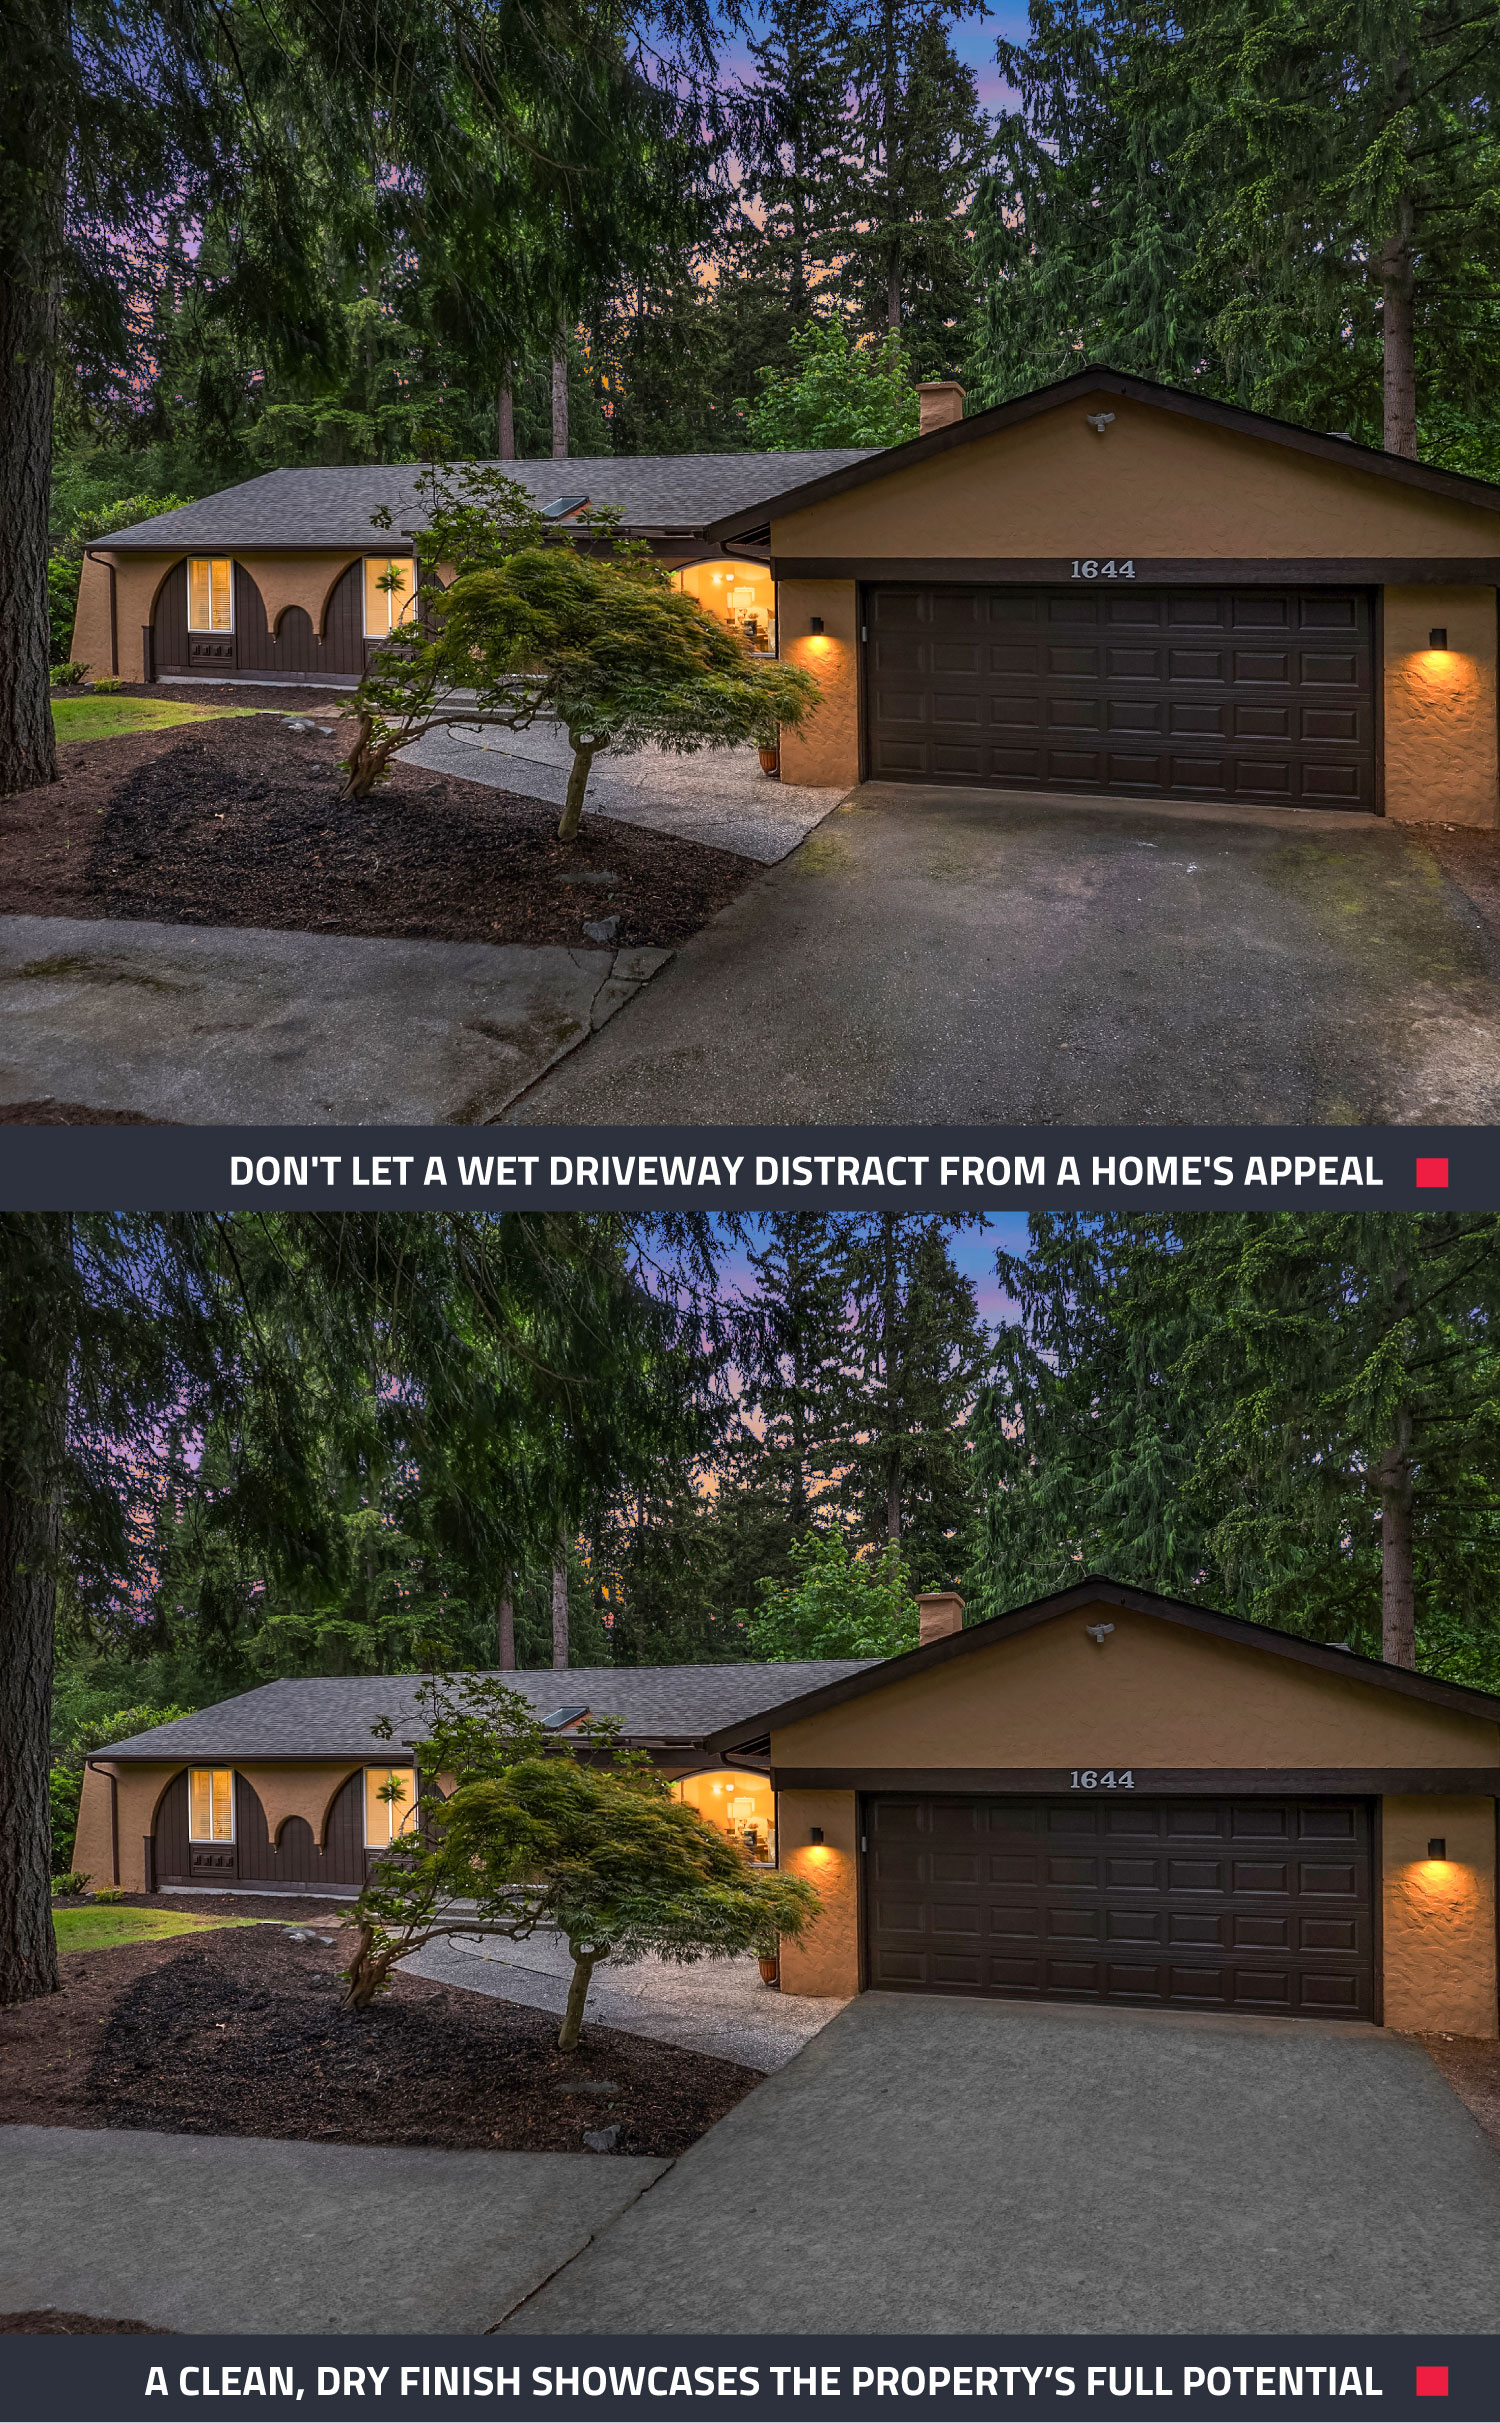
Sometimes, no matter how careful you are, the rain still leaves its mark. Whether it’s a wet driveway, puddles on a path, or water spots on windows, these can all affect the quality of your final photos.
Our Item Removal & Virtual Cleaning service is a fast, affordable solution to fix those issues. We can virtually dry up damp outdoor spaces, remove water droplets, and polish your images to look like the sun was shining all along.
Make It Work, Rain or Shine
Rainy weather doesn’t have to ruin your shoot. With a few smart techniques and our service, you can still create high-quality, professional photos that show off the property in its best light.
Need help cleaning up your rainy-day images? Try a free edit today, or check out our full suite of editing services to make every listing shine — rain, hail, or sunshine.
RELATED ARTICLES

Gotta see it to believe it! Our Virtual Renovation service can transform even an old shed into a stunning Air BnB rental. If you have unused space on your property, this post can show you how to turn that emptiness into income.
READ MORE
There are so many marketing options these days that it is easy to spread yourself too thin. These 10 tips will save you time and money and net you the best possible results.
READ MORE
You don't need to wait for ideal weather to shoot a property. Learn these simples tips for shooting in wet weather.
READ MORE
Have you used virtual staging before? This powerful marketing tool can increase a property’s sellability and make your listing stand out to house-hunters. Find out why you should be using virtual staging to market your listings.
READ MORE
In this video, Brad covers all the key tips to take your marketing to the next level. Giving you the key tips to present your listing and get you and your client the best result.
READ MORE
Looking for an innovative way to take your property marketing to the next level without breaking the bank? The new iPhone 11 is amazing and in this blog we are going to show you our top tips to professionally shoot your next real estate listing without the need for bulky and expensive camera equipment.
READ MORE