HOW TO SHOOT MESSY BEDROOMS
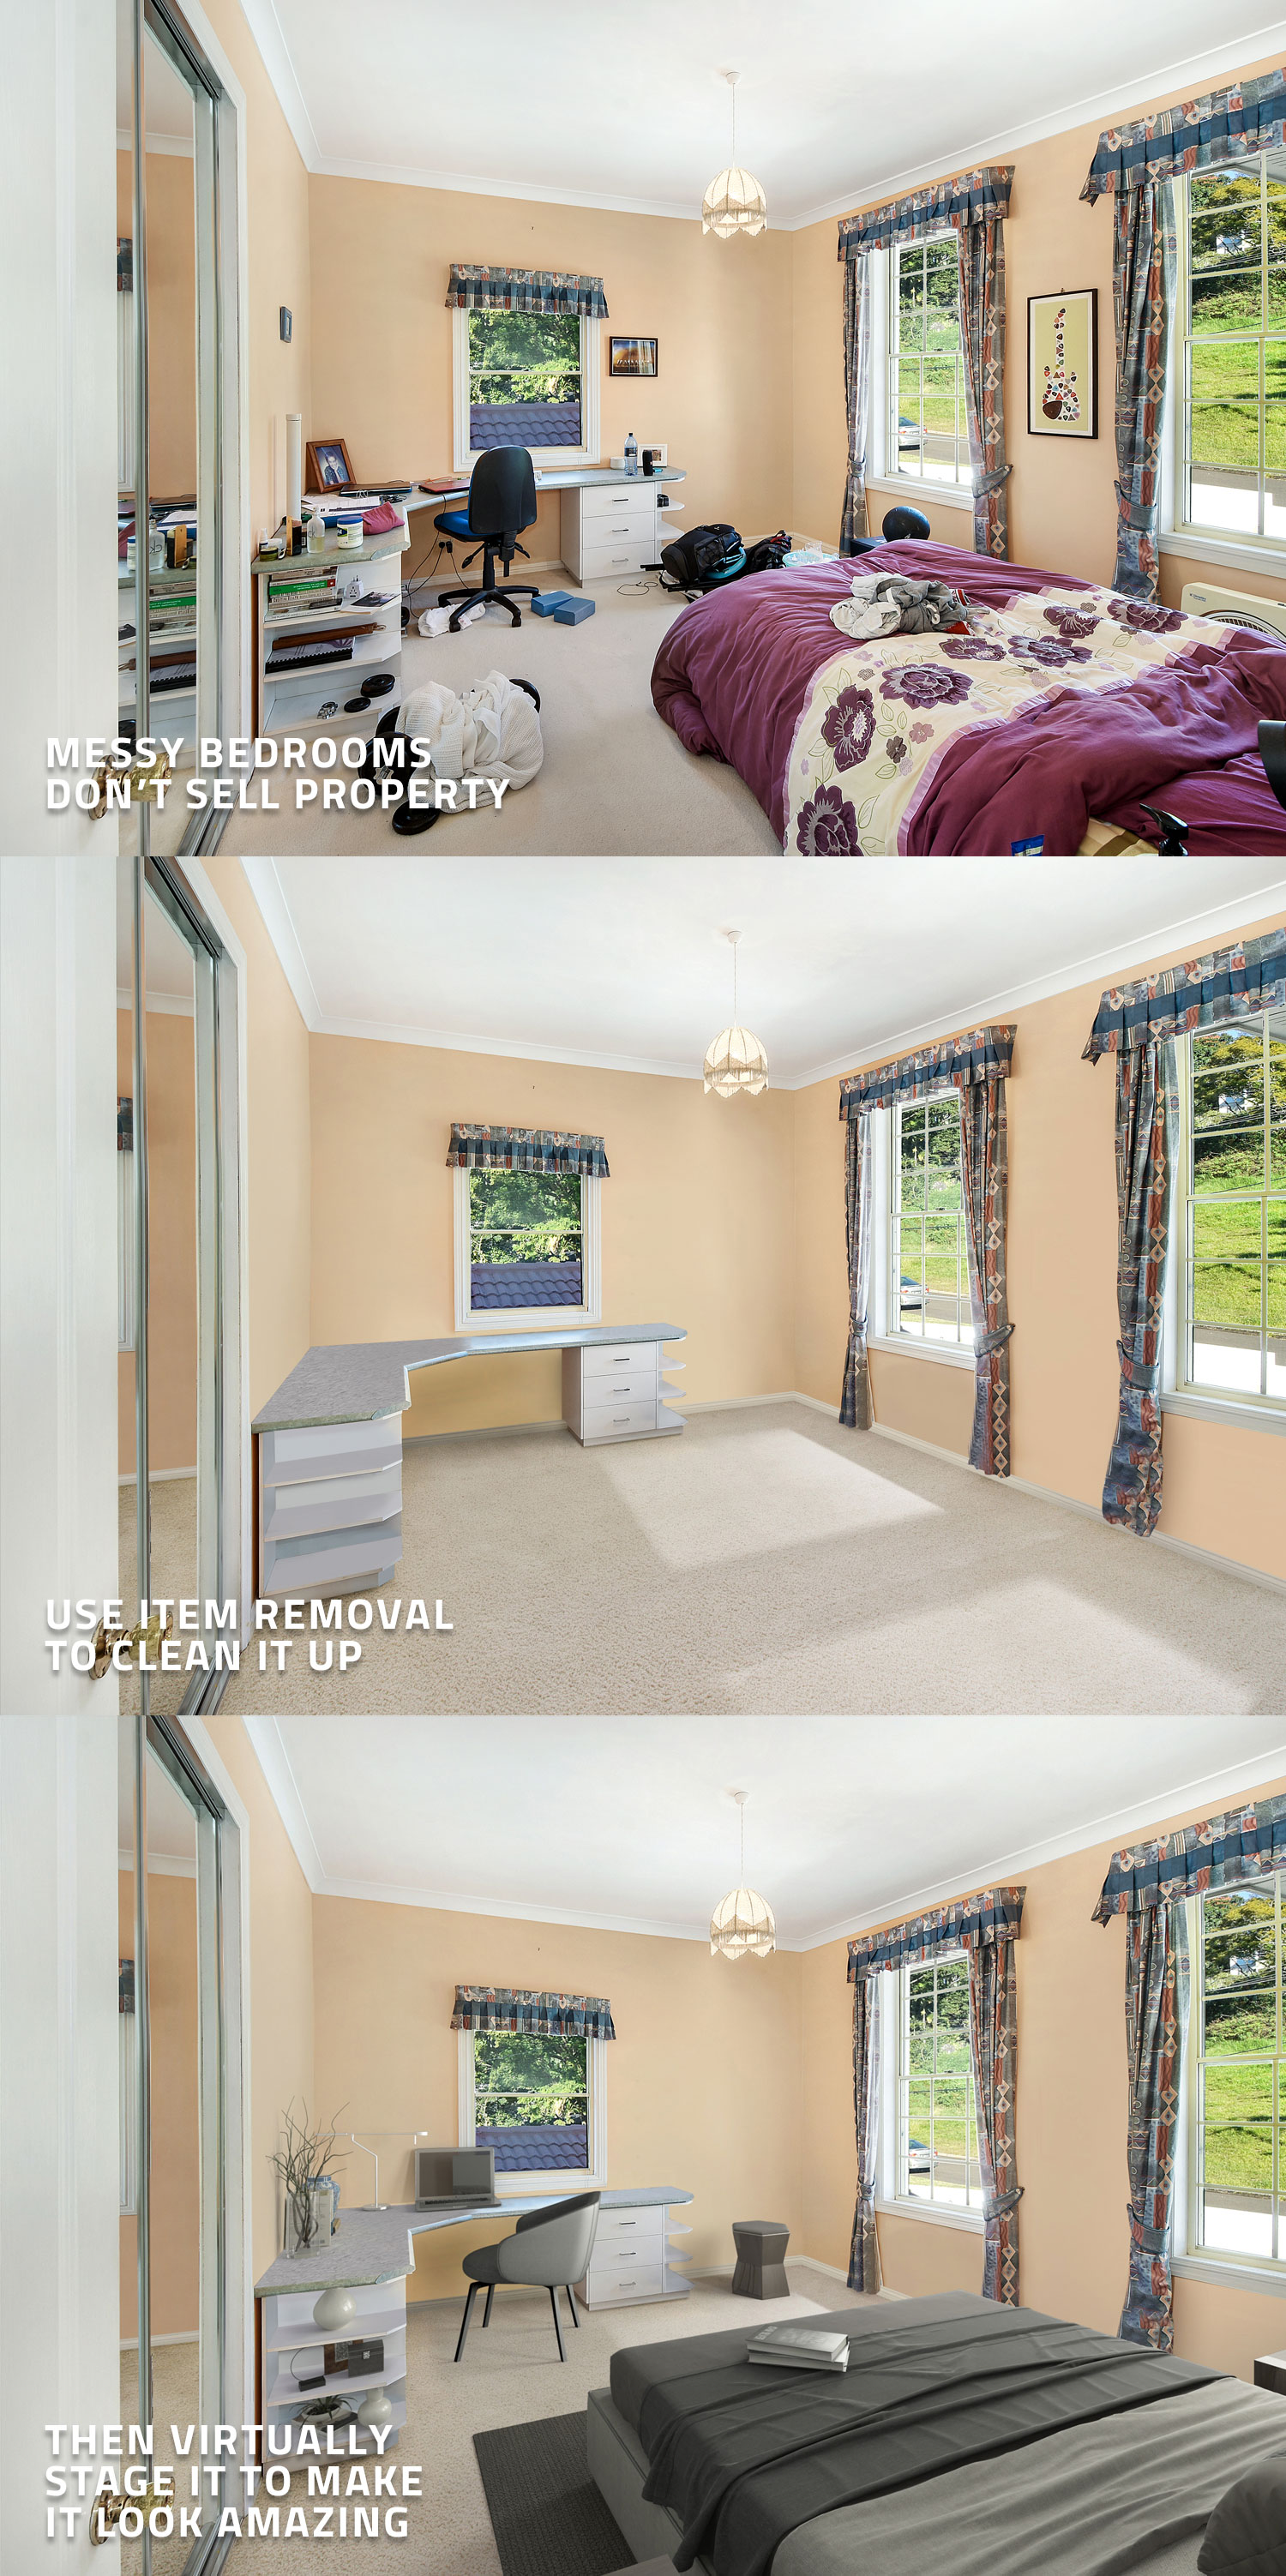
It’s a problem a lot of photographers face - what happens when you’re shooting a property and there is a messy bedroom? In this blog, we are going to demonstrate how present a bedroom using bracketed images, remove the items in the room and then virtually stage the bedroom to showcase the property in the best light.
Our co-founder Brad Filliponi will be shooting multiple bedrooms to show you how much difference cleaning up the room can make.
Preparing The Bedroom
Starting with the windows, it’s a good idea to minimise the lines by having them closed and ensuring the curtains are neat and straight. If there are blinds, as always we recommend only leaving them open to show the view if you cannot see the neighbors, therefore letting as much light as possible.
Similarly, open up any sliding doors to create extra space and turn on any lights. You don’t need to worry about hiding any items as these will be removed in the editing process. However, if something is hiding an important detail, like skirting boards, we suggest moving it, therefore making it easier for our editors to determine what is behind it.
“If it looks good, show it off. If it looks terrible, hide it,” Brad Filliponi.
Shooting The Bedroom
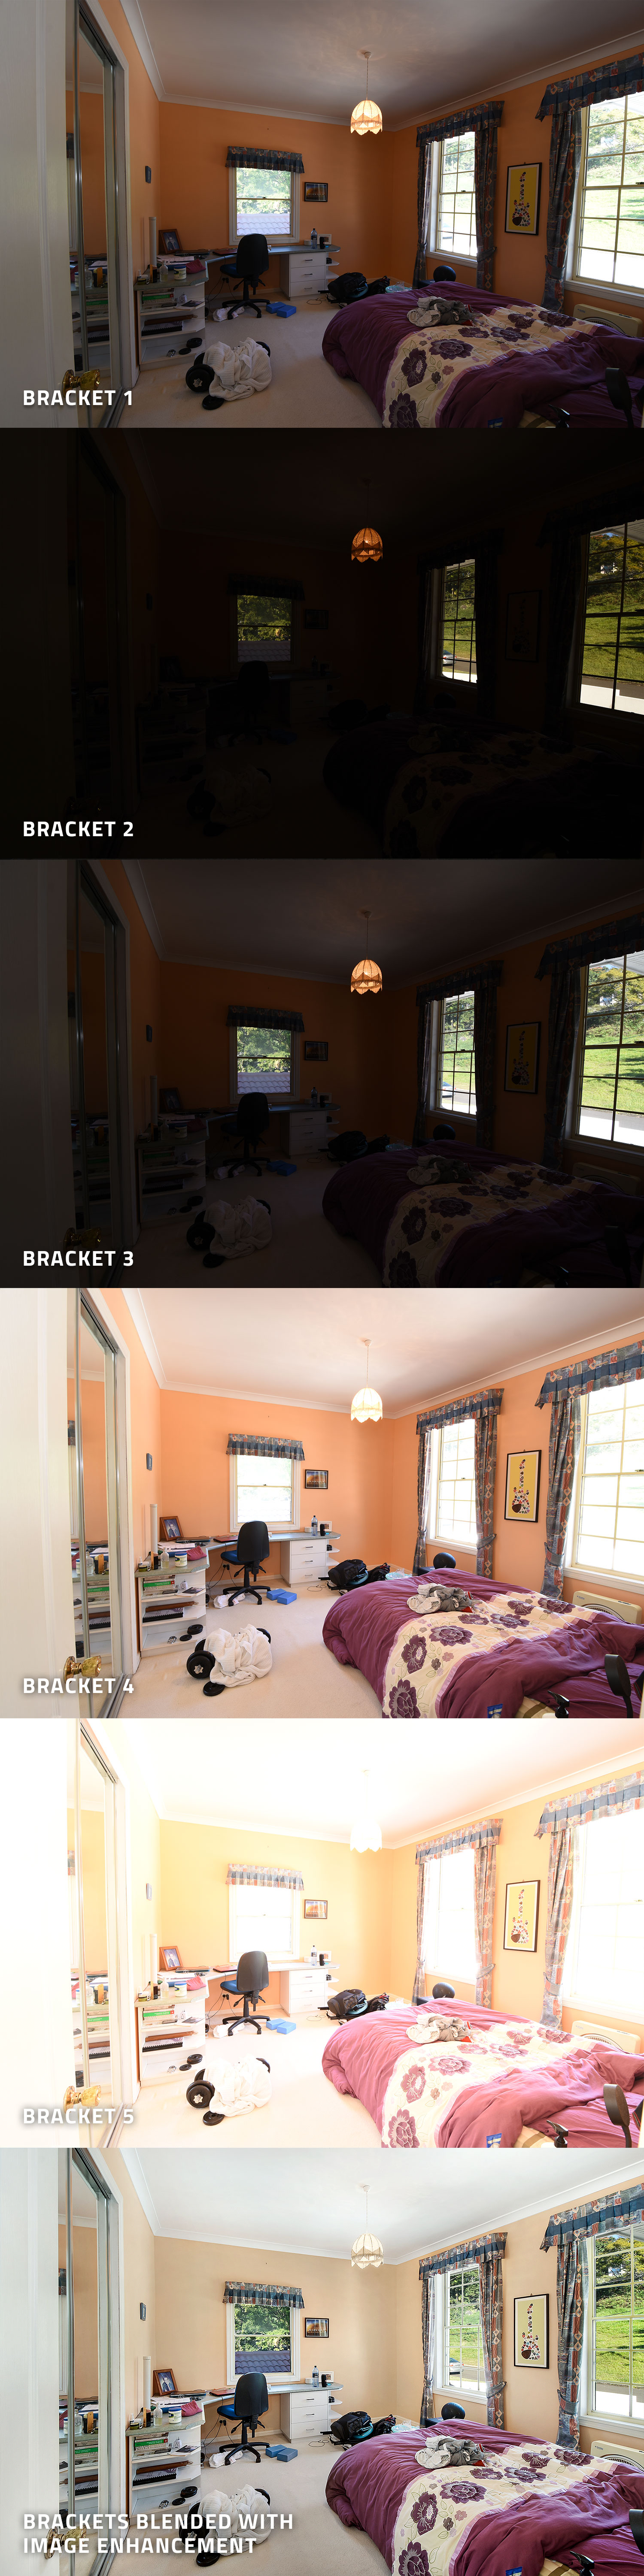
We will be shooting in brackets, meaning the bedroom will be shot in 5 different exposures to allow for our editors to blend them into the one image. When taken at eye level, it allows potential buyers to get a feel for what they will see in the room when they inspect the property in person.
We are big fans of always including the door in the photo, however, if the room doesn’t frame up well with this inclusion, then leave it out. If there is a wall to the walk-in robe in the entry to the bedroom, it’s better to not include the door in the image and take the shot from the corner of the wardrobe so you are not including the wall in your frame. This will ensure an open feel to the finished image.
As a best practice, it’s always encouraged that you move any items back to the original place once you have finished taking all the images.
Editing The Image
Once all the images have been taken, the editing process can begin. As this job has bracketed images, you will need to submit two separate. Starting by uploading your images through our Image Enhancement edit and select HDR bracketing. Our team of editors will then blend your bracketed images and you will receive the completed images back within 24 hours. Once you have these images, you can now submit a job to our virtual staging edit, make sure you ticked item removal.
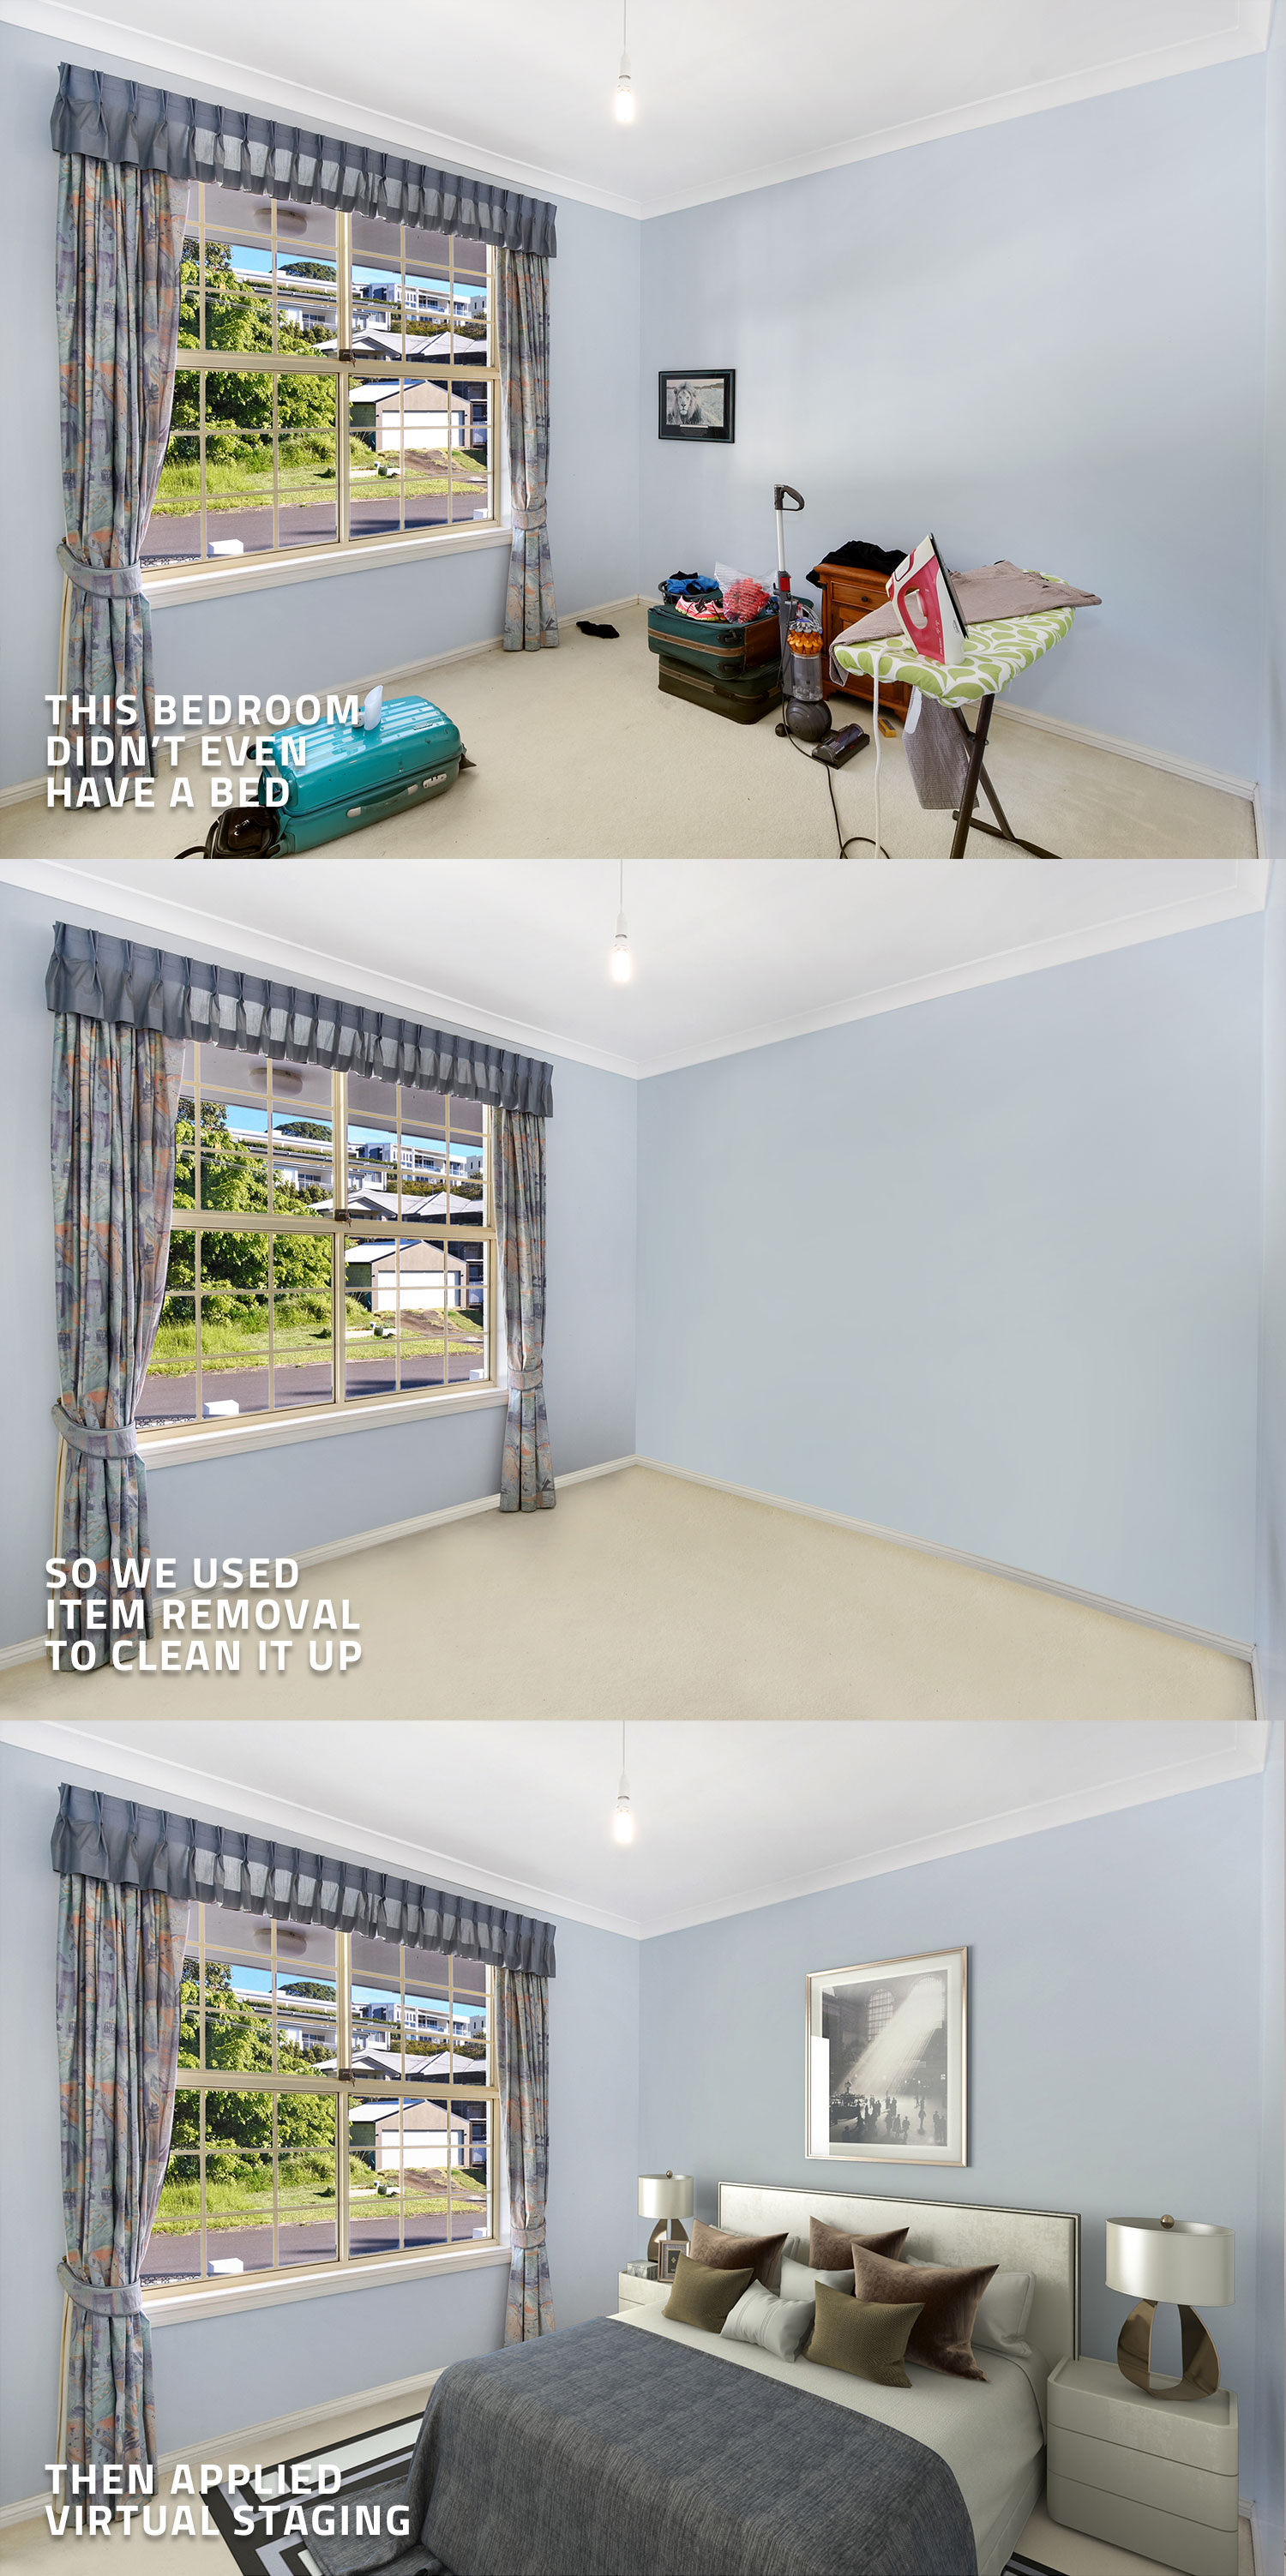
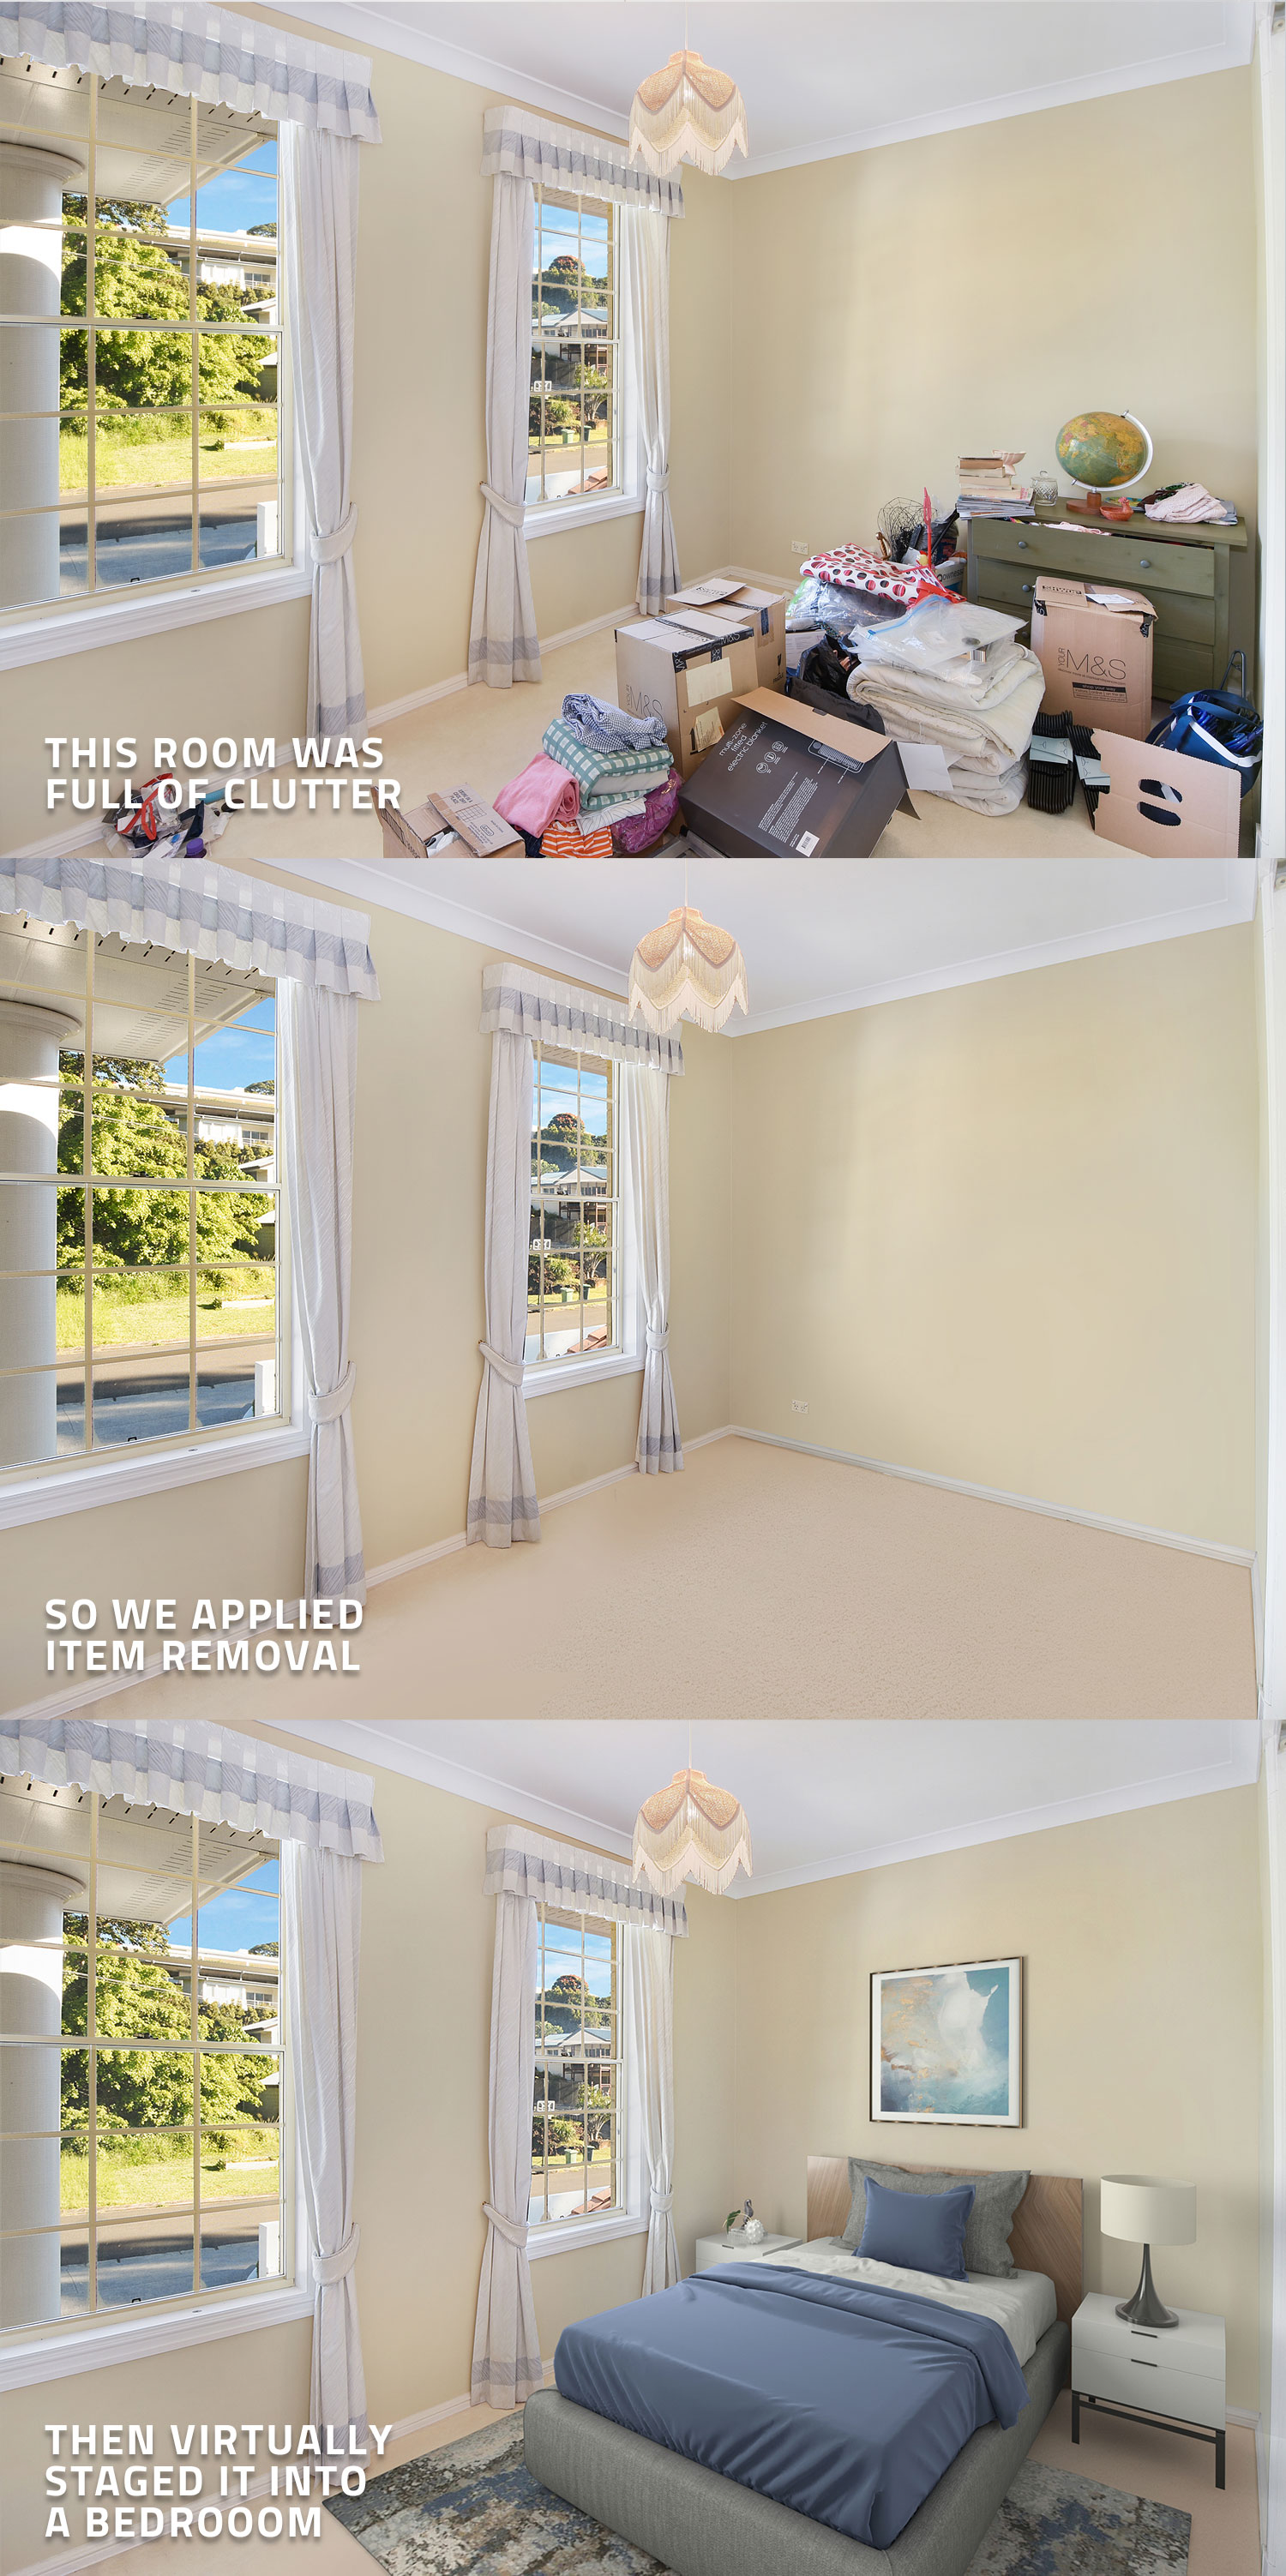
Our team will then get started removing all those unwanted items from the shot and replace them with a high-quality virtually staged bedroom.
We hope you have found some value in this blog and a few tips for shooting your next bedroom. For more tutorials, head to our blog page.
RELATED ARTICLES
Want to take your real estate photos to the next level? These 10 quick tips from Brad Filipponi will help you capture clean, professional images that stand out and sell faster—whether you’re using a phone or DSLR.
READ MORE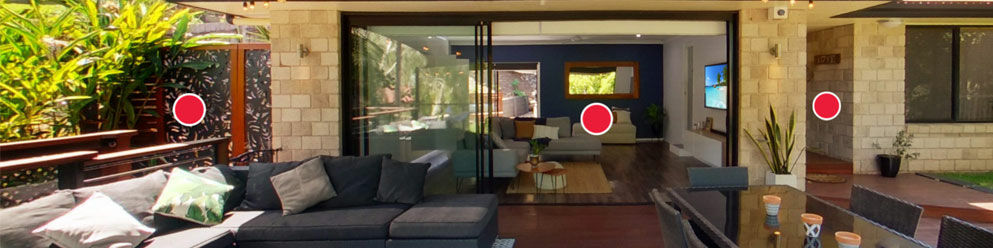
If you're an agent who uses video tours instead of Virtual Tours, your listings might not be attracting the interest they should be. Here we look at why buyers increasingly prefer Virtual Tours over video walkthroughs.
READ MORE
If your unfurnished listing is stuck on the market, it's probably because you haven't put the magic of Virtual Staging to work. Don't let those empty listings expire! Virtually Stage them and watch the offers roll in!
READ MORE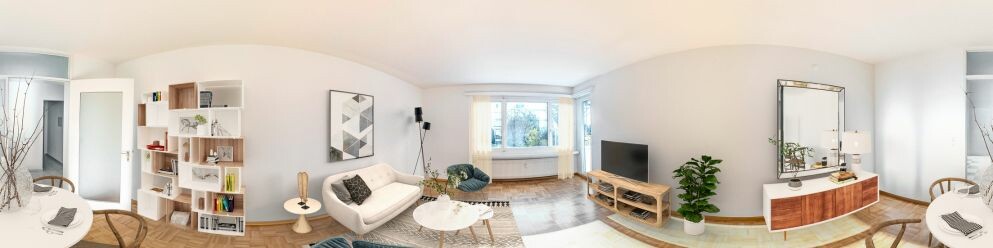
Looking to boost your property marketing? Discover the easiest way to create a Virtual Tour for real estate listings with this step-by-step video guide. From selecting the best 360° camera to editing your photos and creating an interactive experience, Brad covers everything you need to know.
READ MORE
Leads are the seeds of real estate success. Like seeds, they require nurturing, attention and care if they are going to bear fruit. Here we’ll go over some foolproof methods of generating and nurturing real estate leads.
READ MORE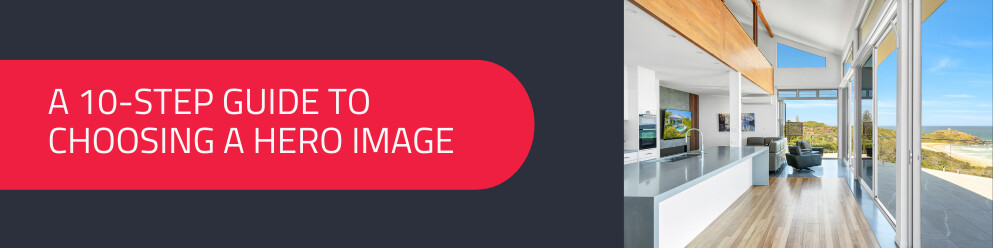
This 10-step guide will help you in selecting the best shot to represent your listing so that you can capture hearts and close deals fast with a standout hero image.
READ MORE