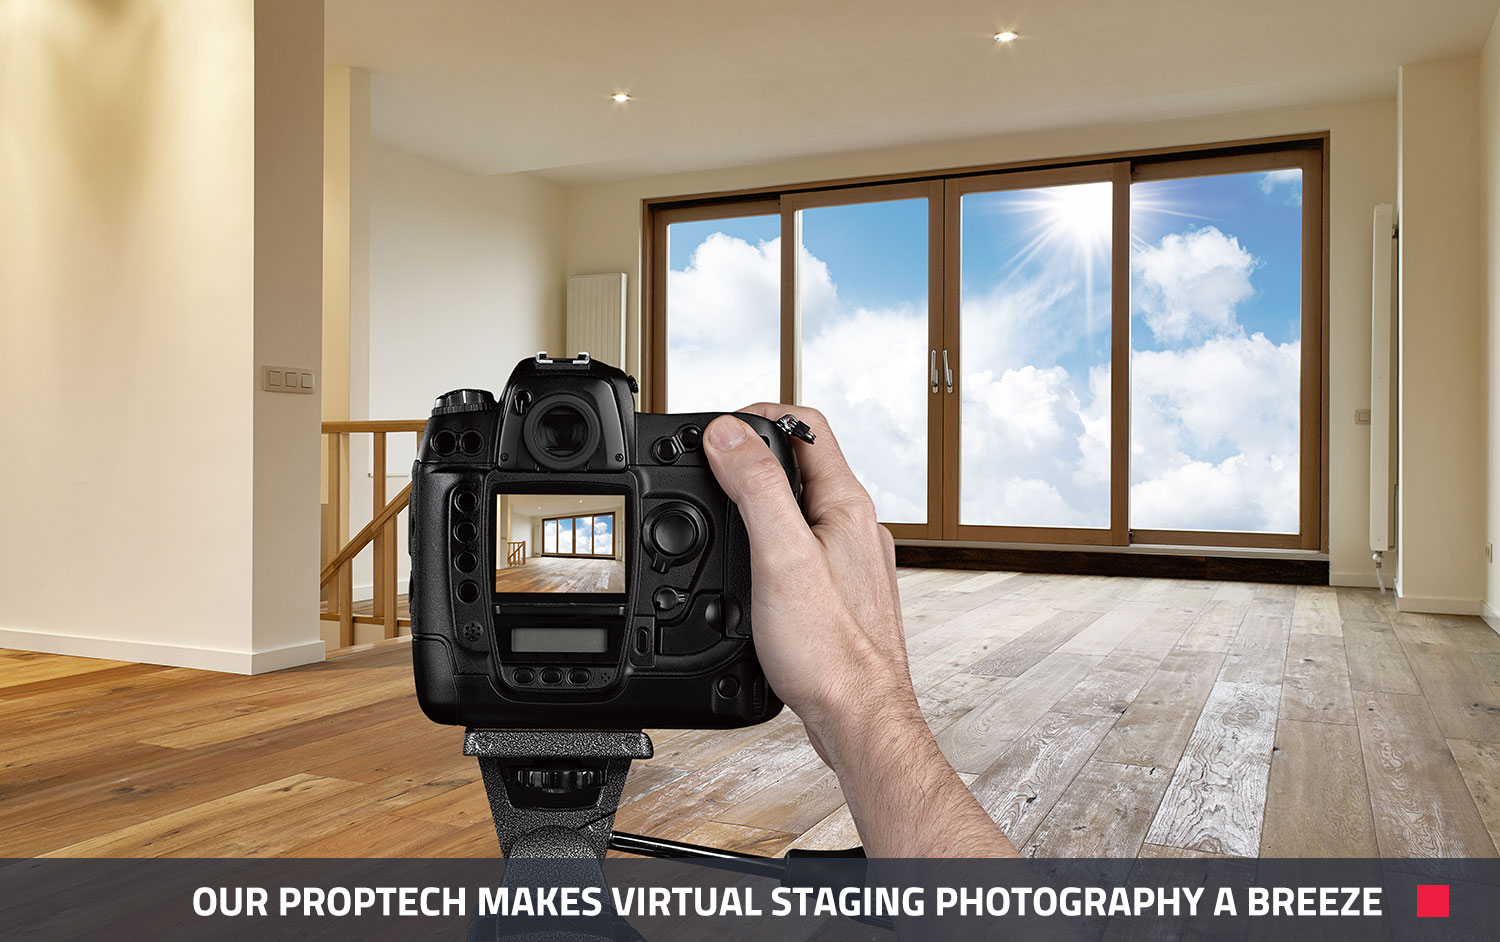
HOW TO SHOOT PHOTOGRAPHY FOR VIRTUAL STAGING IN REAL ESTATE
Introduction:
Is virtual staging photography a special skill in its own right?
Not really. Not any more. Not according to our co-founder, Brad Filliponi.
Brad is one of the individuals responsible for the virtual staging boom that shook the property world in 2017.
Even before 2015, when he launched the first iteration of BoxBrownie.com he had already recognized the growing value of virtual staging.
In the six years since, Brad’s vision of the future of virtual property marketing has come to pass. Demand for virtual staging has exploded across all sectors of real estate.
In post-pandemic property marketing, the quick turnaround times, enormous success rates and cost-effective enticement of virtually furnishing properties have made it a highly effective marketing tool that is preferable in almost every way to traditional staging.
As 2021 draws to a close, many real estate professionals are firmly aboard the virtual staging bandwagon. This makes it fascinating to look back at some of Brad’s posts from 2018 when he was preaching the gospel of this art form long before most people knew what it was.
If you’re one of the many who is only just waking up to the powers of virtual staging, this post is for you.
It might feel a bit challenging at first to photograph empty rooms that are destined to be virtually staged, but Brad is here to reassure you there’s really nothing to worry about.
“Virtual Staging photography isn’t really a skill,” he says.
“We can virtually stage any photo, no matter what angle it is shot from. There’s not too much the photographer has to worry about anymore. But, I do feel there are best practices involved with virtual staging photography”
BEST PRACTICES FOR VIRTUAL STAGING PHOTOGRAPHY
If you are an agent or real estate photographer who is still getting comfortable with the practice of shooting empty spaces for virtual staging, the following points will make your life a little easier.
 5 TIPS FOR VIRTUAL STAGING PHOTOGRAPHY
- Shoot the highest resolution images possible.
- Use the widest angle lens you have access to (12mm cropped sensor and 16mm full-frame camera).
- Shoot everything at eye level (don’t shoot too high or too low).
- Shoot in the corner of the room where possible.
- Ensure you edit (image enhancement) the photos prior to having Virtual Staging treatment for the professional look.
Let us unpack these points a little further to give a bit more detail about the ‘whys’ within such wisdom.
1. Shoot and submit your images in as high a resolution as possible
The higher the resolution an image is shot in, the more conducive it is for any sort of adjustment. During the photo editing stage.
When virtually staging properties, the more flexibility our photo editors have to play with levels of brightness or tone, the better able we are to bring out the full brilliance of a room’s potential.
2. Use the widest angle lens you have access to
In a 2018 post (which shows you how long he’s been a virtual staging expert) Brad drops a great hint for any DSLR-holder going into virtual staging photography cold.
To ensure no warped dimensions creep into your photography, use a 12mm lens. Scale is everything in virtual staging.
“Anything wider than 12mm will actually make the room look bigger than what it actually is in real life which can misrepresent your property,” Brad says.
“Conversely, anything tighter than 12mm can make the room look smaller.”
Keep shots no wider than 12mm on cropped sensor bodies or approximately 16-18mm on full-frame cameras.
“Real estate photography is about presenting the property in an appealing, but also realistic manner. The only time it is ok to use a wider shot is in tight spaces (eg. pantries, small storage areas, which generally are not the focus of property photos intended for virtual staging).
3. Shoot everything at eye level, (don’t shoot too high or too low)
The below example shows how images shot from too ‘tall’ a perspective can impede an image's virtual staging potential.
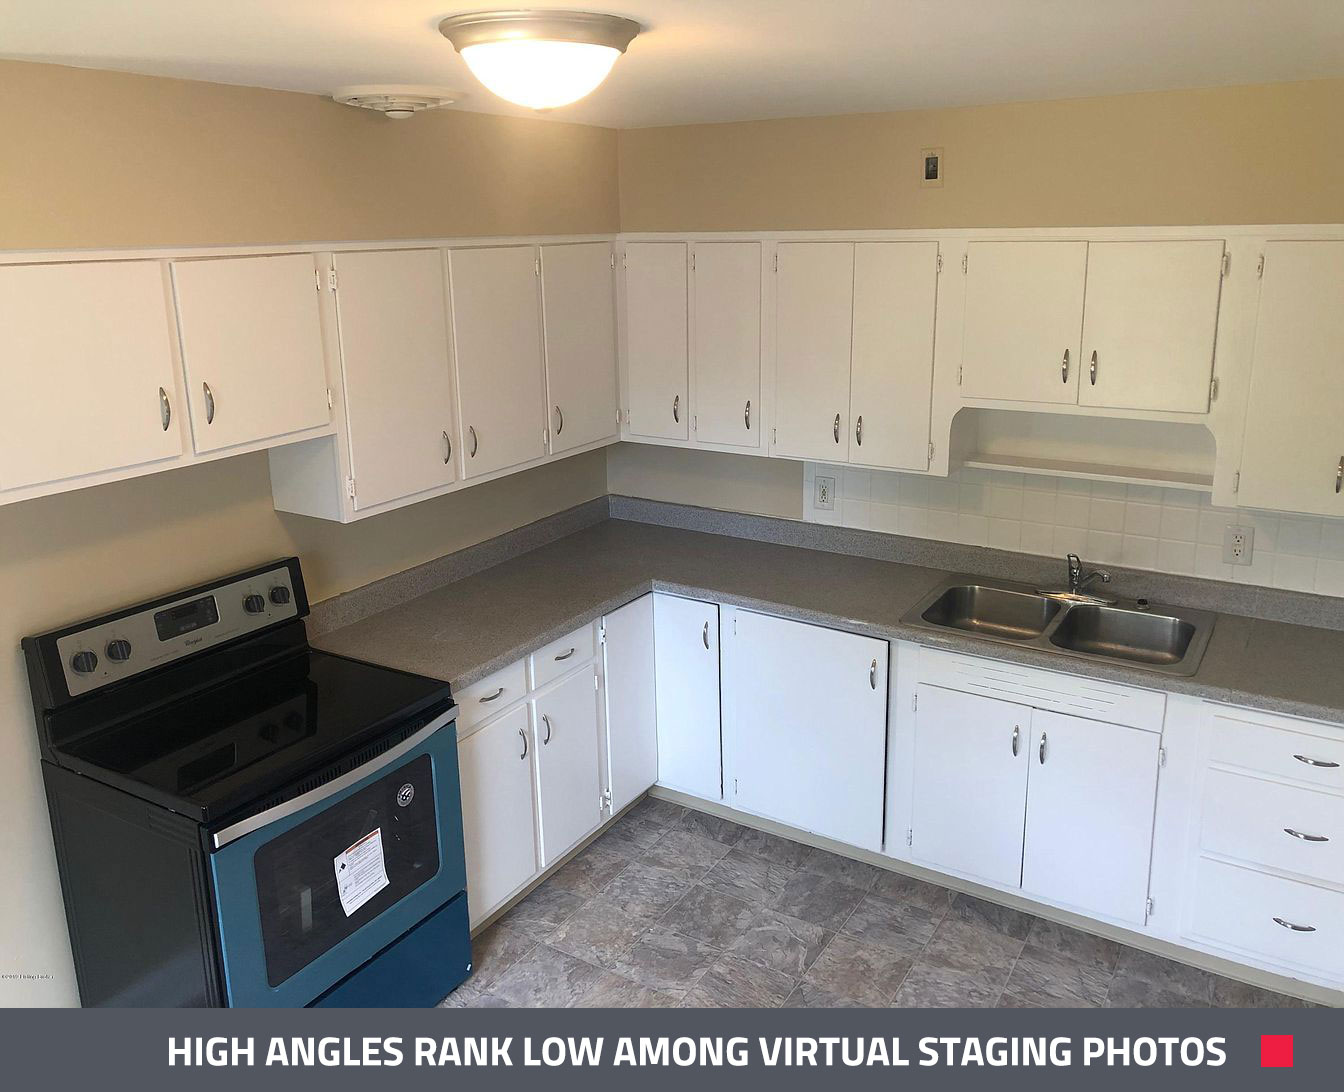 This photo of a kitchen makes a poor candidate for virtual staging largely because of the perspective the photo is taken from.
By holding the camera up and tilting it toward the floor, the photographer makes the room look small and distorted. The minimal floor space makes it difficult to virtually stage furniture as well.
“When photographing kitchens, it’s always safe to shoot at eye height (as this is how potential buyers will see the property,” Brad says.
”However, try experimenting by shooting a little bit lower. This will create an architectural style shot which can be very appealing.”
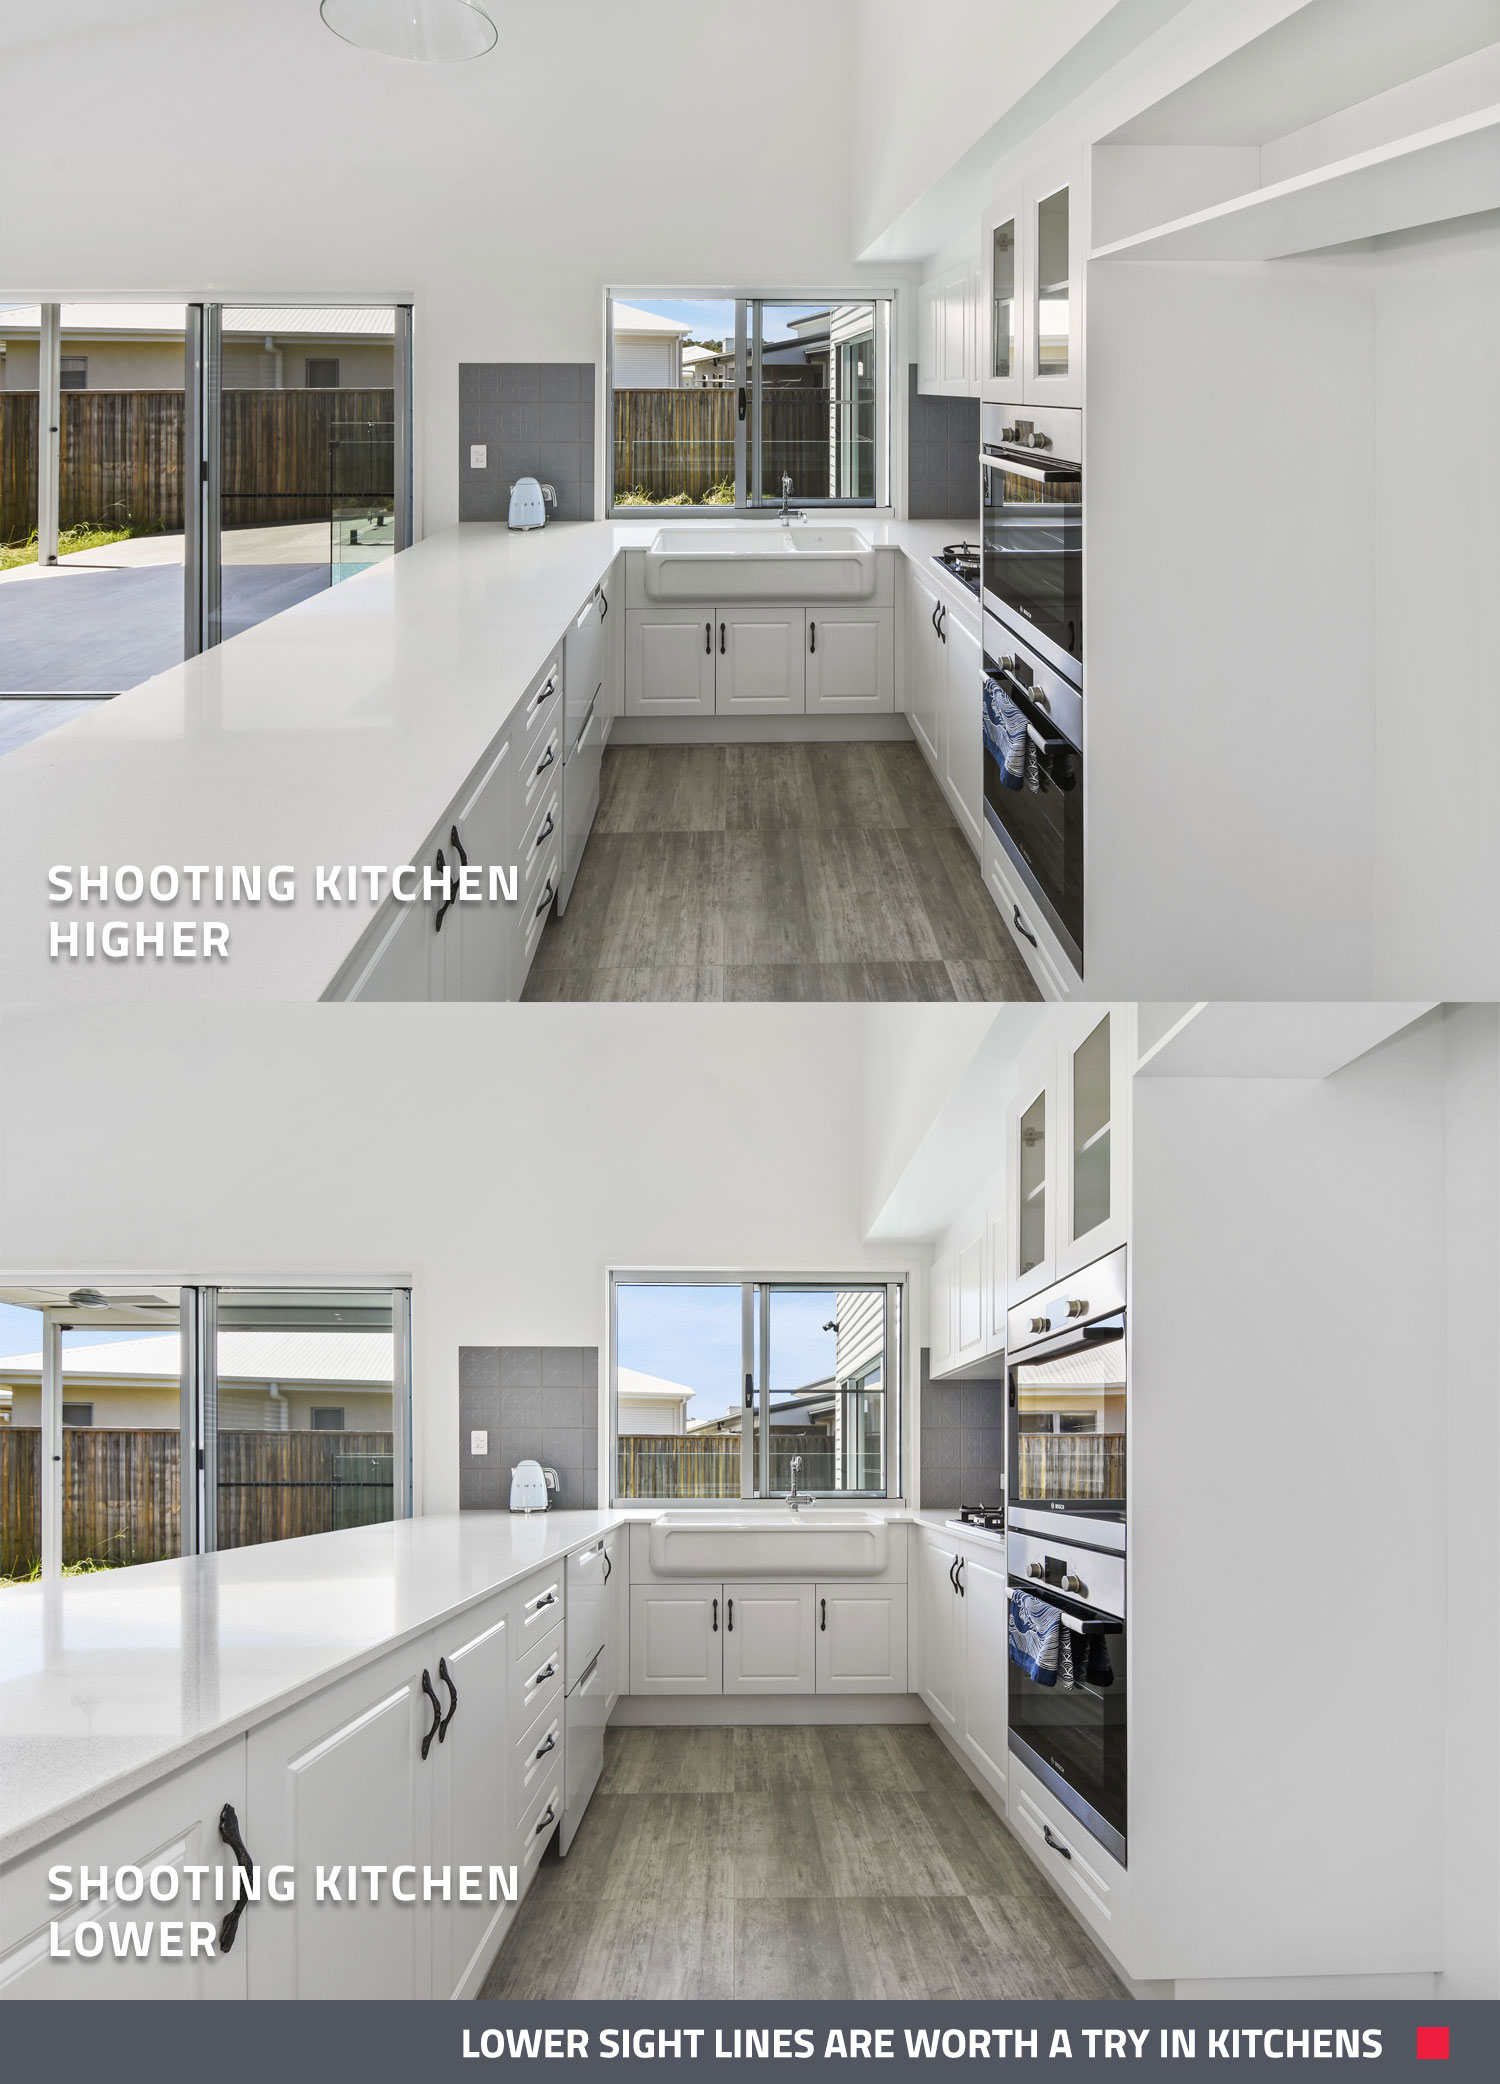 Notice how in the two images above the image shot from the lower perspective brings out the ample counter space, and accentuates the attractive farmhouse sink.
One final note on angles - it’s never a good idea to capture too much ceiling. The amount of surface area a photo editor has to work with is always good to keep in mind when taking pictures for virtual staging.
Our virtual decorators are certainly among the best in the world. But it’s never an easy (or advisable) feat to virtually stage a ceiling!
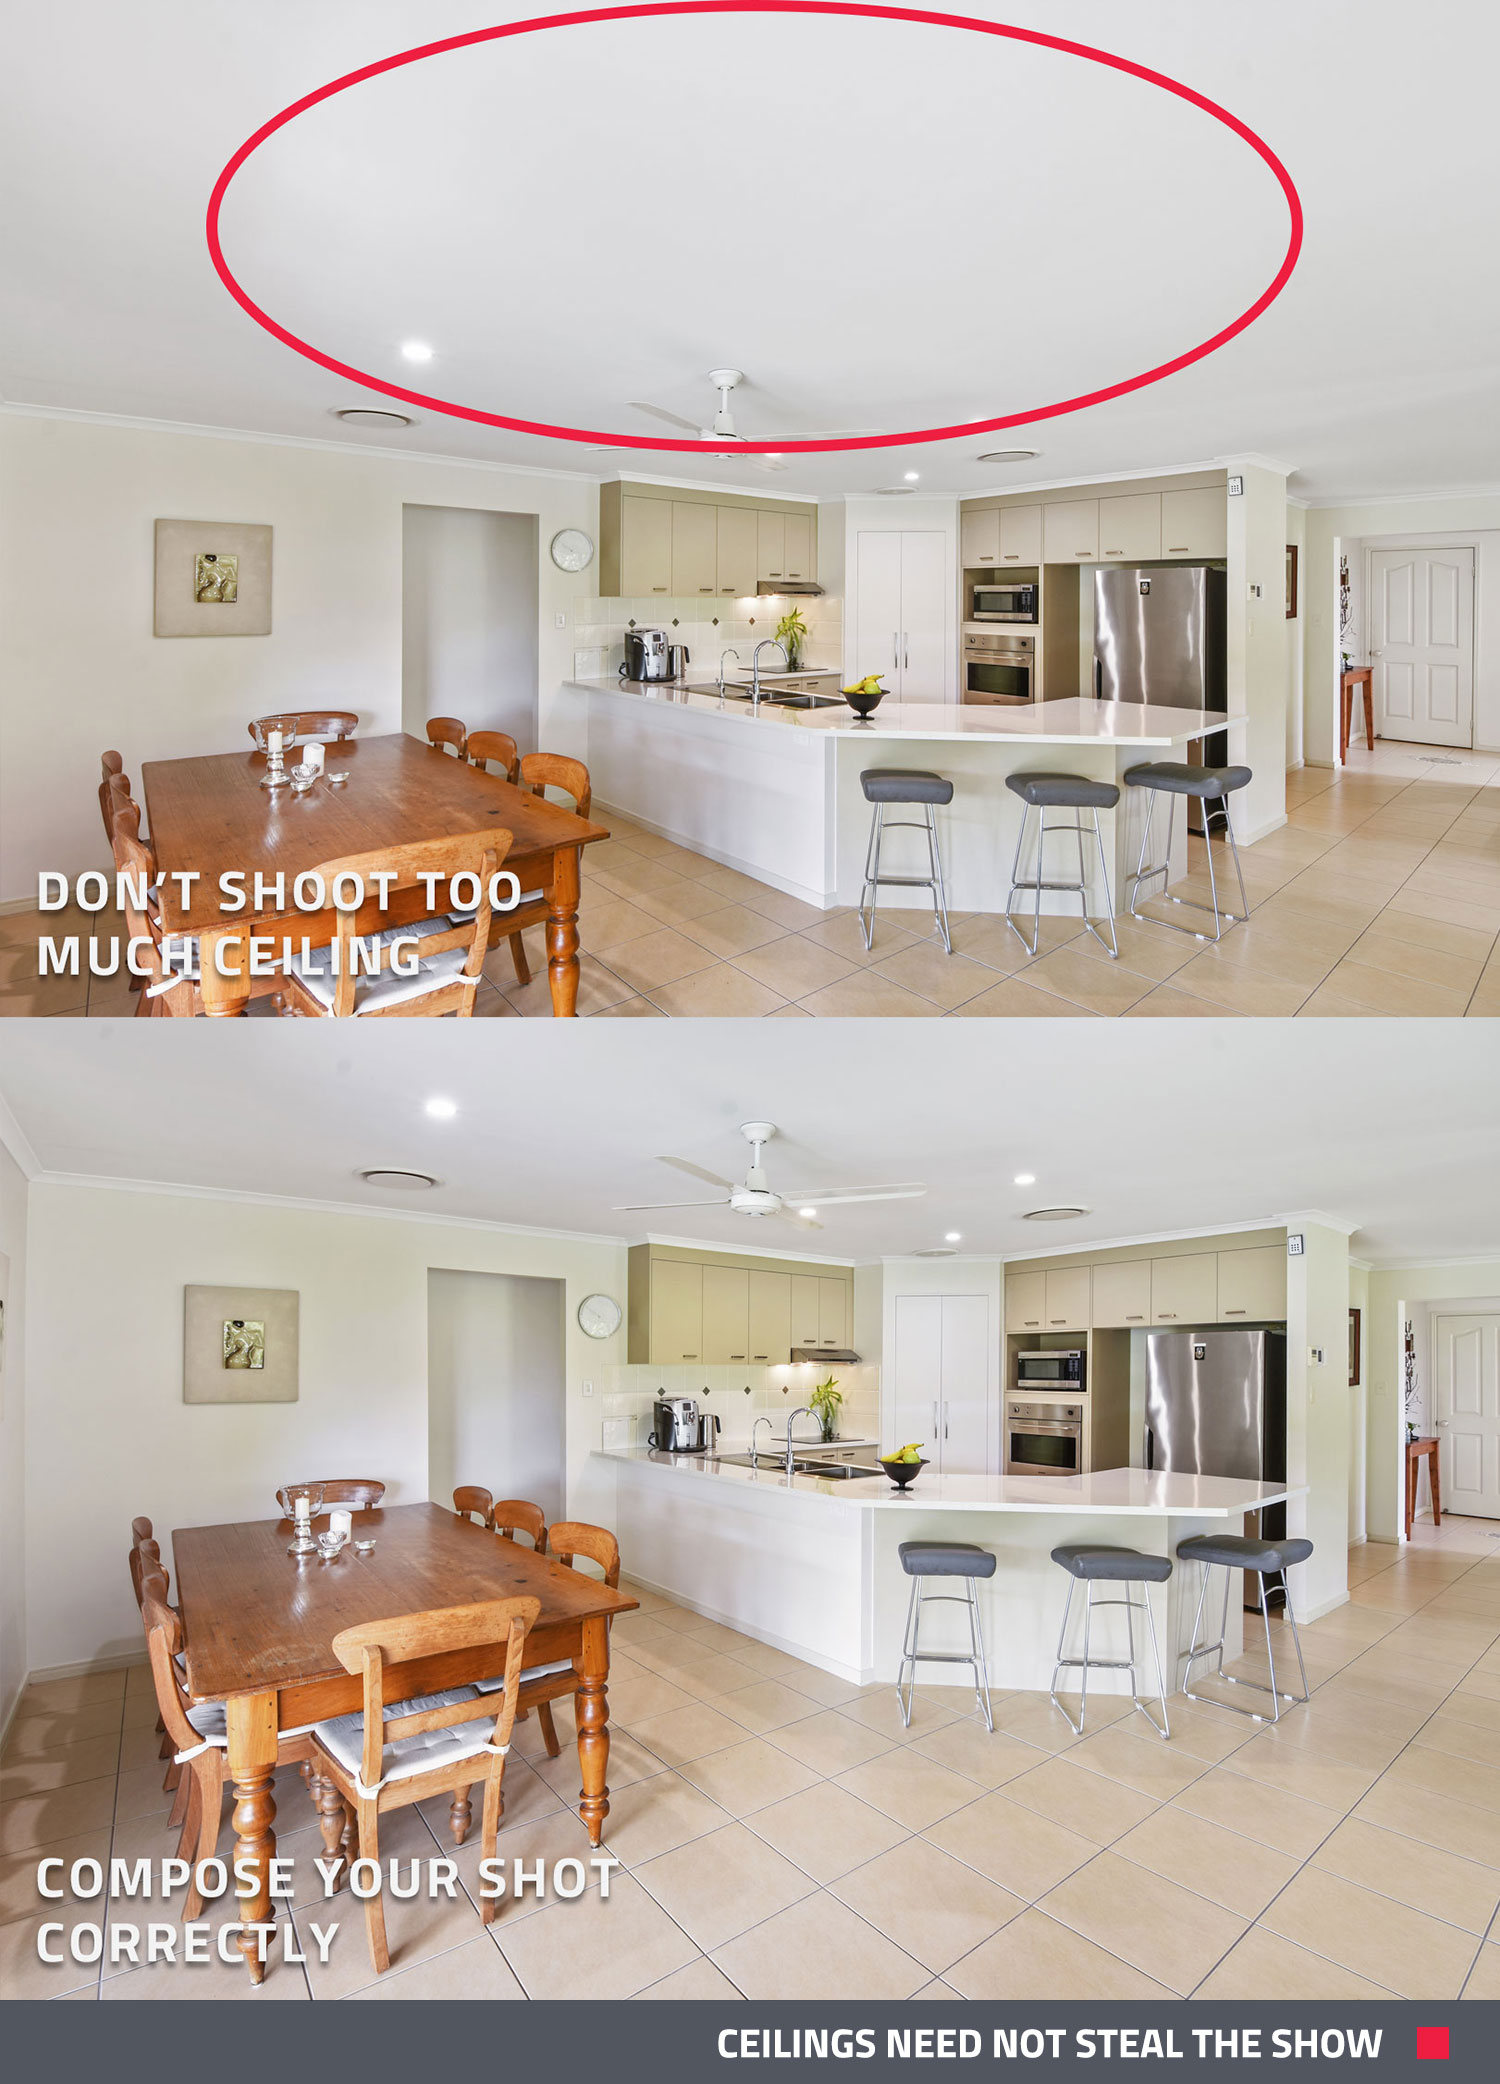 In the two photos featured above, the ceiling in the upper pic occupies at least half of the image. Whether you’re going to virtually stage a home or not, this disproportionate ceiling-to-room ratio is always something to avoid.
In terms of framing surface area, walls and floors should always have a higher spot on your hierarchy than ceilings, staircases, and doorways.
 In the above photo, the staircase and doorway take up about two-thirds of the surface area, leaving little room for a virtual staging artist to work their magic.
In this case, the stairs and entranceway are attractive enough to leave a good impression in their own right. But when the purpose of your photography is virtual staging, keep in mind that staircases and doorways are not usually the best place for furniture or decors.
Other sneaky surface area stealers to look out for are jutting mantles in the foreground, kitchen islands, and fireplaces.
4. Shoot in the corner of the room where possible
Just like the four points on a compass, the four corners of a room will give you the best orientation as to how to shoot it for virtual staging.
Whether you call it ‘naughts and crosses’ or ‘Xs and Os’ or ‘tic-tac-toe’ it’s a great game to keep in mind as you move from room to room photographing a house for virtual staging.
Just like in this three-named game, corners are strategically important when photographing a room for virtual staging. For one thing, corners provide wonderful vanishing points.
The most famous example of a vanishing point in art features two railway tracks that go off into the distance - two 2D lines converging that create an impression of straight lines vanishing into a 3D distance.
For virtual staging artists, the corners of a room are great depth indicators that provide a perfect framework for decorating a space.
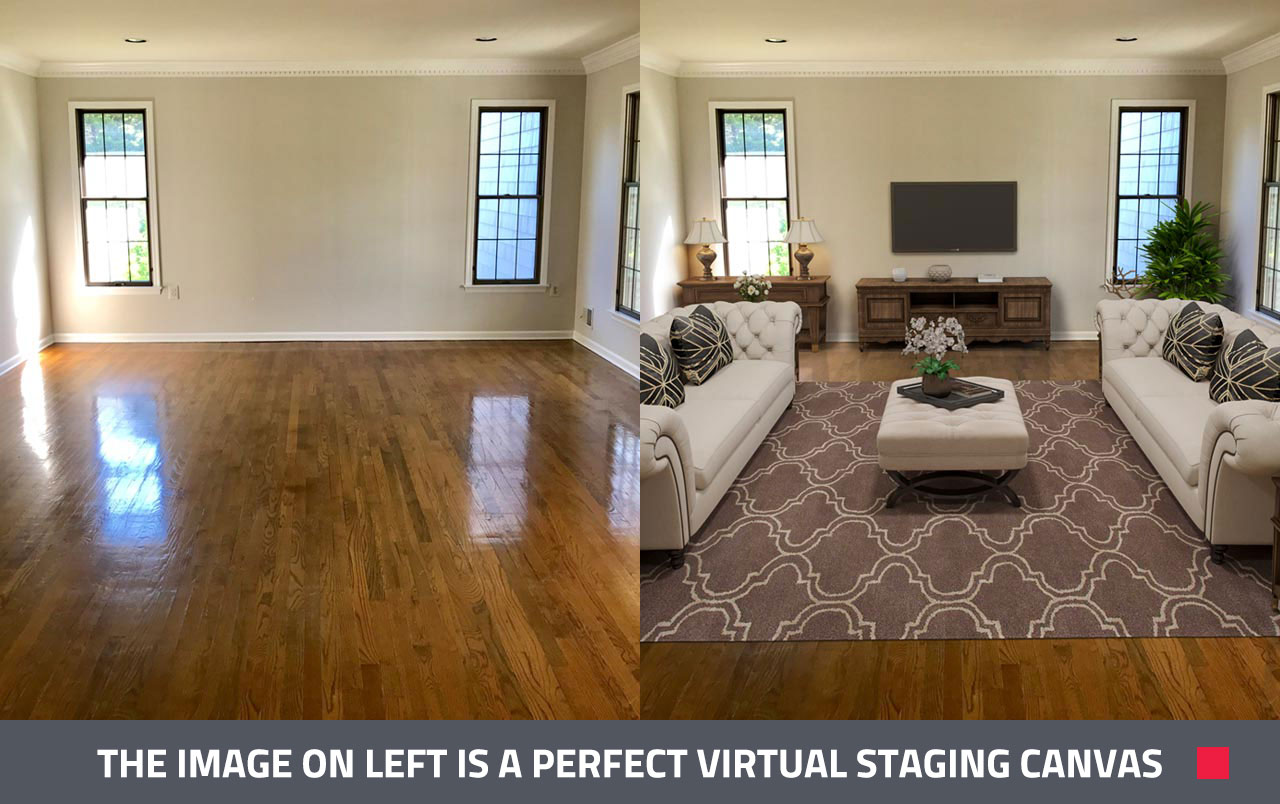
In the image below it’s easy to see how a corner can create an immediate and obvious vanishing point. Note how the photographer (probably standing in the opposite corner) has captured plenty of floor and wall space to give the staging artist lots of room to work with.
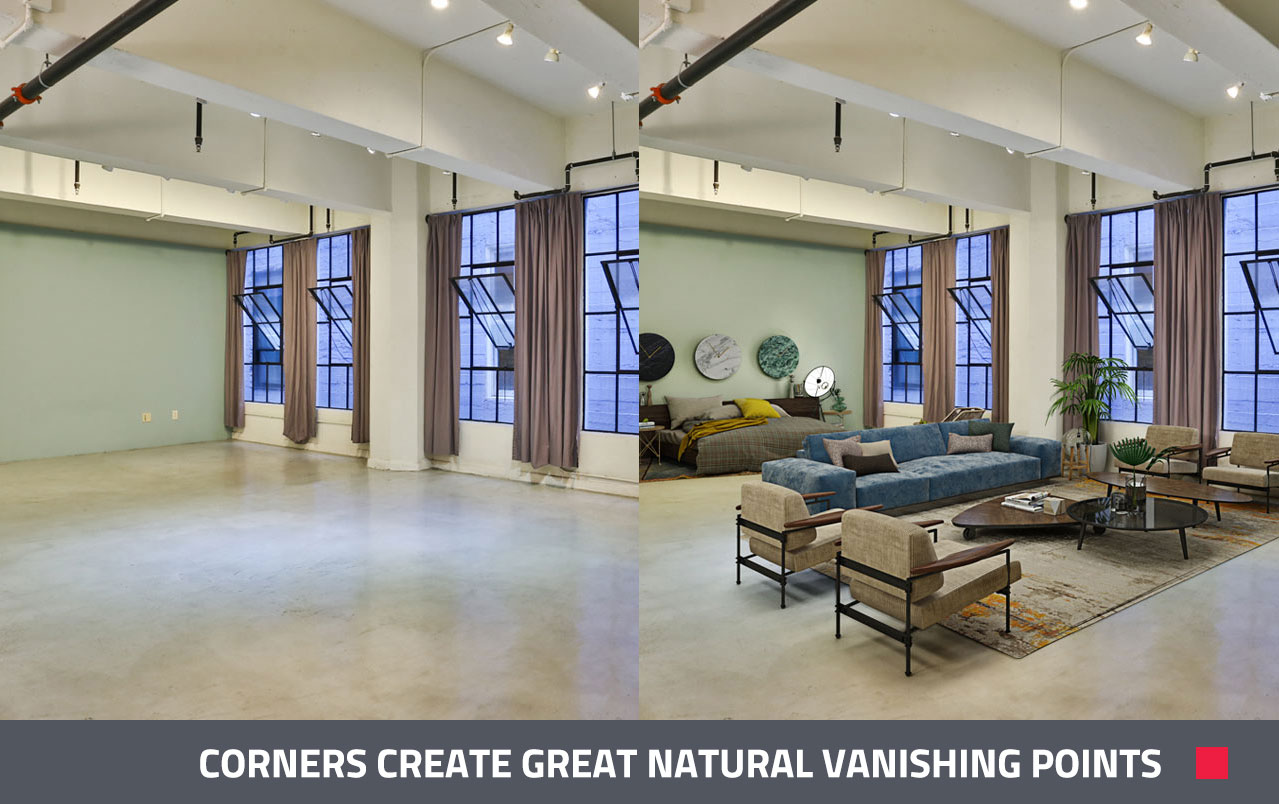
Once you become more accustomed to using corners to create vanishing points, try incorporating two corners into your shot - this creates an even greater impression of three dimensionality.
The below photograph is an example where two evident corners and plenty of floor and wall space provide a perfect combination of linear perspective and surface area for a staging artist to make the room look great.
The below screenshot from a YouTube webinar gives a perfect example as to why you should stand in the corners when you’re shooting for virtual staging. The angle the below image is shot from virtually eliminates wall and shelf space - two areas where virtual staging can work its greatest magic.
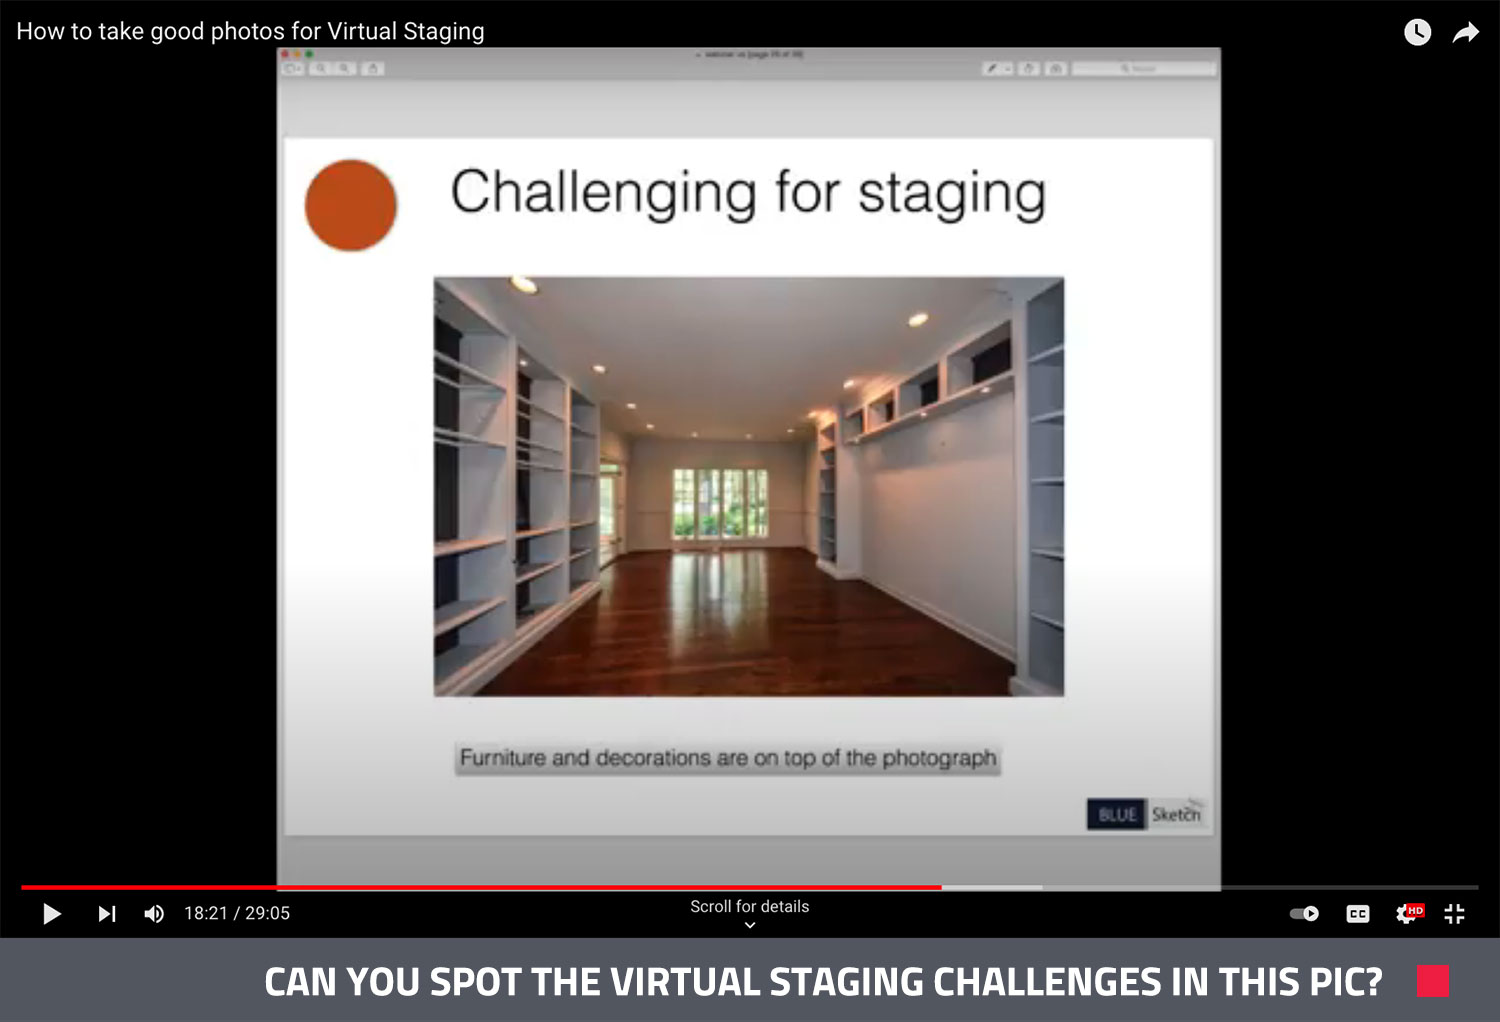 The vertical perspective in the above image creates at least two major challenges for the virtual staging artist:
- The minimal surface area and receding angle of the shelves make it almost impossible to place items upon them.
- The long and narrow shape of the room means that furniture placed in the foreground will impede the overall vision of the room and make the space appear more crowded than it is.
It is worth noting that shooting from the corners would have eliminated both of the above issues.
Exceptions to the “shoot the corners” dictum might be bathrooms and bedrooms.
“For bathroom and bedrooms,” Brad advises, “shoot from the doorway to include as much of the room as possible, he says.
5. Ensure you edit the photos prior to having Virtual Staging treatment for a professional look.
Every image should be edited to look its best prior to being submitted for virtual staging.
This is why our image enhancement package is the natural precursor to virtual staging. This $2 per image parcel of wonder will do all the dirty work for you. It has been compared to a boot camp for the photograph.
Send us your shabby, unbalanced, grainy images, and we will send them through the photoshop wringer. Whether you are virtually staging them or not, we will get your images looking ship shape with a 100% satisfaction guarantee.
Furthermore, we’re fast. If you want just image enhancement, we’ll do it within 24 hours. If you want one of your marvelously edited images to be virtually staged, give us two business days, max.
And one final rule when shooting for virtual staging. It might seem obvious, but we may as well mention it anyway.
DO NOT STAND WHERE THE FURNITURE WILL BE!!
New to virtual staging? SIGN UP with us for free today and receive three free image enhancements and one free day to dusk edit.
RELATED ARTICLES
Are you up to date with real estate photography best practice? Discover 5 common mistakes that real estate professionals are making when taking property photos, so you don’t make them yourself.
READ MORE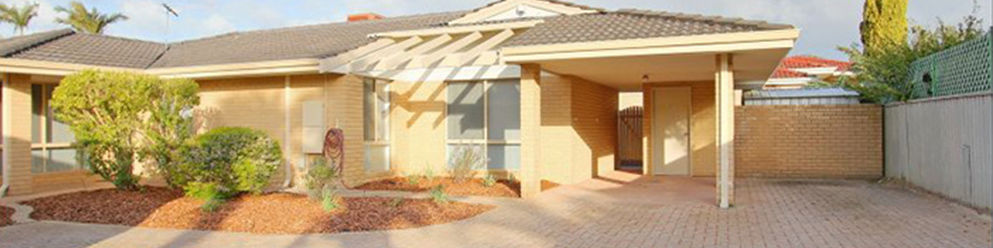
In this blog, we are going to go through a listing for a rental property and make suggestions on how you can take your marketing to the next level.
READ MORE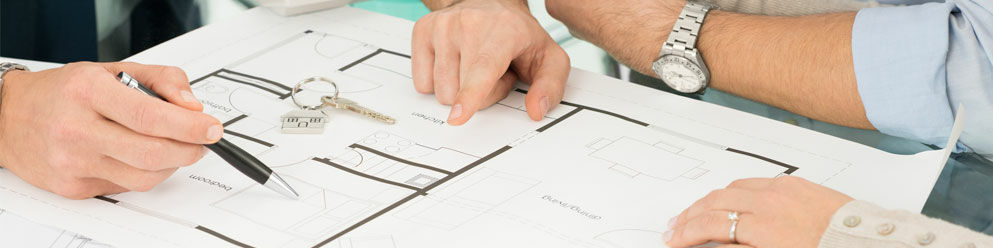
Did you know that a Floor Plan can increase clickthrough by up to 52%? That’s a lot of traffic (and potential sales) you're missing if you don't include one with your listings! Here are 5 ways that Floor Plans are a marketing must.
READ MORE
Brad Filliponi hit the jackpot when he studied under Greg Gardner. In this fascinating post, the two industry leaders reflect upon those days gone by.
READ MORE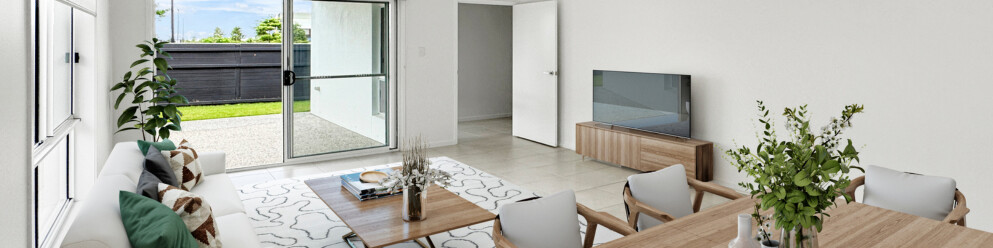
Elevate your real estate game with Virtual Staging using your iPhone and the SnapSnapSnap app. Brad, our co-founder and photography pro, shares his top tips for setting up, capturing, and editing stunning visuals that will make your listings irresistible to buyers.
READ MORE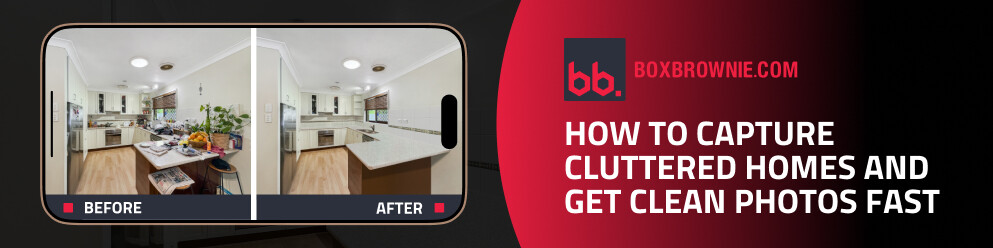
In our latest video, cofounder Brad Filliponi shows how messy rooms won’t hold up your listing. With SnapSnapSnap, shoot once and get polished, buyer-ready photos in just 24 hours.
READ MORE