HOW YOU CAN EASILY CREATE YOUR OWN "360° VIRTUAL TOUR"
The Future Of Property Marketing Is Here!
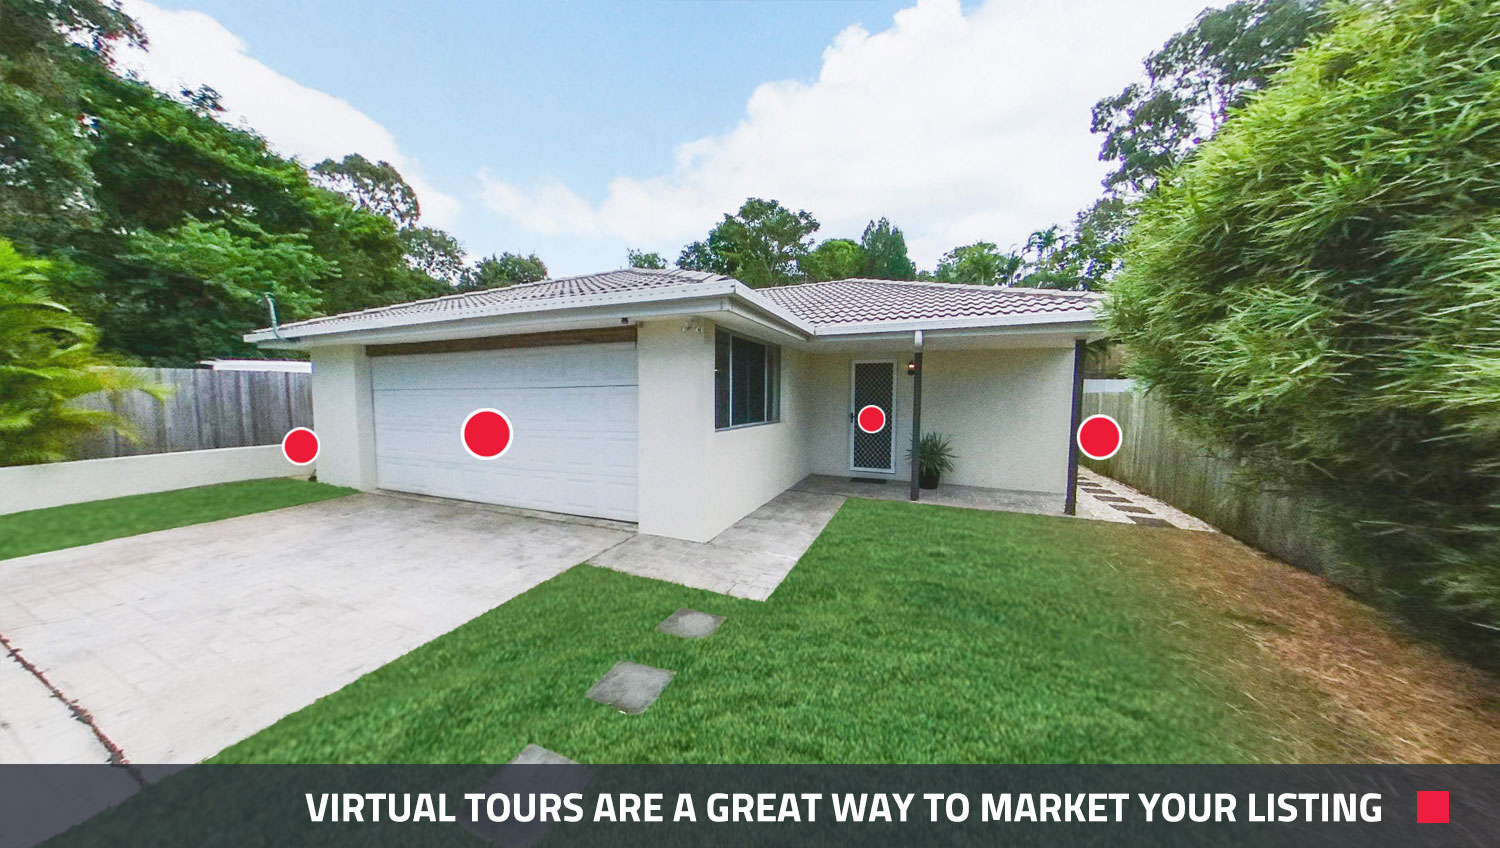
Looking for an innovative way to transform your marketing? One that’s going to grab your potential buyers’ attention and help you stand above your competition? Well, get excited cause we’ve just released a brand new product called 360° Virtual Tour! In this blog, we’re going to show you exactly how this game-changing service works and how easy (and affordable) it is for you to implement into your business.
So What Exactly Is A 360° Virtual Tour? How Can It Benefit Me?
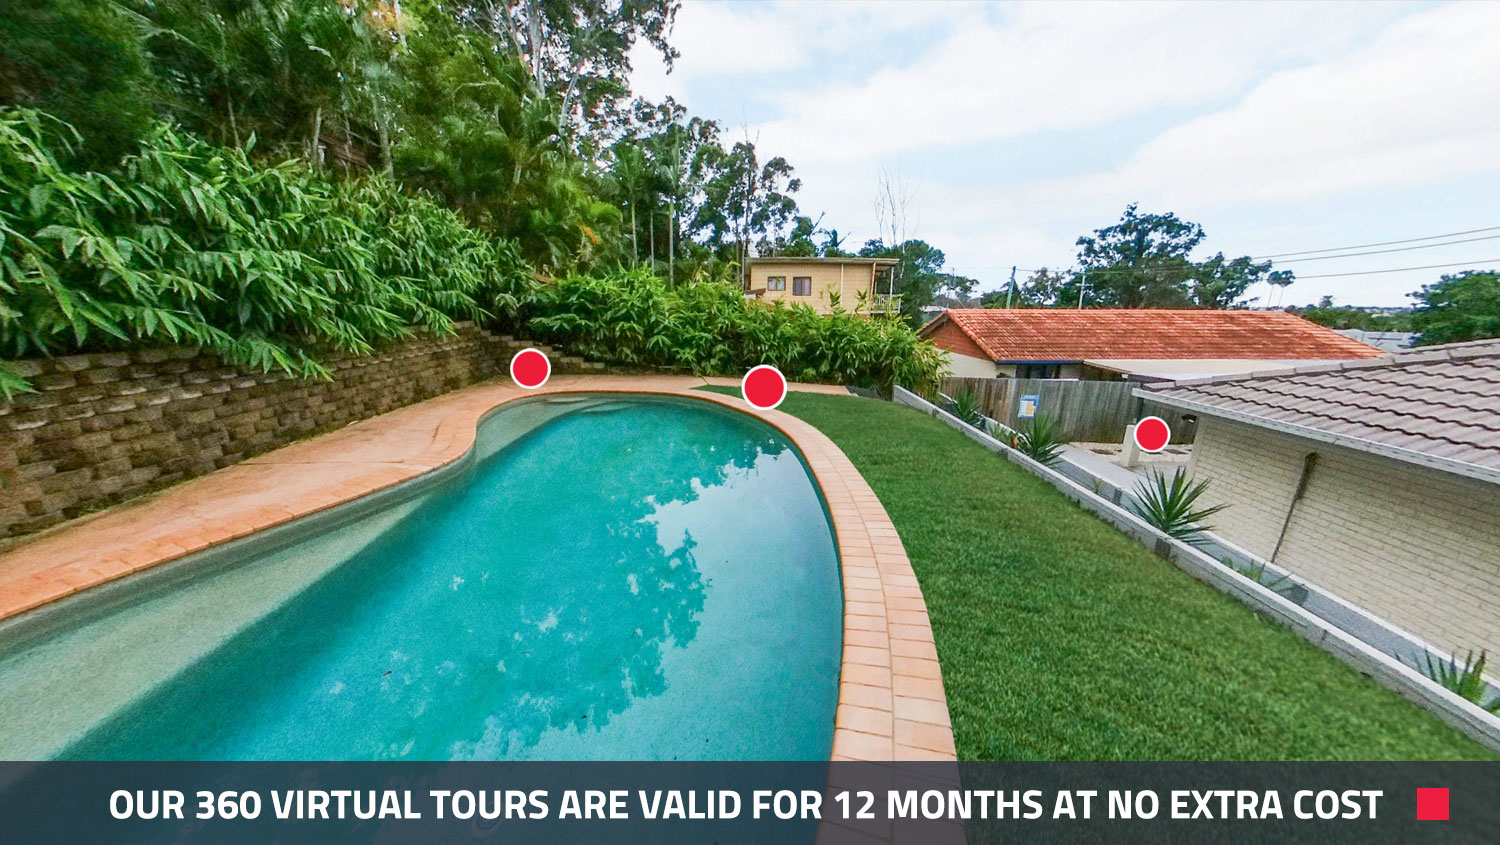
A 360° Virtual Tour is where multiple still photos of the property are stitched together to create a virtual walkthrough of the home, both inside and out. This allows your buyers to get a feel for the layout and scale of the home before they even visit the property. This is particularly attractive to buyers who may not be able to visit the property, whether they be interstate, international or at home due to these unique times of lockdown.
If you’re keen to get a feel for how a 360° Virtual Tour works, you can check out an example virtual tour by clicking the button below.
360° VIRTUAL TOUR EXAMPLE
 Is It Easy For Me To Create A 360° Virtual Tour?
You bet it is! Our 360° Virtual Tour service has been designed to make it simple for any real estate agent to create a professional tour of their property without the need for any technical knowledge, thousands of dollars’ worth of equipment or marathon photo shoots. You can use any 360°-degree camera, send the images through to BoxBrownie.com and let our team of professional editors do the rest.
On top of the convenience, you can also enjoy the added peace of mind of no monthly subscription fees and simply pay as you go.
So How Do I To Create A 360° Virtual Tour?
In this tutorial blog, we will take you through the complete process of creating your very own 360° Virtual Tour. We will cover:
1. Setting up your 360° camera
2. How to shoot a house using any 360° camera
3. How to upload the images for editing via our 360° Image Enhancement edit
4. How to upload the edited images to our 360° Virtual Tour service
1) Setting Up Your 360° Camera
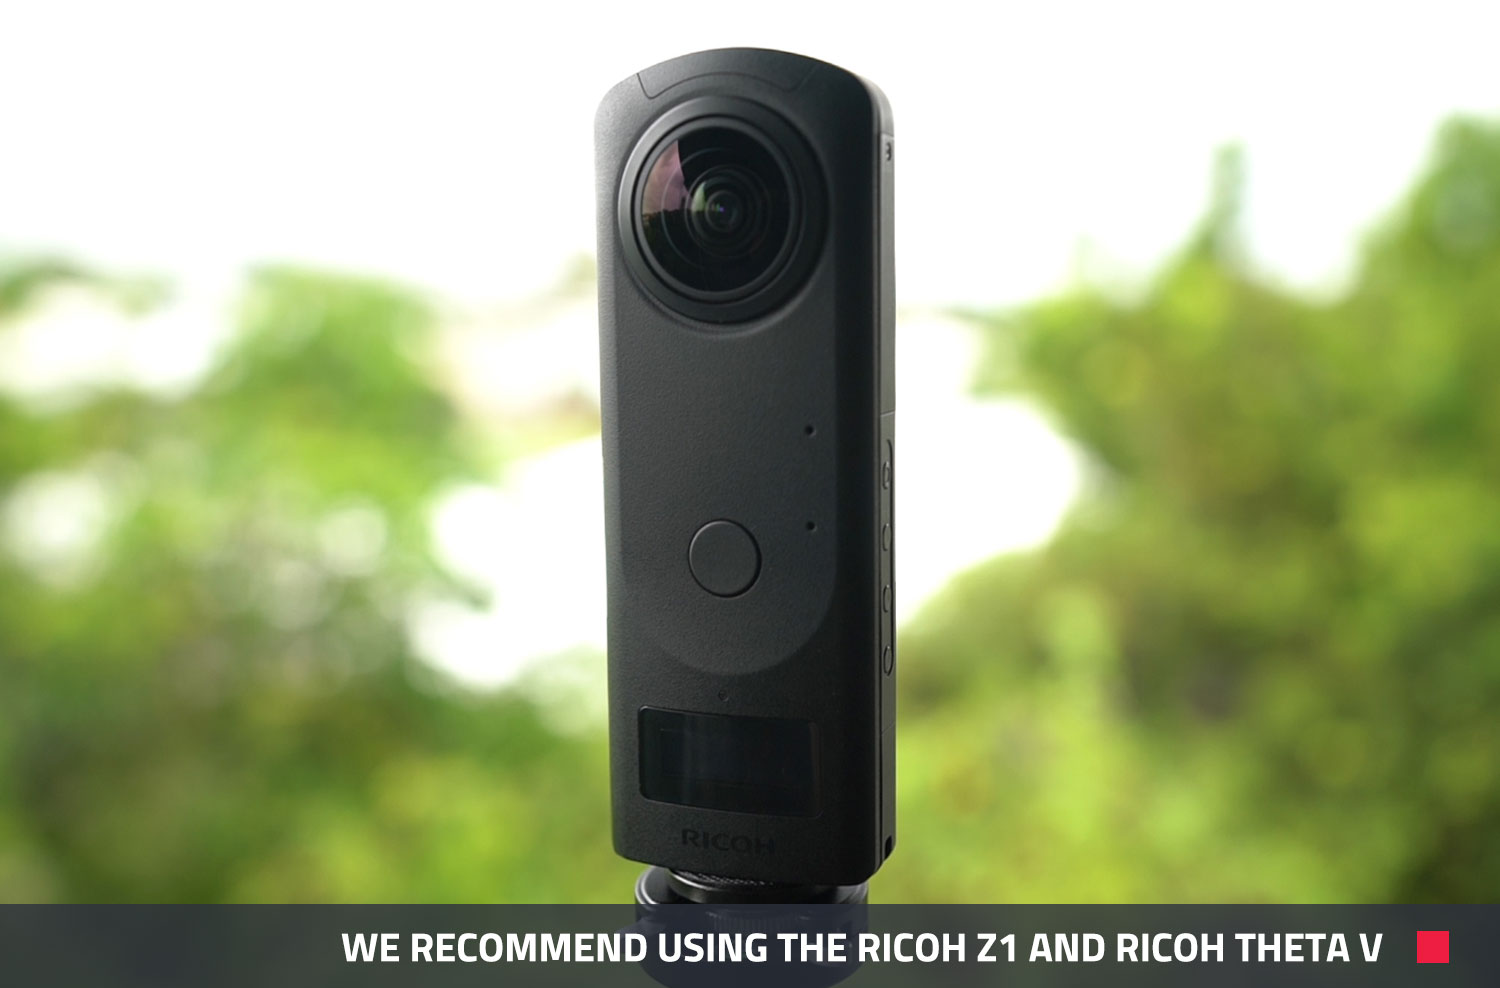
There are a lot of different models and types of 360° cameras on the market so for this tutorial, we will provide general advice that will apply to most models available. The beauty of our 360° Virtual Tour service is you can use any 360° camera you like and in this case, we will be using the Ricoh Theta Z1 and a monopod.
When choosing your 360° camera, you preferably want a model that can connect to your phone and allow you to view the photos while shooting the property. Unfortunately, this isn’t standard so if possible, choose a camera that has an app and will connect directly to your smartphone.
When selecting the correct settings, be sure to set your ISO to the lowest possible level which will ensure less ‘noise’ in the image and produce a higher quality finished shot. For the Ricoh Theta Z1, the lowest setting for the ISO is 200. While you’re at it, set the image size to the largest possible setting allowing for a high-resolution file that will assist in the editing process.
If you’re looking for our top tip when it comes to choosing a camera, we would recommend the Ricoh Theta Z1 or the Ricoh Theta V. We are currently in the process of testing other 360 cameras and will create future content to discuss the pros and cons of these.
2) How To Shoot A House Using Any 360° Camera
As with any photoshoot, it’s important to prepare the home before taking the photos. You can check out some of our top tips for preparing a property via our blog's Tips to Present Your Listing in Its Best Light + Create Your Own 360° Images with the Ricoh Theta S or Theta V.
Before you take the shot with your 360° camera, quickly scan the room using your phone and be sure to move out of frame. This is also the time to adjust your exposure depending on the light level and clarity displayed on your screen. For example, if the image background appears overexposed on the screen, you can darken your exposure slightly to produce a clearer shot.
If you’re a regular reader of our blog, you will be familiar with the use of bracketing. Some 360° cameras do offer bracketing functionality, including the Ricoh Theta Z1 and V, and we will release a blog in the future showing how to leverage this during the shooting process.
Now you can make your way around the home shooting the individual rooms including the hallways and communal spaces. While the hallways may not seem like an overly important aspect of the home to capture, this really helps to ensure there are additional hotspots in the finished virtual tour and provides context to each space.
This shooting process shouldn’t take any longer than 15 minutes, depending on the size of the home.
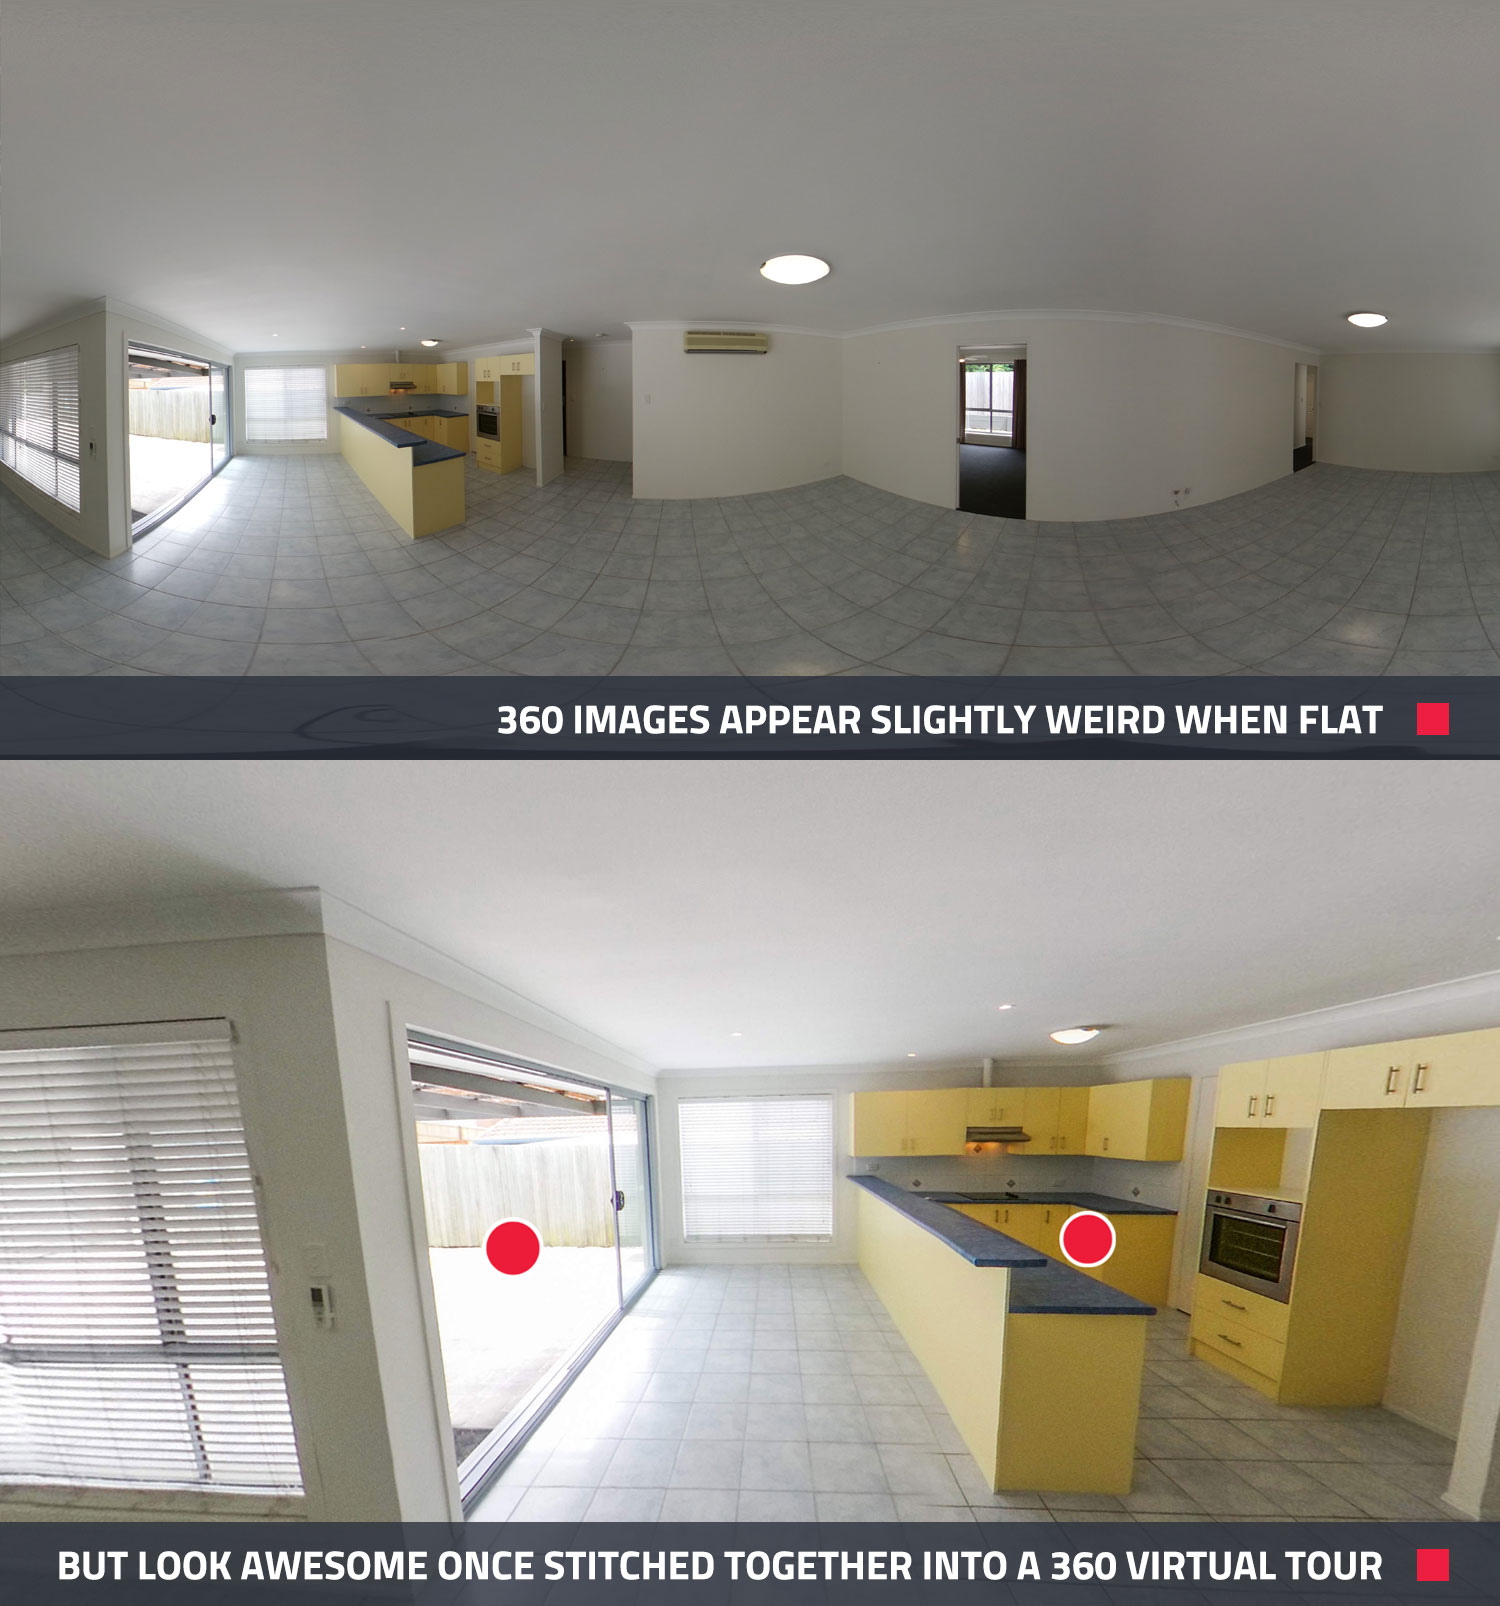
Don’t worry about the tripod in the photo or mirror reflections, these can all be removed during the 360° Image Enhancement process and of course, the images will appear slightly weird when they are flat, this is completely normal.
Our top tip - when shooting the exterior of the home on windy days, you may need to crouch down next to the tripod (without touching it) and be ready to catch it if it is blown over. Again, don’t stress if you are present in the image, this can also be removed in the image enhancement process.
3) How To Upload The Images For Editing (360° Image Enhancement)
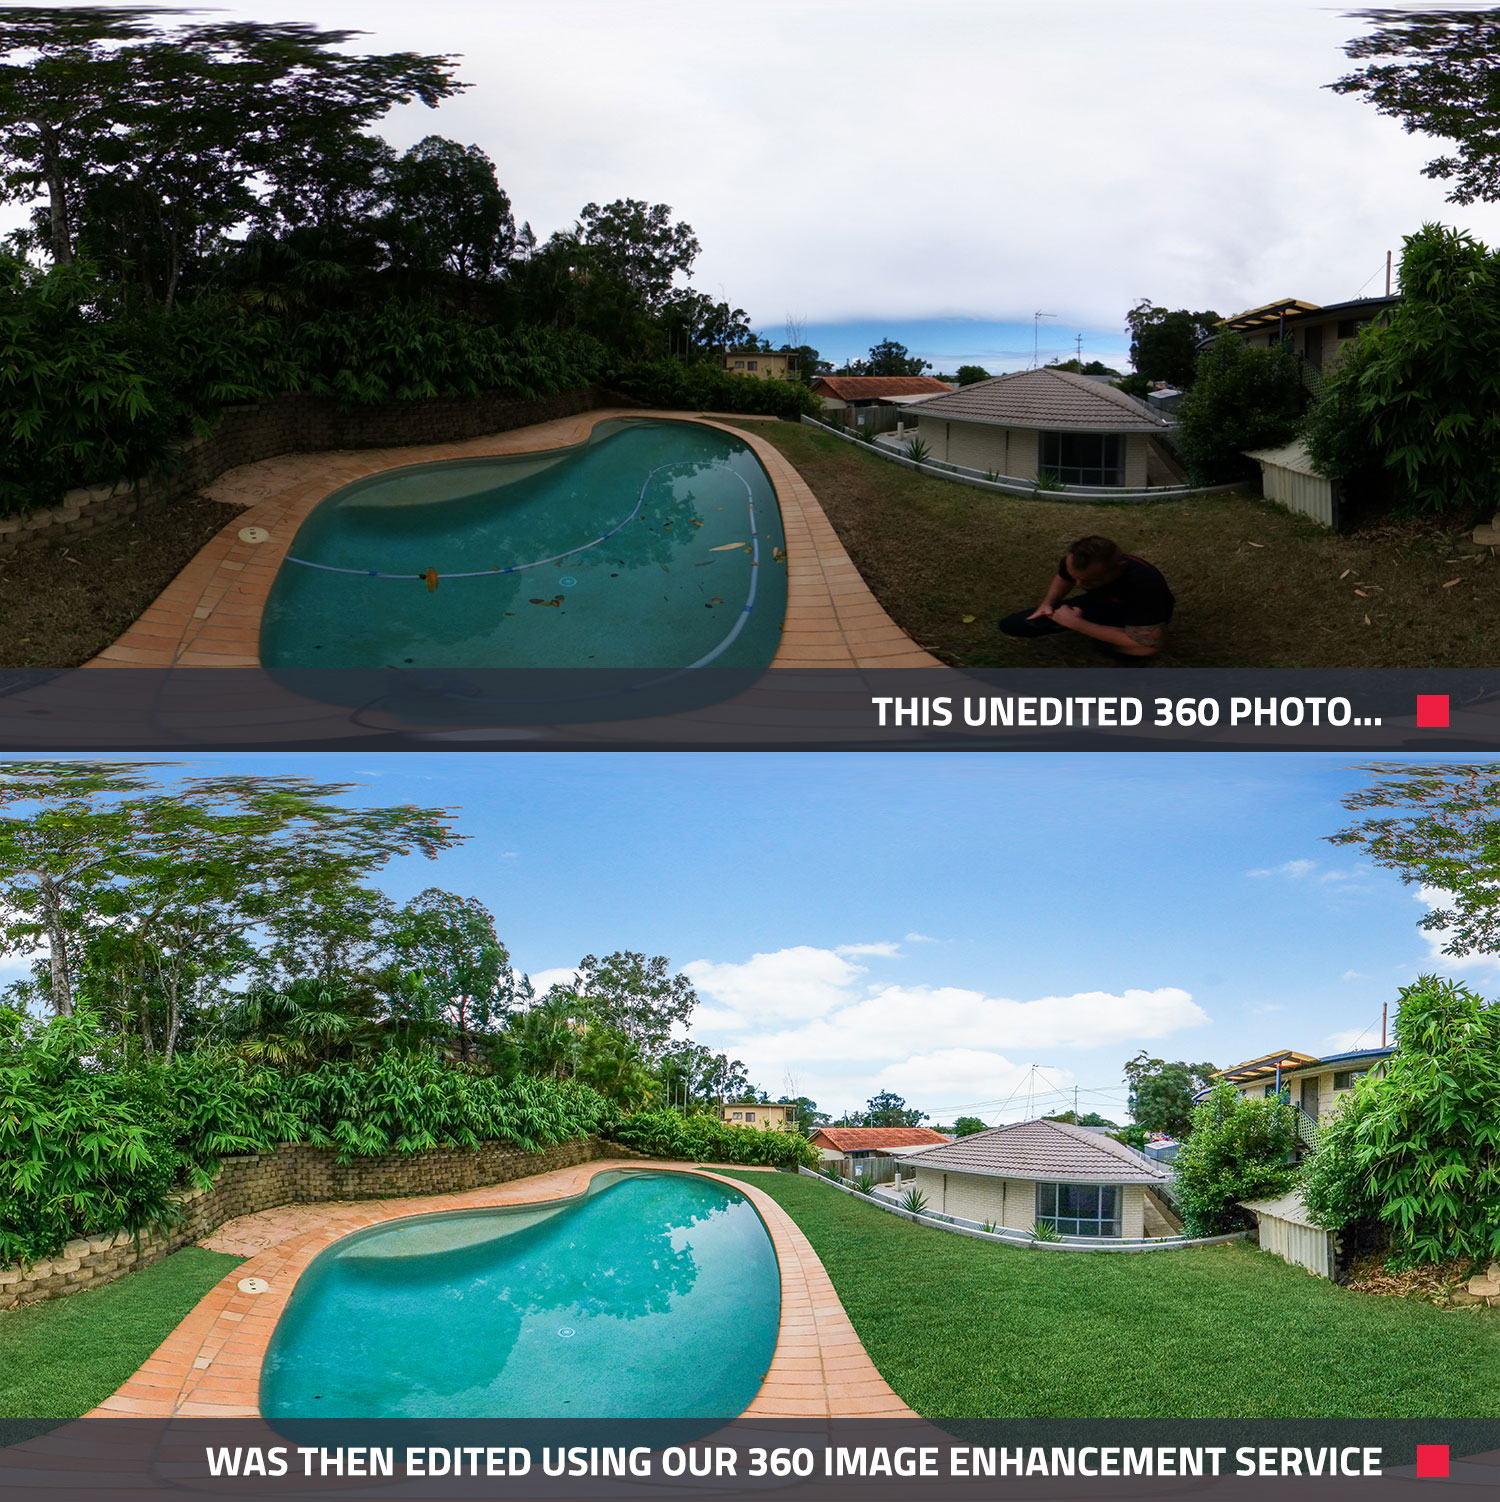
The 360° Image Enhancement edit is not essential for the 360° Virtual Tour however it is a highly recommended step and will help to ensure your photos stand out and capture the buyers’ attention.
Our team of professional editors can do everything from greening up the grass to replacing the sky, removing pool cleaners and so much more. We can also remove the camera tripod and stitch lines, take out any reflections and add in your company logo if required.
Uploading the images for editing is extremely simple and involves only a few steps:
• Log in to your BoxBrownie.com dashboard
• Scroll down to the 360° Image Enhancement edit
• Give your Job a title and then upload all the property photos you have taken using your 360° camera
• Next, you can choose any optional extras you would like completed along with your preferred file size and add in any additional notes for the team
• The final step is to review your order and hit submit
The edited images will be returned to you within 24 hours and once you have reviewed them and are 100% happy, it’s time to create the 360° Virtual Tour.
4) How To Upload The Edited Image To Our 360° Virtual Tour Service
As with the editing process, uploading your images to be transformed into a 360° Virtual Tour is incredibly simple.
• Log in to your BoxBrownie.com dashboard
• Scroll down to the 360° Virtual Tours service
• Simply enter the property address and upload the 360° images you would like the tour created from
• Name the images as per the room names which will assist in the clarity of the hotspots and floorplan navigation options
• Upload either an edited or unedited floorplan of the property
• The final step is to select ‘Checkout’ and then submit your Job.
This will then go directly through to our editors who will create the tour and send it back to you as a link within 24 hours. This link is then valid for 12 months at no additional charge.
 Conclusion
As this tutorial has highlighted, a professional 360° Virtual Tour has the potential to revolutionize your property marketing. This brand new and innovative service is an absolute must whether you’re targeting interstate buyers, dealing with property access limitations or simply looking to give potential buyers a realistic feel for the home.
Not only does the 360° Virtual Tour offer a fantastic finished product but it also has the potential to save you time and money. The shooting process is extremely fast and simple and requires minimal investment in the form of camera equipment to produce a fantastic finished result.
We have specifically designed this service to be quick and easy and not require any technical skills whatsoever. Our 360° Virtual Tour is a pay-as-you-go service and requires no monthly fees ensuring absolute peace of mind for you, the real estate agent.
Eager to check out an example virtual tour and see what all the fuss is about? Click here to take a tour through a property and experience it for yourself.
RELATED ARTICLES
Capturing those all important shots for your listing can not only be a timely expense but can quickly become quite expensive. Our Founder Brad Filliponi is going to share with you his simple top 10 expert tips to show you how you can achieve those professional images for your property.
READ MORE
How do you prepare and photograph a new listing when you may also be experiencing significant difficulties simply gaining access to the home? In this blog, we take a look at our top 10 tips for shooting a property when you can’t access the home yourself to help you combat these difficult times.
READ MORE
Stevens Fine Homes saves thousands in staging and rendering costs using BoxBrownie.com. Marketing Manager Naomi Wright Bellamy credits the platform for faster turnarounds, lower costs, and consistently high-quality visuals across every listing.
READ MORE
Want your pool photos to stop the scroll? Make a splash with these 9 edits that create standout, summery vibes — boost your listing’s appeal, attract more buyers or renters, and get it sold or rented in no time.
READ MORE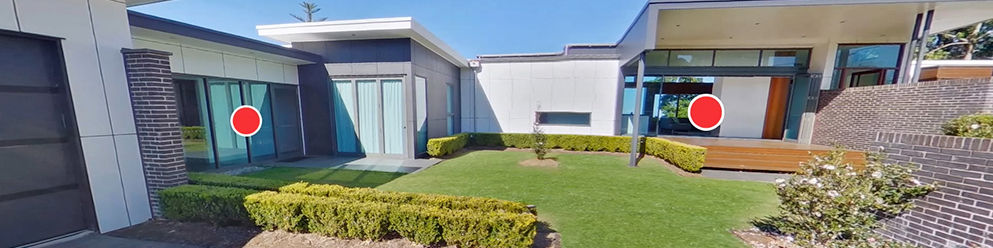
Understand the power and effectiveness of virtual property tours but not sure how to get started creating your own? In this blog, we show you just how simple and affordable creating your own virtual tour can be and how it can be done in as little as 20 minutes.
READ MORE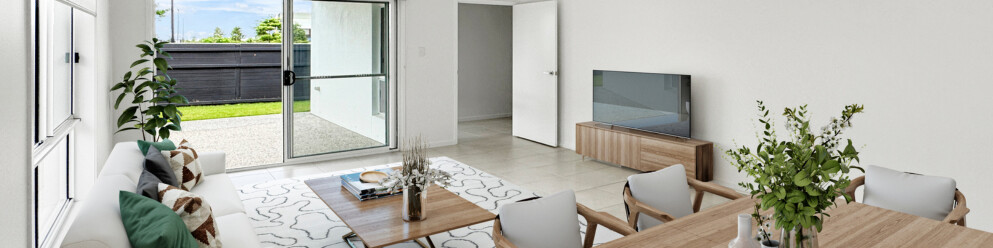
Elevate your real estate game with Virtual Staging using your iPhone and the SnapSnapSnap app. Brad, our co-founder and photography pro, shares his top tips for setting up, capturing, and editing stunning visuals that will make your listings irresistible to buyers.
READ MORE