IPHONE PHOTOGRAPHY: HOW TO SHOOT REAL ESTATE ON A BUDGET
If you’ve ever wondered whether an expensive DSLR is necessary for real estate photography, the good news is—it’s not. High-quality real estate photos can be taken using just a smartphone, the right tools, and a few simple techniques. This guide will walk through how to capture professional-looking real estate shots like a pro, even on a budget!
DSLR vs. Smartphone: Which One Do You Need?
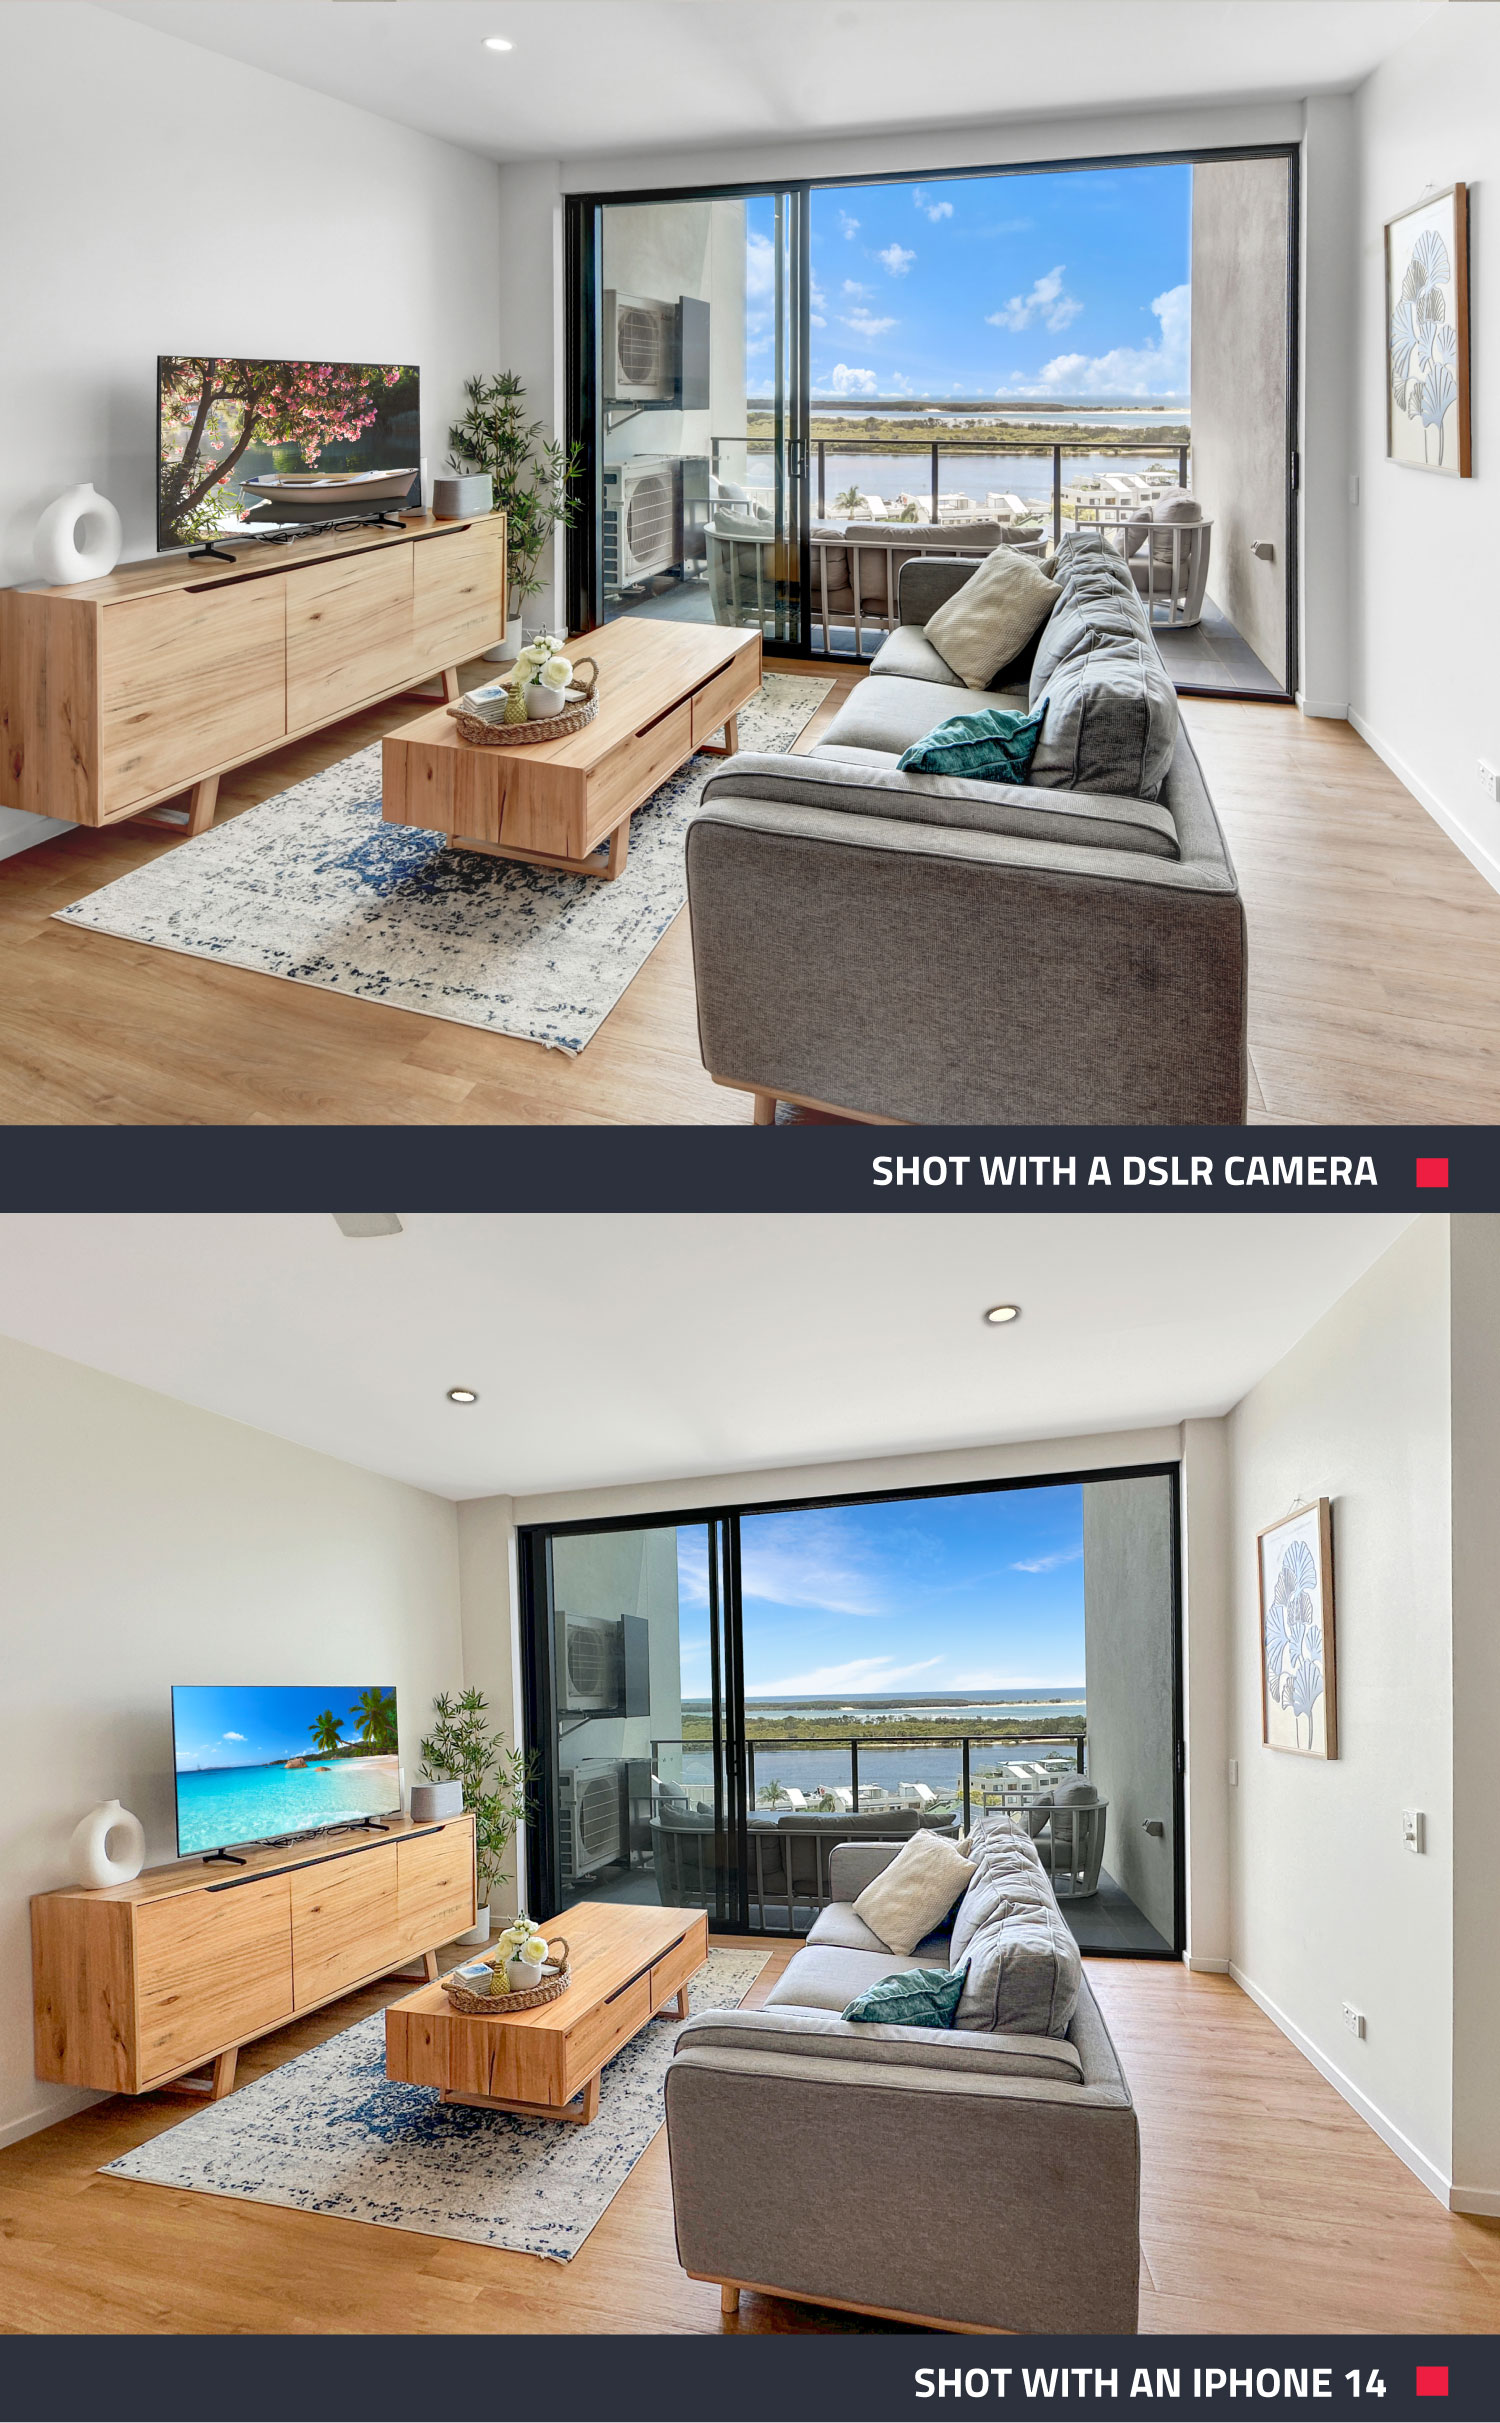
A common question among real estate professionals looking to take their own listing photos is whether they need an expensive DSLR—and the answer is no! Today’s smartphones, especially iPhones from the 11 series onward, come with wide-angle lenses that are perfect for capturing stunning property interiors. As Brad puts it, “You can definitely take professional-looking real estate photos using just your iPhone.”
To demonstrate, two photos were taken—one with a DSLR and one with an iPhone 14. The results are remarkably similar, showing that a smartphone can easily match up to professional cameras for real estate photography.

The Secret Weapon? The SnapSnapSnap App
One of the biggest game-changers in real estate photography is the SnapSnapSnap app. This tool allows users to bracket shots automatically, just like professional photographers do.
If you’re unfamiliar with bracketing, it’s a technique where multiple exposures are taken from the same angle and then merged during editing. As Brad explains, “This is the correct way to market your listing, ensuring the photos look true to the eye.”
Do You Need a Tripod?
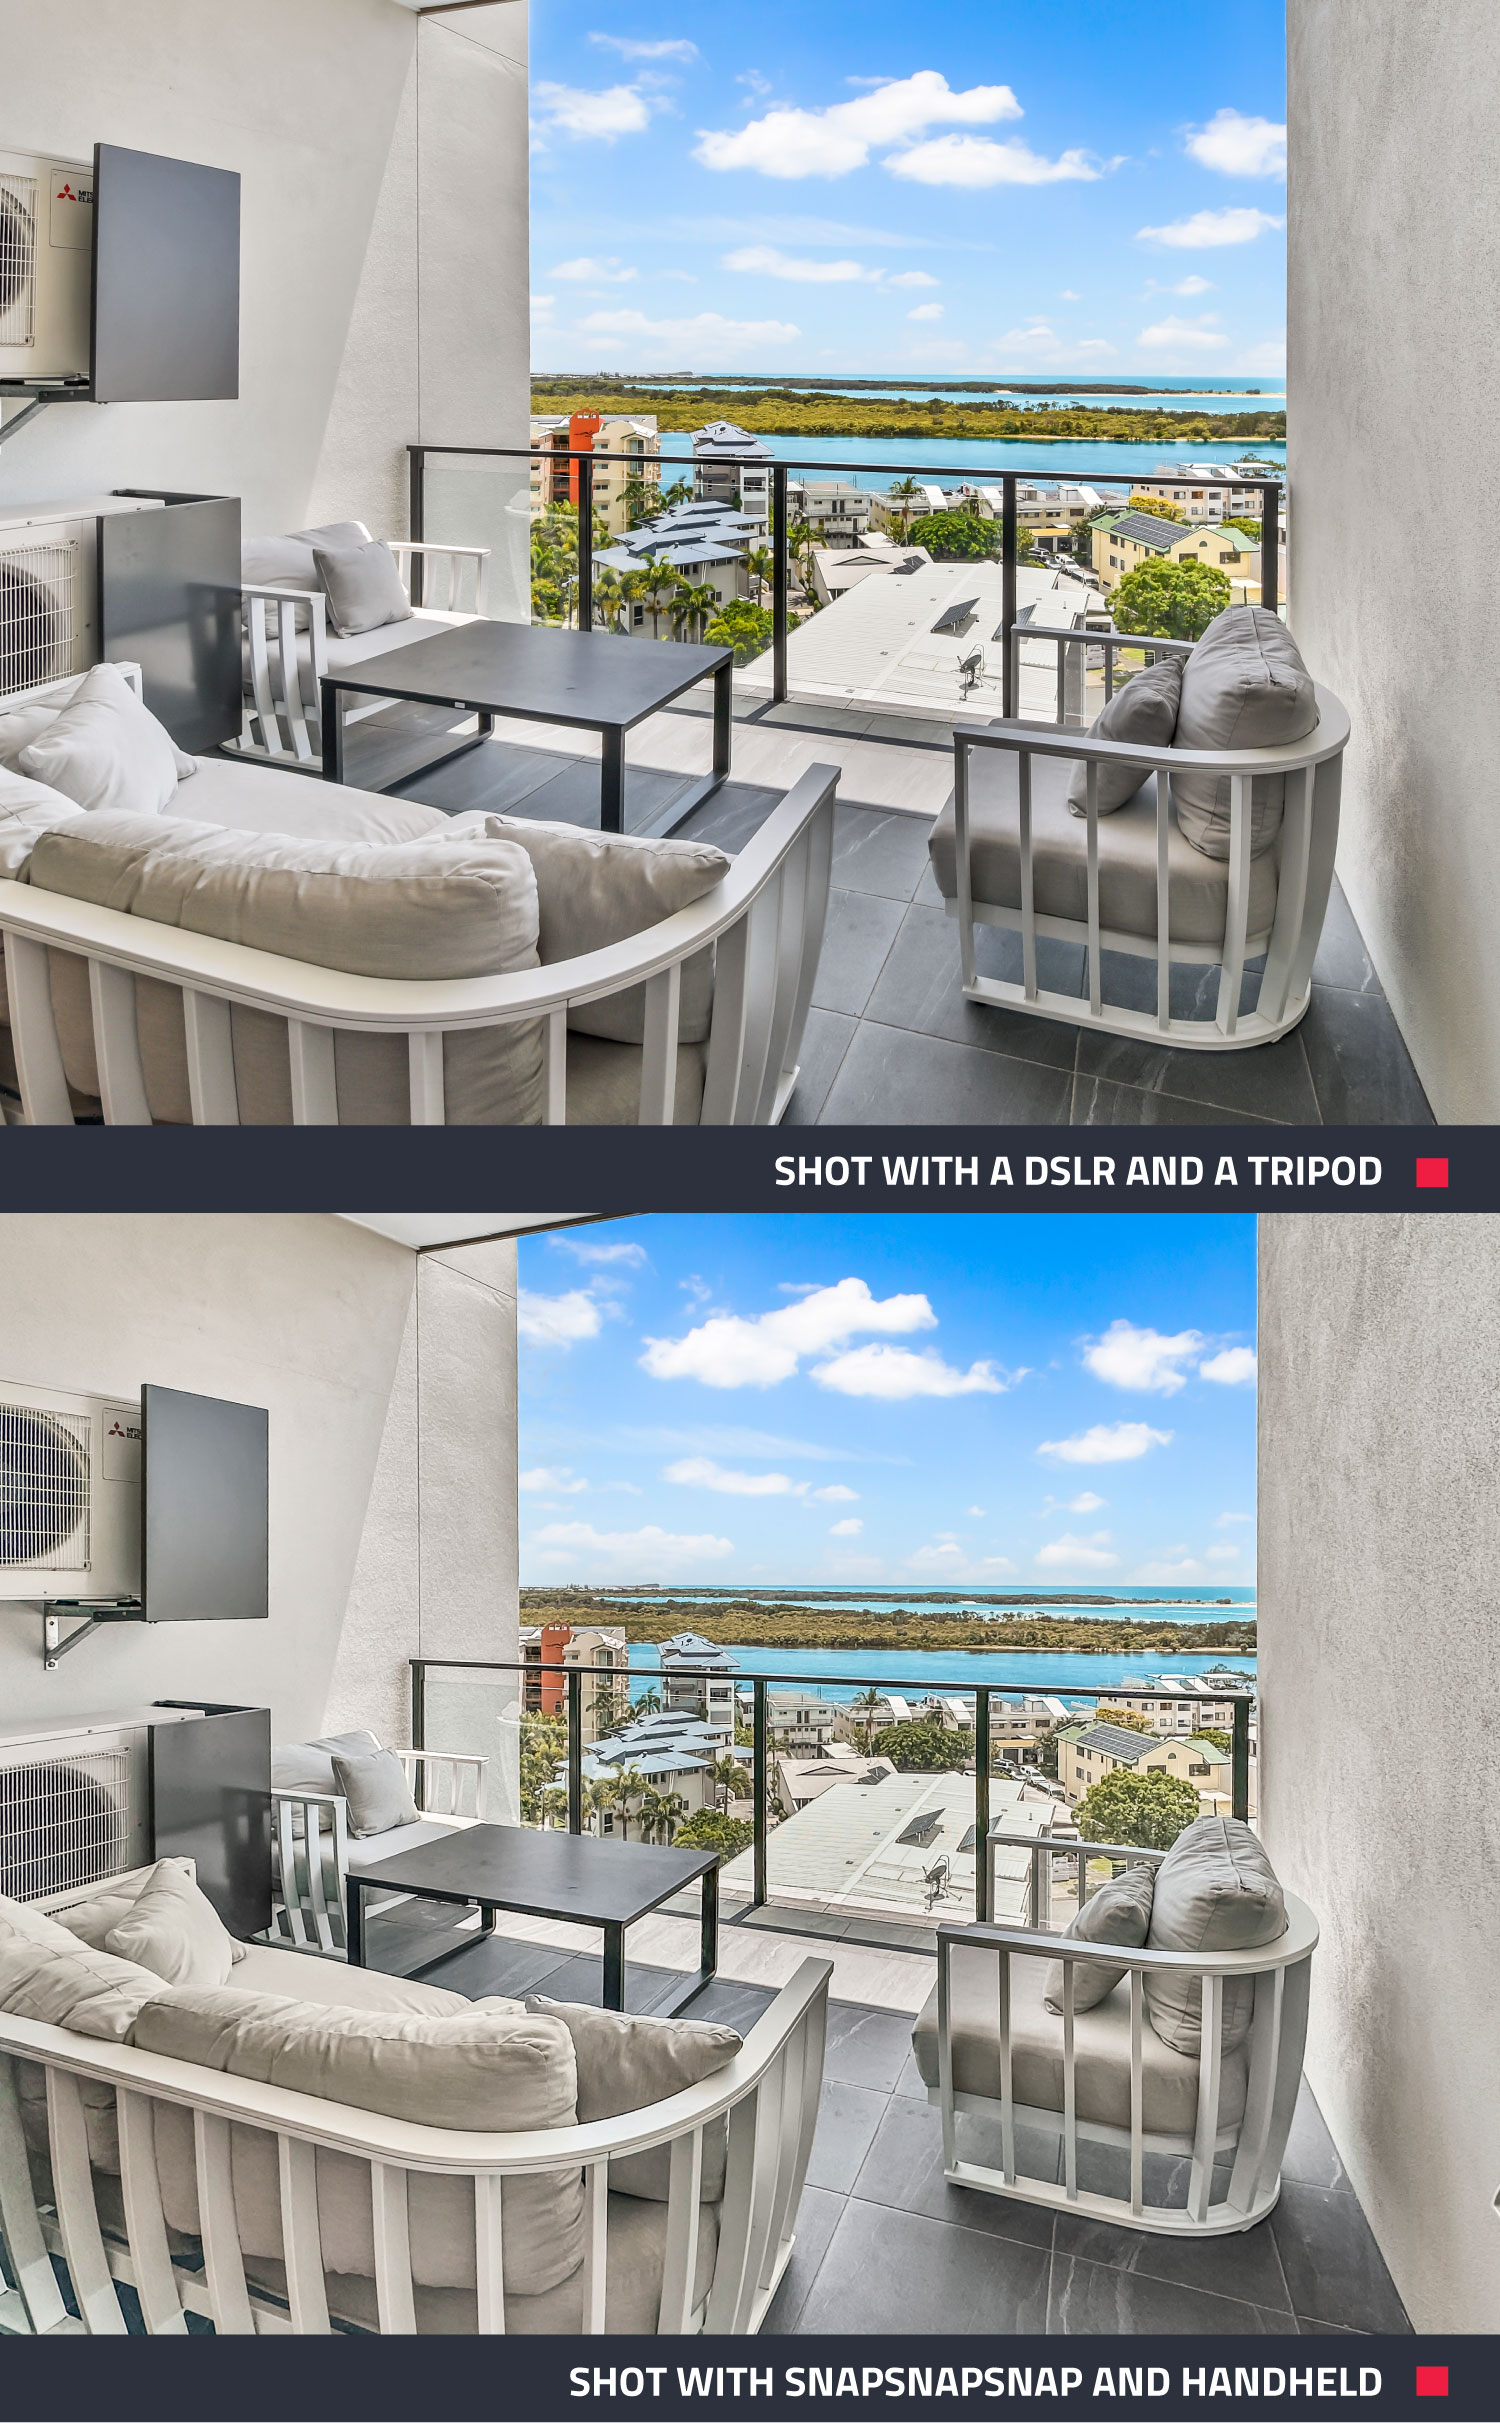
If using a DSLR, a tripod is a must—but with SnapSnapSnap on an iPhone, shooting handheld still produces phenomenal results. The app captures all bracketed shots quickly, eliminating the need for a tripod and making the process more efficient and cost-effective.
To demonstrate, one shot was taken with a DSLR and tripod, and the other with the SnapSnapSnap iPhone app handheld. Can you spot the difference? The results are nearly identical, proving that a smartphone can deliver results just as impressive as professional cameras!
Preparing the Property for a Shoot
Once the equipment is ready, the next step is prepping the property. Following these simple steps ensures that photos look their best:
- Turn on all lights – Bright interiors look more inviting.
- Open doors and windows – This creates a sense of flow.
- Turn off ceiling fans – Moving objects can blur images.
- Open curtains and blinds – Natural light makes spaces look bigger.
- Straighten furniture and declutter – Less is more in real estate photography.
Pro Tip: Before your shoot, use our pre-photography checklist to ensure every room is photo-ready. From decluttering to adjusting lighting, these simple steps will help you capture a space that looks its absolute best!
Professional Editing: The Most Important Step
Photography doesn’t end when the shots are taken—editing is where the magic happens. Without proper editing, even the best photos won’t pop. The good news? SnapSnapSnap makes editing quick, easy, and affordable.
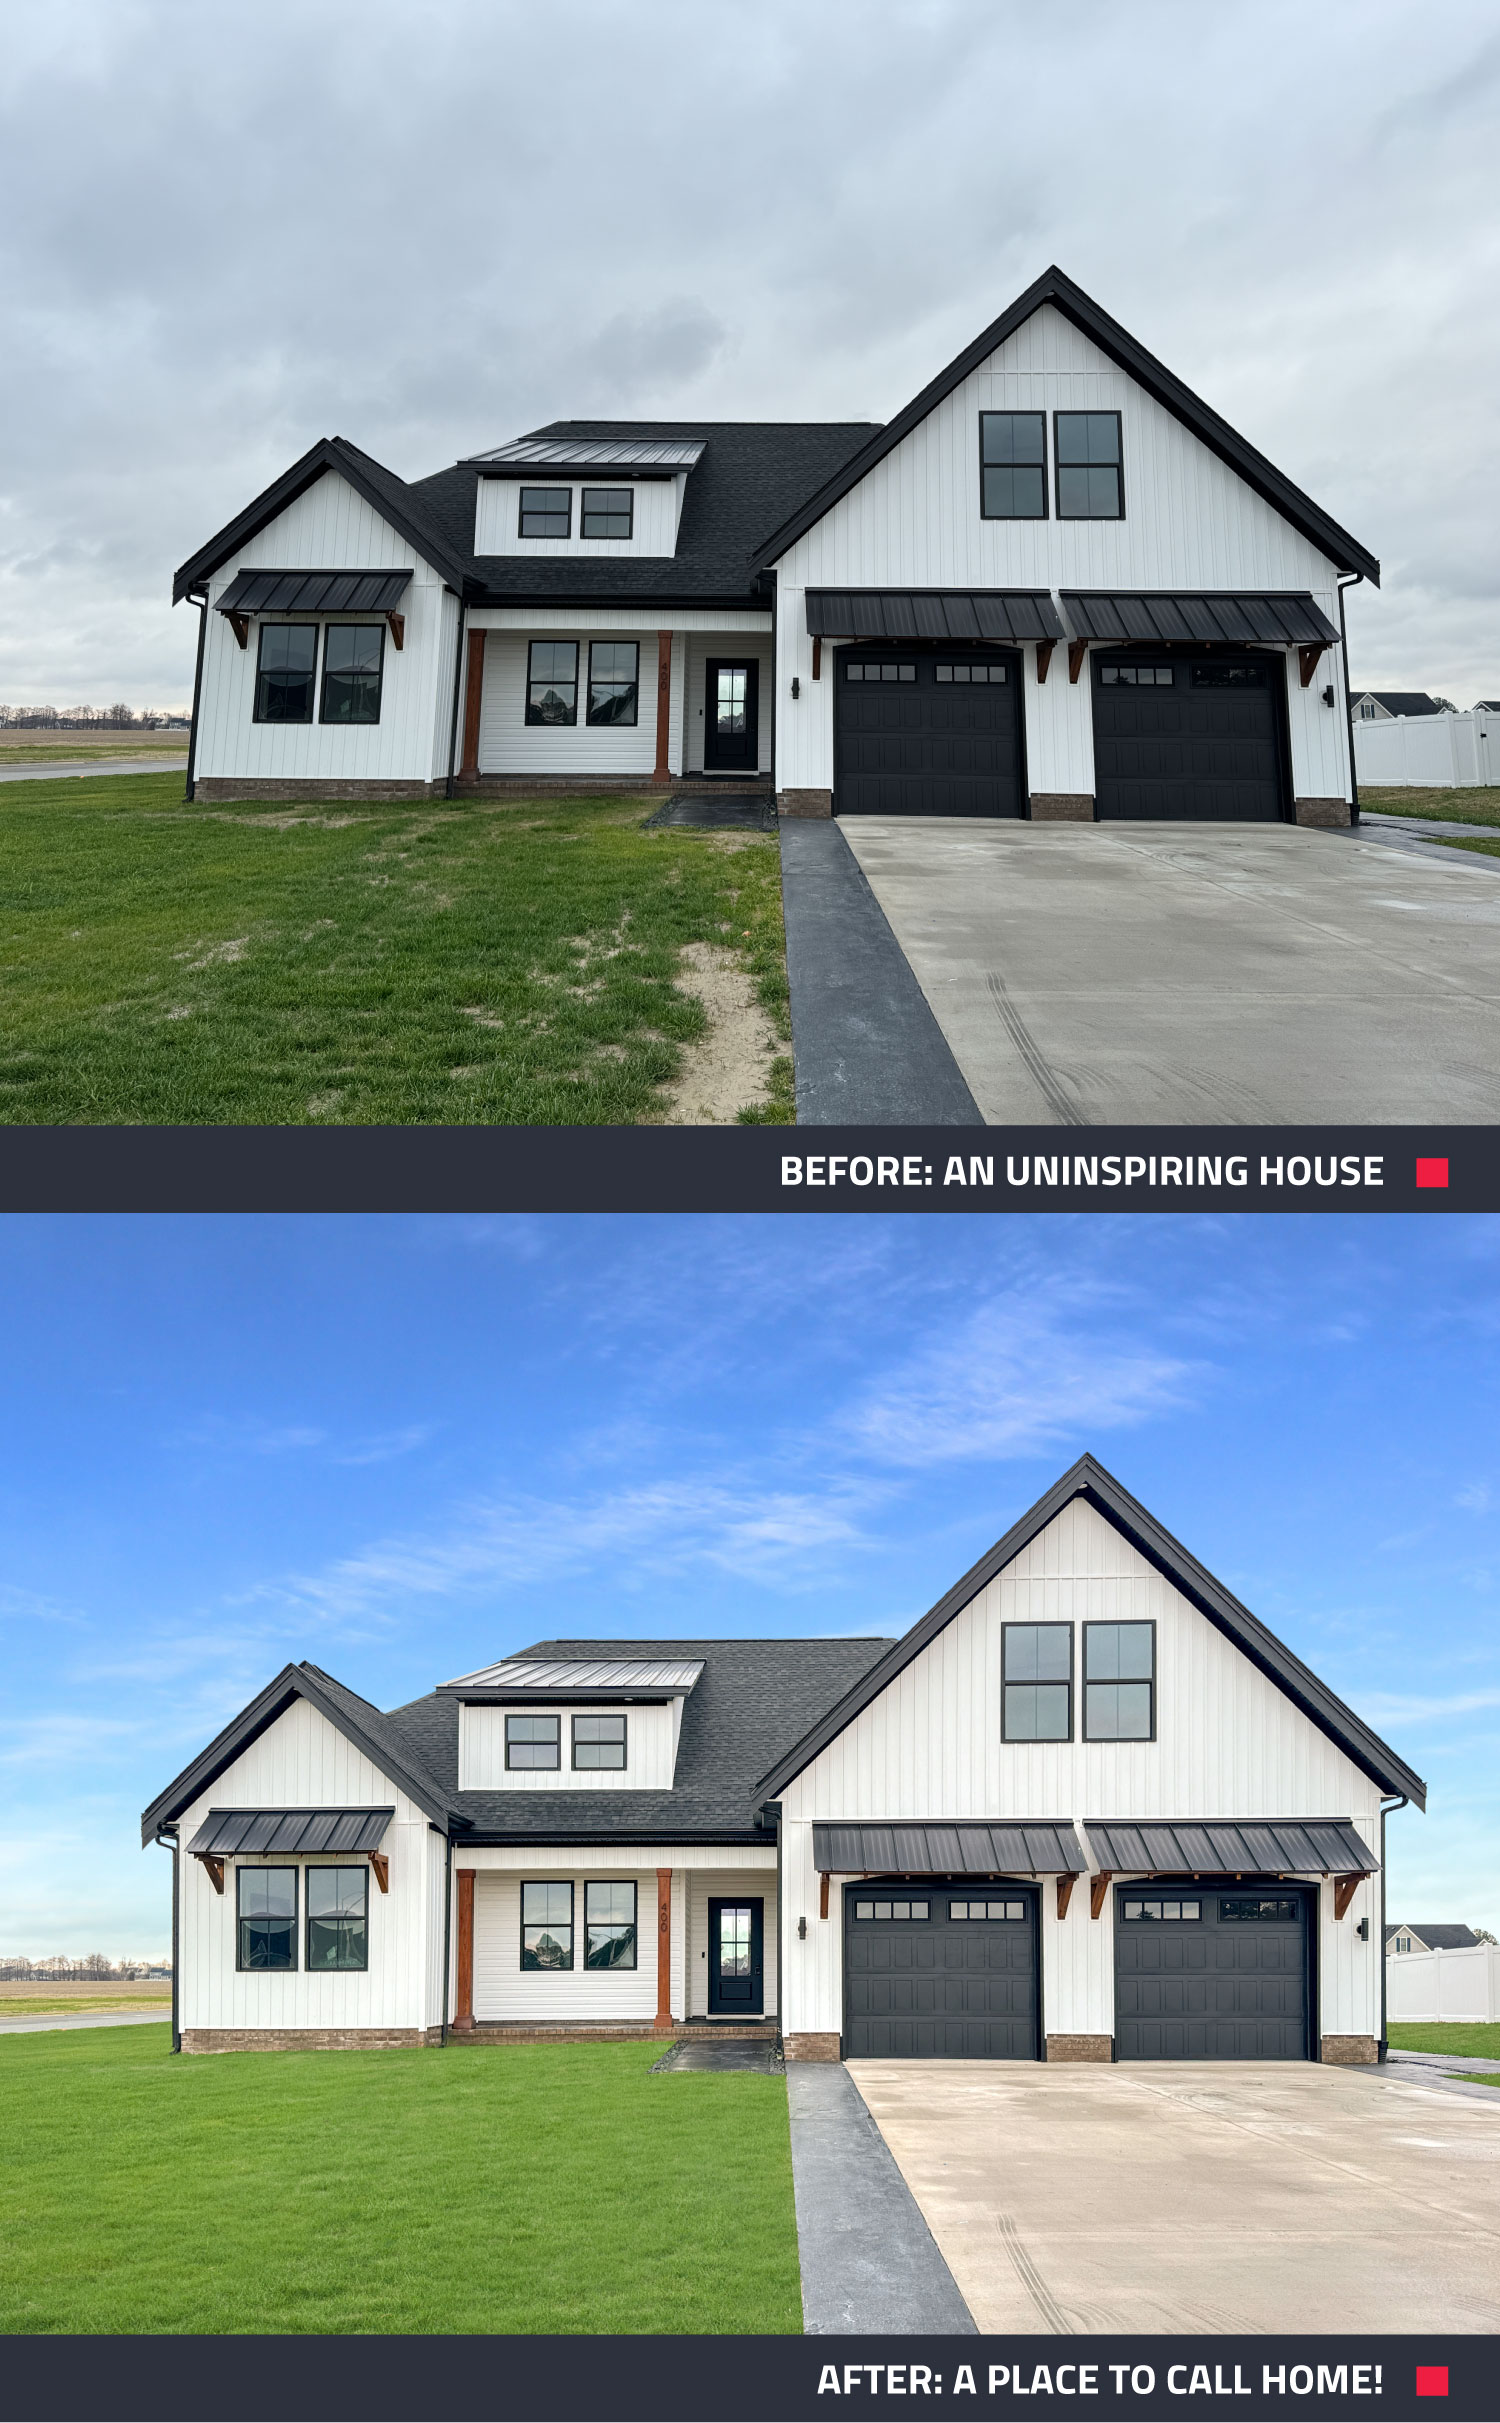
Pro Tip: For just US$1.60 per photo, our app blends seven bracketed exposures (when in Pro-Capture Mode) into one stunning image. So, if 10 photos are taken for a property, the total cost for professional-level edits is just US$16— it's a budget-friendly option.
Brad explains, “Editing can be done directly through the app SnapSnapSnap, and you want to select Image Enhancement, which will blend your seven brackets into one single shot.” The difference between the before photo and the after is truly remarkable—professional-looking images can make all the difference when marketing a property.
Get Started with SnapSnapSnap
Shooting real estate on a budget is easier than ever. With just a smartphone, the right app, and a few simple techniques, professional real estate photos can be captured with ease.
Want to give it a try? Download SnapSnapSnap today and turn your phone into a powerful property photography tool! Elevate your listing and attract more bookings in just a few clicks.
RELATED ARTICLES
Selling a home with a breathtaking view but struggling to capture the window detail in your 360 virtual tour? In this tutorial, we will walk you through the shoot process step-by-step and show you just how easy it is to showcase your listing in the best possible light and capture the attention of your potential buyers.
READ MORE
Want to make any property look bigger and more appealing? Check out this blog for seven super simple photography tips to instantly transform your space. Learn how to capture stunning photos that will attract more buyers or renters!
READ MORE
With this simple real estate photography tip, you can learn how to level up your photos, so that every property you shoot will look open and inviting.
READ MORE
As you make your New Year’s resolutions, hit refresh on your property photography skills by resolving to not let common errors hold back the potential of your property listings. Explore our blog to discover frequently occurring photo blunders and learn how to fix them for stunning results.
READ MORE
First impressions count, and high-quality photos can set your short-term rental apart from the competition. Follow these expert tips to declutter, stage, and light your property to showcase its best features.
READ MORE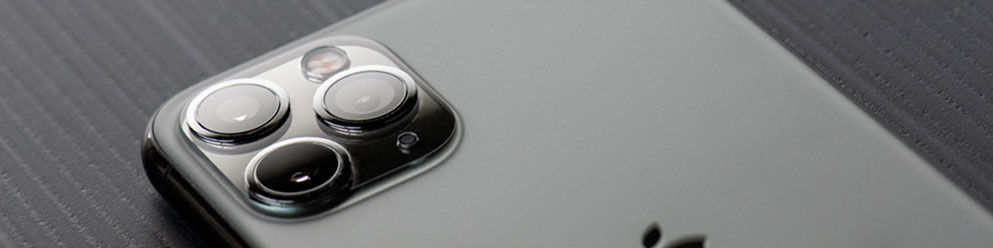
Want to market your property like a professional but can’t find (or get access to) a good photographer? Or maybe you're looking for an innovative way to take real estate photos whilst saving a few dollars... Well, get excited cause today, we’re going to teach you how to shoot real estate like a professional using only your smartphone!
READ MORE