HOW TO SHOOT A 360° VIRTUAL TOUR (IN REAL TIME!)
If you’ve ever thought about creating a Virtual Tour but weren’t sure where to start, you’re not alone. Many agents and hosts assume it’s a complex or expensive process—but it doesn’t have to be.
In this video, BoxBrownie.com co-founder Brad Filliponi takes us behind the scenes as he shoots a real 360° tour of a townhouse. The goal? To show just how simple and approachable the process really is—from setup to final product.
Here’s a closer look at how it works.
The Gear: Simple and Straightforward
To create a 360° tour, all you need is a compact 360° camera like the Ricoh Theta Z1 and a monopod—no extra lighting or bulky gear required. For best results, enable HDR rendering before shooting. This simple setting helps balance bright and dark areas, significantly improving image clarity and overall quality.
Shot by Shot: Working Through the Property
When creating a 360° Virtual Tour, it’s best to move through the property methodically, capturing a photo in each key area—think living room, kitchen, bedrooms, bathrooms, hallways, stairwells, and outdoor spaces.
A few simple tips can make a big difference:
- Keep doors open to highlight flow between rooms
- Shoot from the buyer’s perspective, not just what’s convenient
- Turn off fans, raise blinds, and turn on lights for consistency
- Be mindful of mirrors and reflections to avoid getting in the shot
The whole shoot typically takes just 15–20 minutes. It doesn’t need to be perfect—edits can take care of the rest.
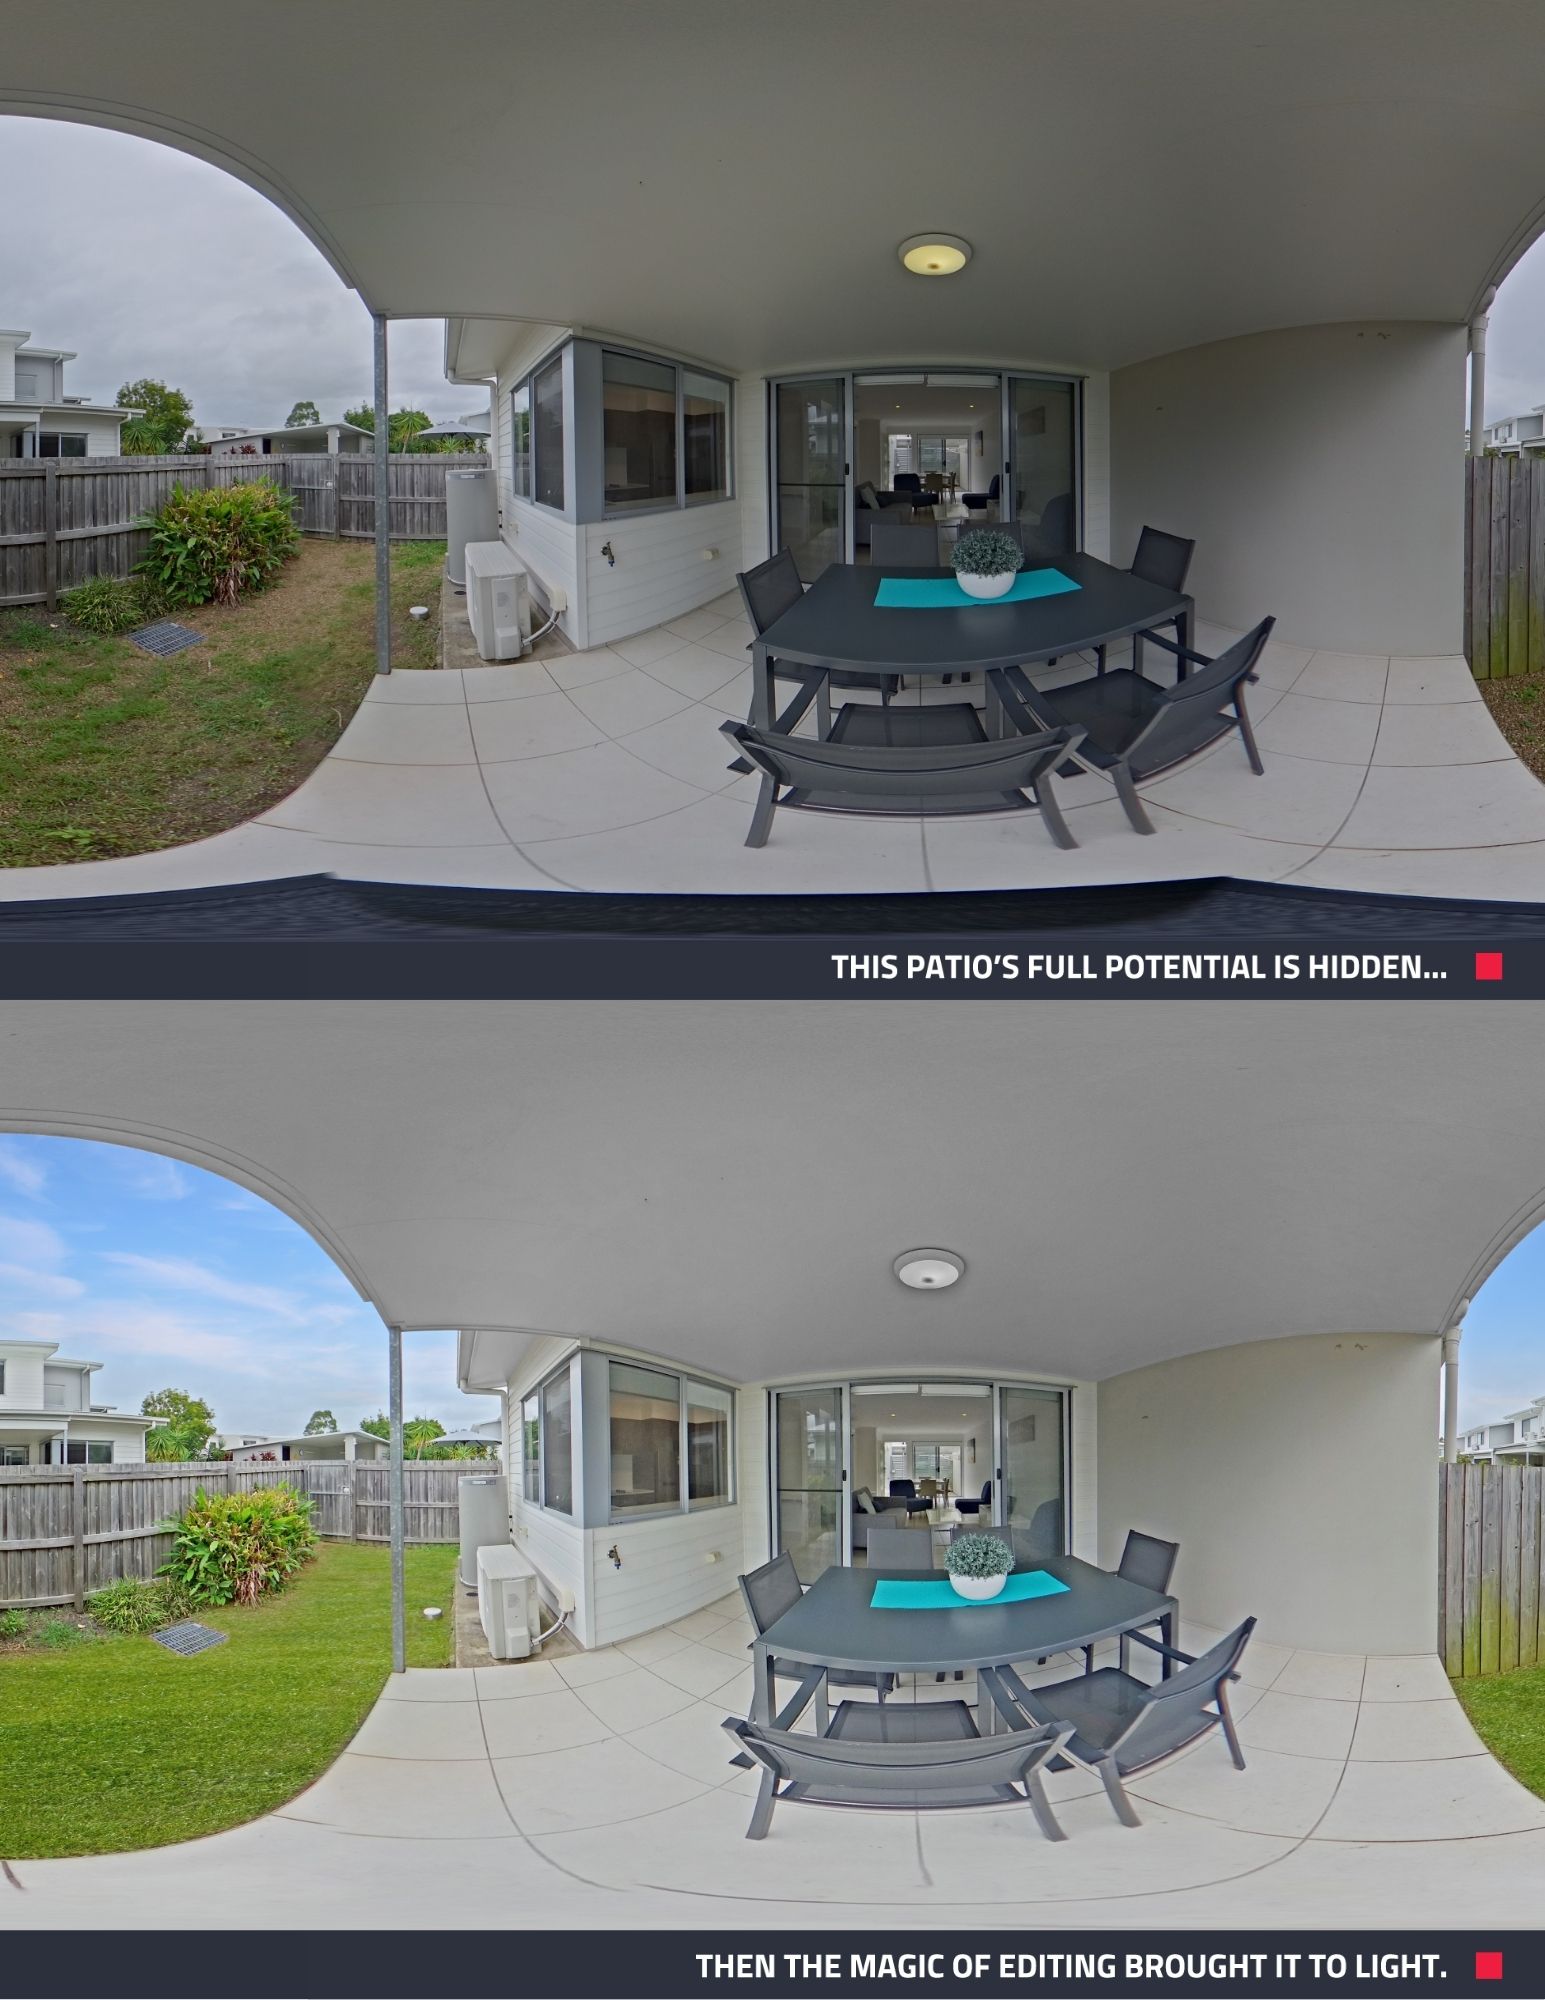
Editing Brings It All Together
After capturing your 360° photos, head to our Dashboard and upload them for an Image Enhancement job to take your visuals to the next level. This is where the magic happens—skies can be replaced, shadows corrected, reflections removed, and even grass and exterior colors enhanced.
No need to stress about getting the perfect shot in-camera. With the right edits, your images can be transformed into polished, professional-quality visuals that truly stand out.
Assembling the Tour
After your 360° images are submitted, our team enhances them—fixing lighting, skies, shadows, and more. Once the edits are complete, you can upload the improved images into our virtual tour builder. It’s an easy-to-use tool where you can name each scene, set the starting point, connect rooms with navigation arrows, and add your branding or contact info.
The final result? A professional, interactive 360° tour that’s ready to share—typically within 24 hours. Take a look.
Why It’s Worth Trying
Creating a 360° Virtual Tour doesn’t require tech skills or professional photography experience. With the right tools and a bit of planning, it’s easier than you think.
Virtual tours are a powerful way to showcase any space—especially for remote buyers or guests who want to get a true feel for the layout before making a decision. Best of all, they’re quick and affordable to produce.
If you haven’t tried our 360° Image Enhancement yet, now’s the perfect time. Instantly elevate your tours with clearer skies, brighter interiors, and polished details—all for just US$4 per image.
RELATED ARTICLES

Getting those high-quality aerial shots of your property can be a crucial factor when it comes to selling your listing to prospective buyers. However, real estate aerial photography can be daunting at a glance, especially if you’ve never flown a drone before! In this article, our founder, Brad Filliponi, is going to show you how easy it can be.
READ MORE
These four steps will help turn even your wildest real estate goals into achievable everyday realities. If you want to want to send your career into the stratosphere, this post will set the skyrocketing in motion.
READ MORE
Discover seven powerful ways one simple edit can turn dull property photos into eye-catching listings. From brighter skies to greener lawns, Image Enhancement isn’t just a nice touch — it’s essential.
READ MORE
Selling an empty property can be stressful... but it doesn't have to be! In this video, we speak to Jodie Hedley-Ward, a top-performing agent in Australia, who reveals her odd trick to selling empty listings faster.
READ MORE
Whether you’re about to list a property for the first time, or just want to reassess and refresh your listing game, you’ll want to read this one. Explore our expert responses to 10 crucial questions on creating a successful property listing. From must-have content to buyer engagement strategies, this is your go-to resource for listing success.
READ MORE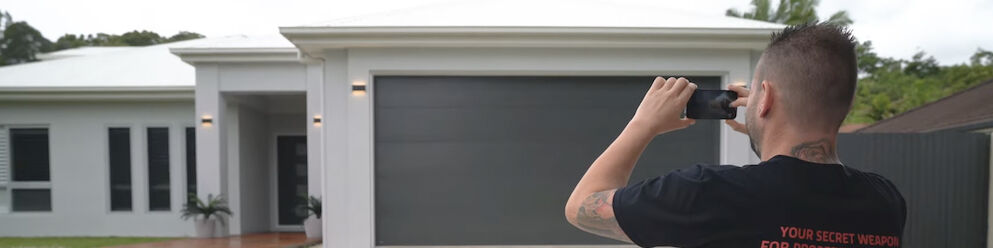
If you think quality, professional real estate images aren’t in your budget – think again! For under $20 you can beautifully showcase a property that will boost listing inquiries and your brand. How? Just follow our how-to guide.
READ MORE